it’s a family affair

Now that Chile is in Narrowsburg, I lost the omnipresent expertise of Bill but gained some family adventures. After a dutiful quarantine and eventual negative COVID test, I could hang with the Wollenburg-Maclean clan. Definitely worth the wait.

Dog days in Narrowsburg are a welcomed routine. Up early to run with Lago through the trails, more exercising with the kiddos, a big family-style breakfast, followed by some work that inevitably involves Bob on the tractor. Lunch is BLTs. Emphasis on the T! Occasionally, I get to work with my cousins on Chile, but we usually opt for soccer, croaktoss (I am the current world record holder, but only by two points), and river swims. Dinners revolve around the Karol’s plump heirloom tomatoes. And sometimes we make pizza. By sundown, I’m zonked. I will miss this life when school begins.

It’s funny, I find that the Chile blog has progressively become less and less about the boat, more and more about life. Priorities I suppose. But, that’s the beauty of Chile. She’s been an excuse to have all these adventures. For my dearth of readers interested in boat restoration, know that I am applying CPES to the hull now. Three coats, each followed by sanding. Then Interlux Brightside for my paint. Going to paint her white with a navy boot.

Chile on the move

wp-1576953277656.jpg

The summer has come and gone. I moved to NYC and have less space in my apartment than I did in Bill’s barn. Even though they say this city never sleeps, I still can’t find an hour in the day to spend with Chile (except for the hour I spend finding a parking spot every Monday and Thursday to allow the street sweepers to go by…) Neighbors have offered to buy her thinking she would make for a charming mobile farmstand. I have already paid more in parking tickets for her blocking fire hydrants than she cost. We’re considering mooring her in Flushing Bay and hoping she floats at least through the winter. Until then, I’ll continue waking up long before the sun to find open spots…

Kidding! Actually, Chile has found refuge from whence she came: upstate New York. Narrowsburg to be precise. It is true that I haven’t found time to spend working, but that’s what summer 2020 is for. Regardless, I did a few things at the end of last summer that warrant a blog.

First, the deck planking seams had such big gaps you could fit two pennies between them in some places.

IMG_20190628_104505.jpg

I consulted the Hampton guys, WoodenBoat forums, the West Marine folks. Each answer had a different solution. And for that reason, Bill and I figured that the solution we came up with would be just as valid. Curious if the cedar would expand in the future, we decided to simulate swelling. On a humid day we set up this contraption and ran a sprinkler hose with holes spaced every several inches throughout.

IMG_20190701_120754.jpgIMG_20190701_122805.jpg

The hose ran along the centerline from bow to stern hanging upside down from a pole. We ran the hose for about twelve hours, and let it sit for either 24 or 48. It felt like a rainforest inside the plastic tarp when I removed it. And yet, my two pennies still squeezed between the deck planks. Bill and I presumed that any swelling that might happen when in the water would hopefully be insignificant. So we opted to fill the open seams with filler.

We had a long debate regarding if and how to cover the deck. Glass, canvas, refit a new plywood deck, just seal the current planks, etc. We opted for a hybrid of glass and canvas called Dynel. It is lighter than canvas but has more stretch than fiberglass.

IMG_20190726_134709.jpg

If I had a second chance at applying the Dynel, it would look significantly better. A couple tips include:

  1. If laying down two pieces, do a butt joint or the method a wallpaper guy would use. I overlapped the fabric, but now as I try to sand it down it loses its canvassy texture. And the sanding is slow going.
  2. I stapled and cut the fabric, then spread the epoxy. Instead, I would just lay the fabric and start spreading epoxy with some friends there to stretch the fabric and staple later.

IMG_20190802_155826.jpg

This flattering picture below exists merely to show evidence of what my trailer used to look like. She now has some flexible bunks that make for smooth sailing down the highway. Thanks, Erin, for helping refit that trailer (and the other one) for way too many hours.

IMG_20190803_165028-1.jpg

Those fixes, however, proved necessary as we drove through the bumpy roads of I-95 around Philly, and the windy roads of the Catskills. Note the 25′ mast atop the boat. Next time Chile takes a field trip, I’ll have to find a better solution for that bear of a spar. Nearly lost her once!

IMG_20190817_161907.jpg

Finally, I said goodbye to Norma, too. I haven’t felt such attachment to an inanimate object since I left my stuffed animal in Buenos Aires. Fortunately, I know she is in better hands with Cap’n Teddy Stokes at the helm!

IMG_20190721_104515.jpg

Always hard to say goodbye to the shore. I romanticize that place more than ever now as I wander the concrete jungle. Good to know that the shore is still there, and with another HOD sailor in 709! Hoping to get some crewing gigs next summer, Hunts!

repairing a plank (the quick way)

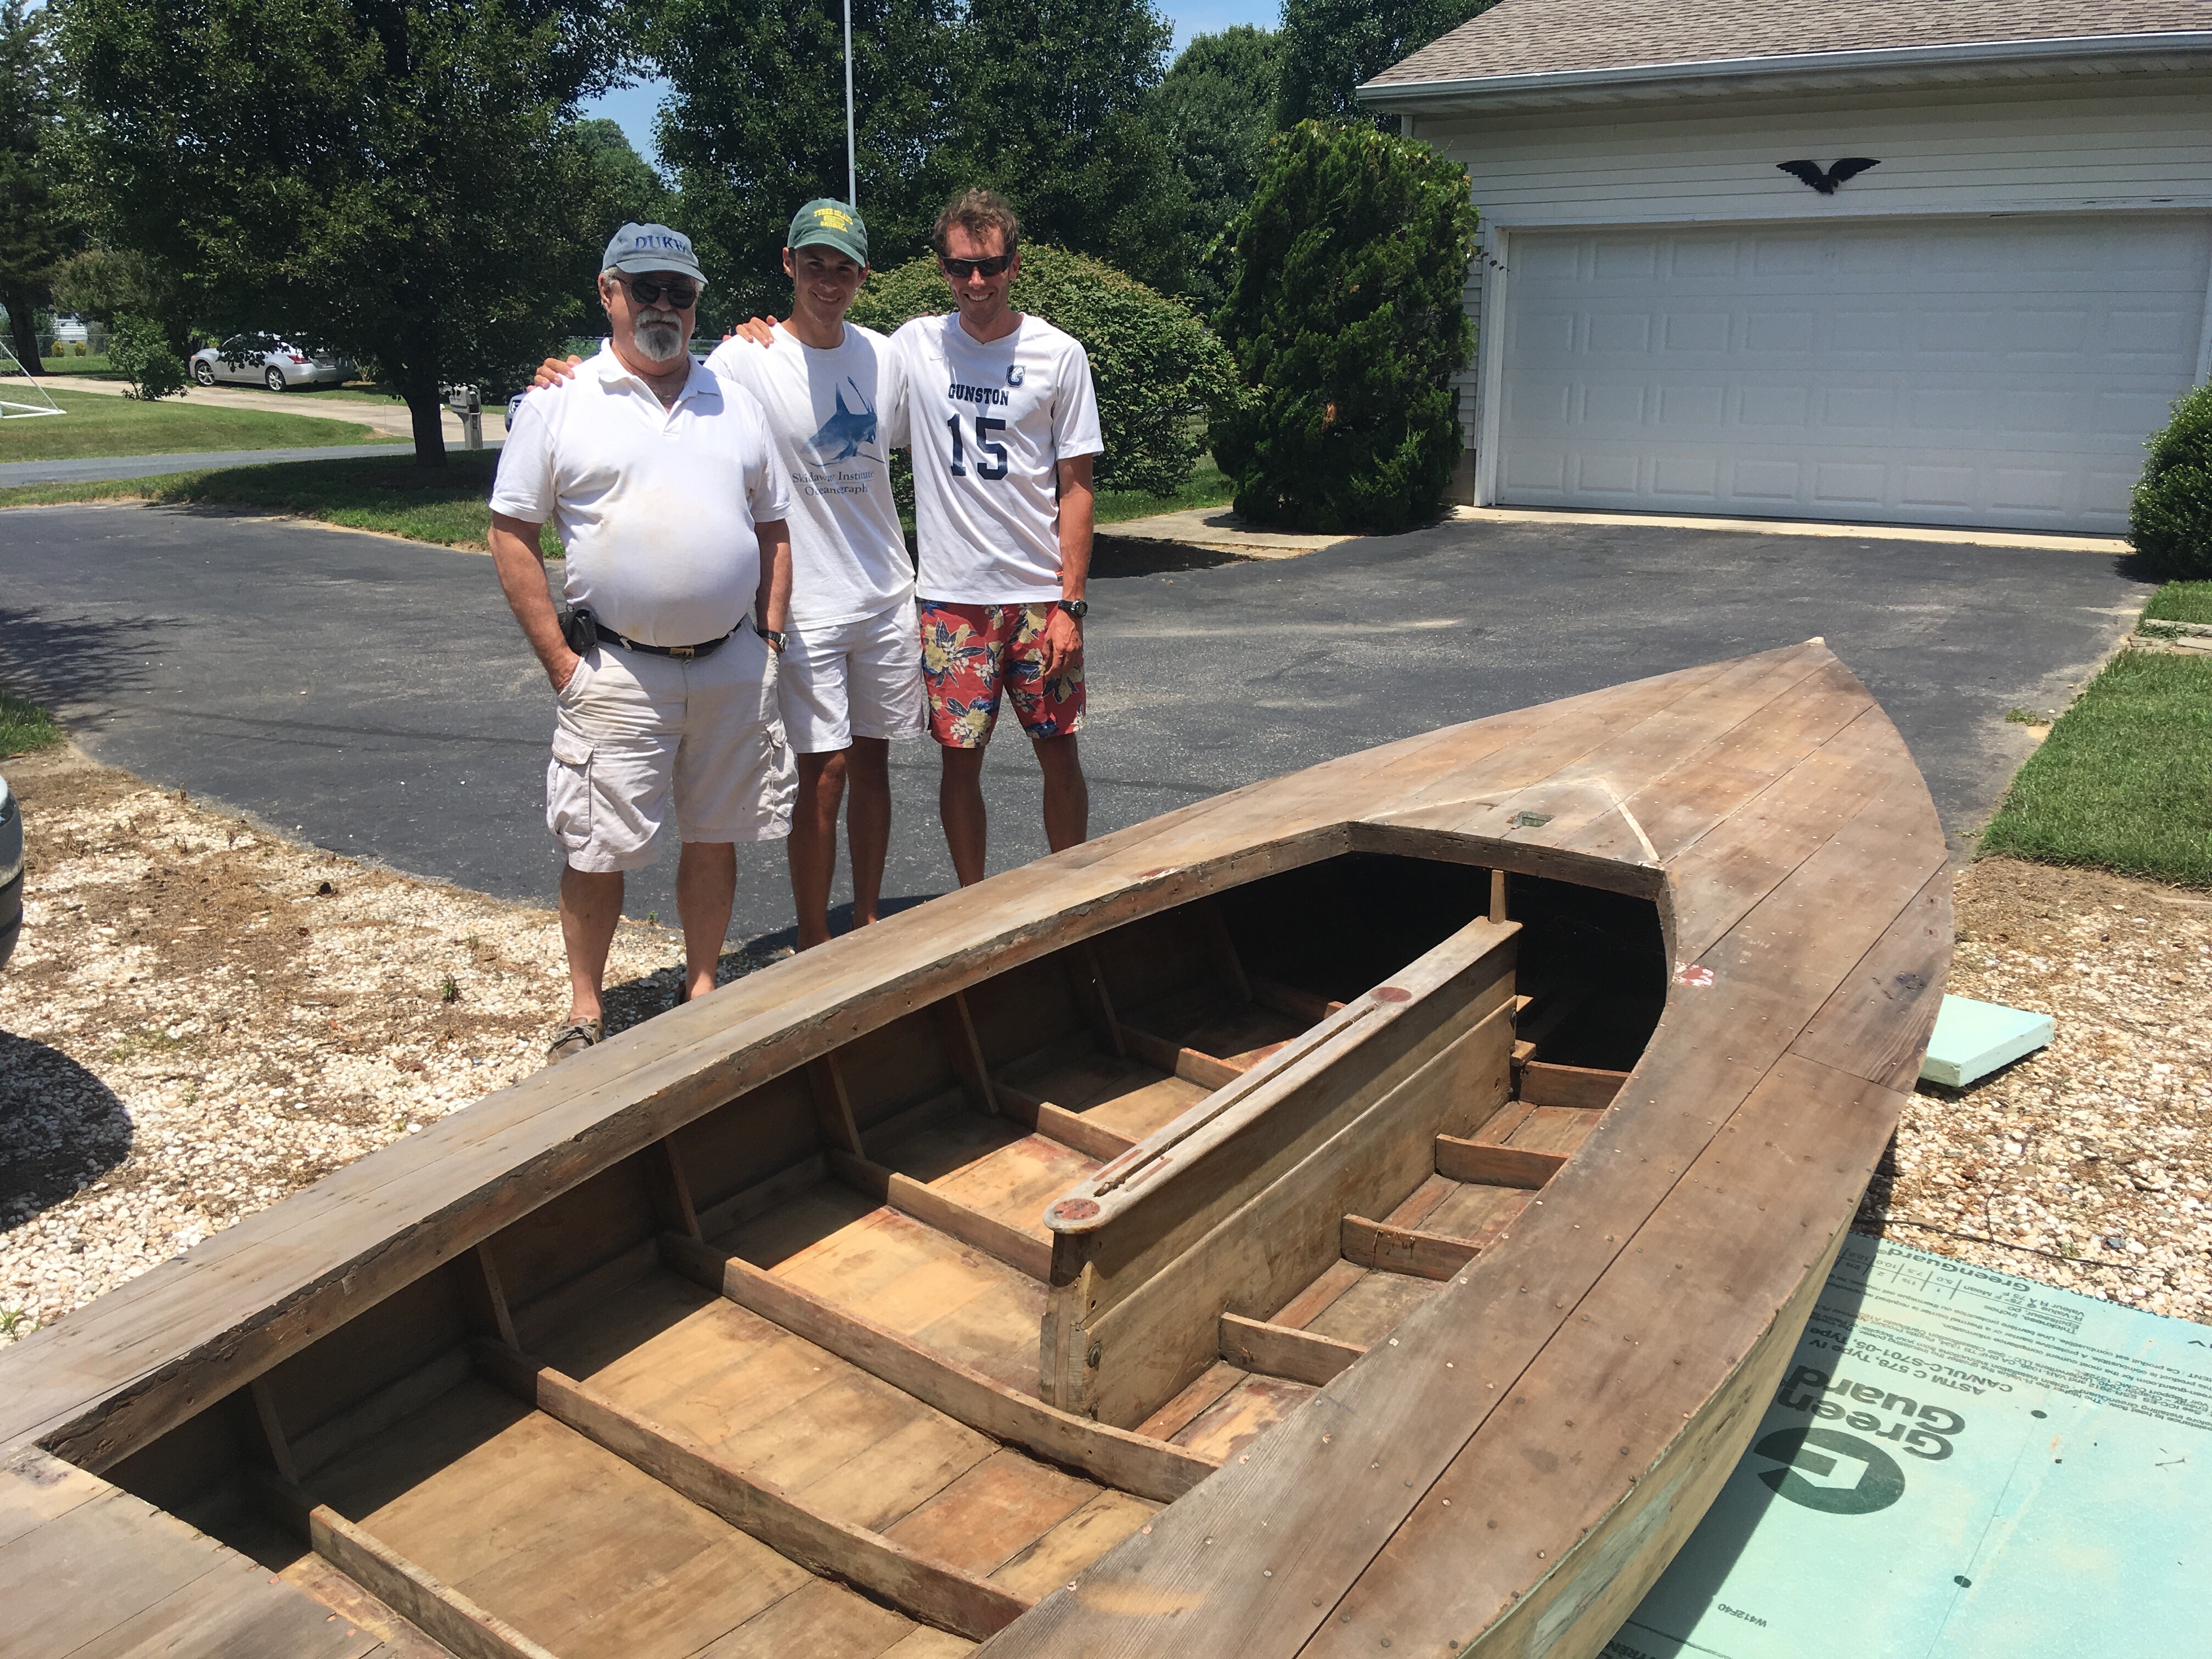
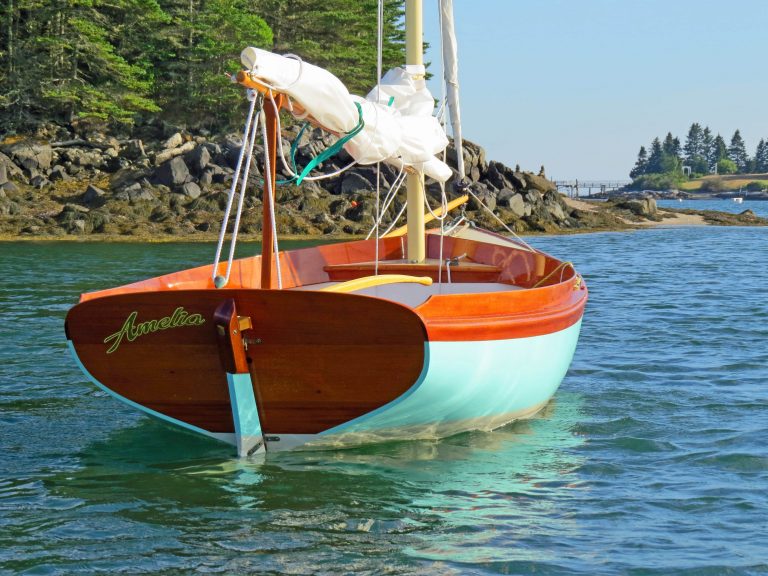
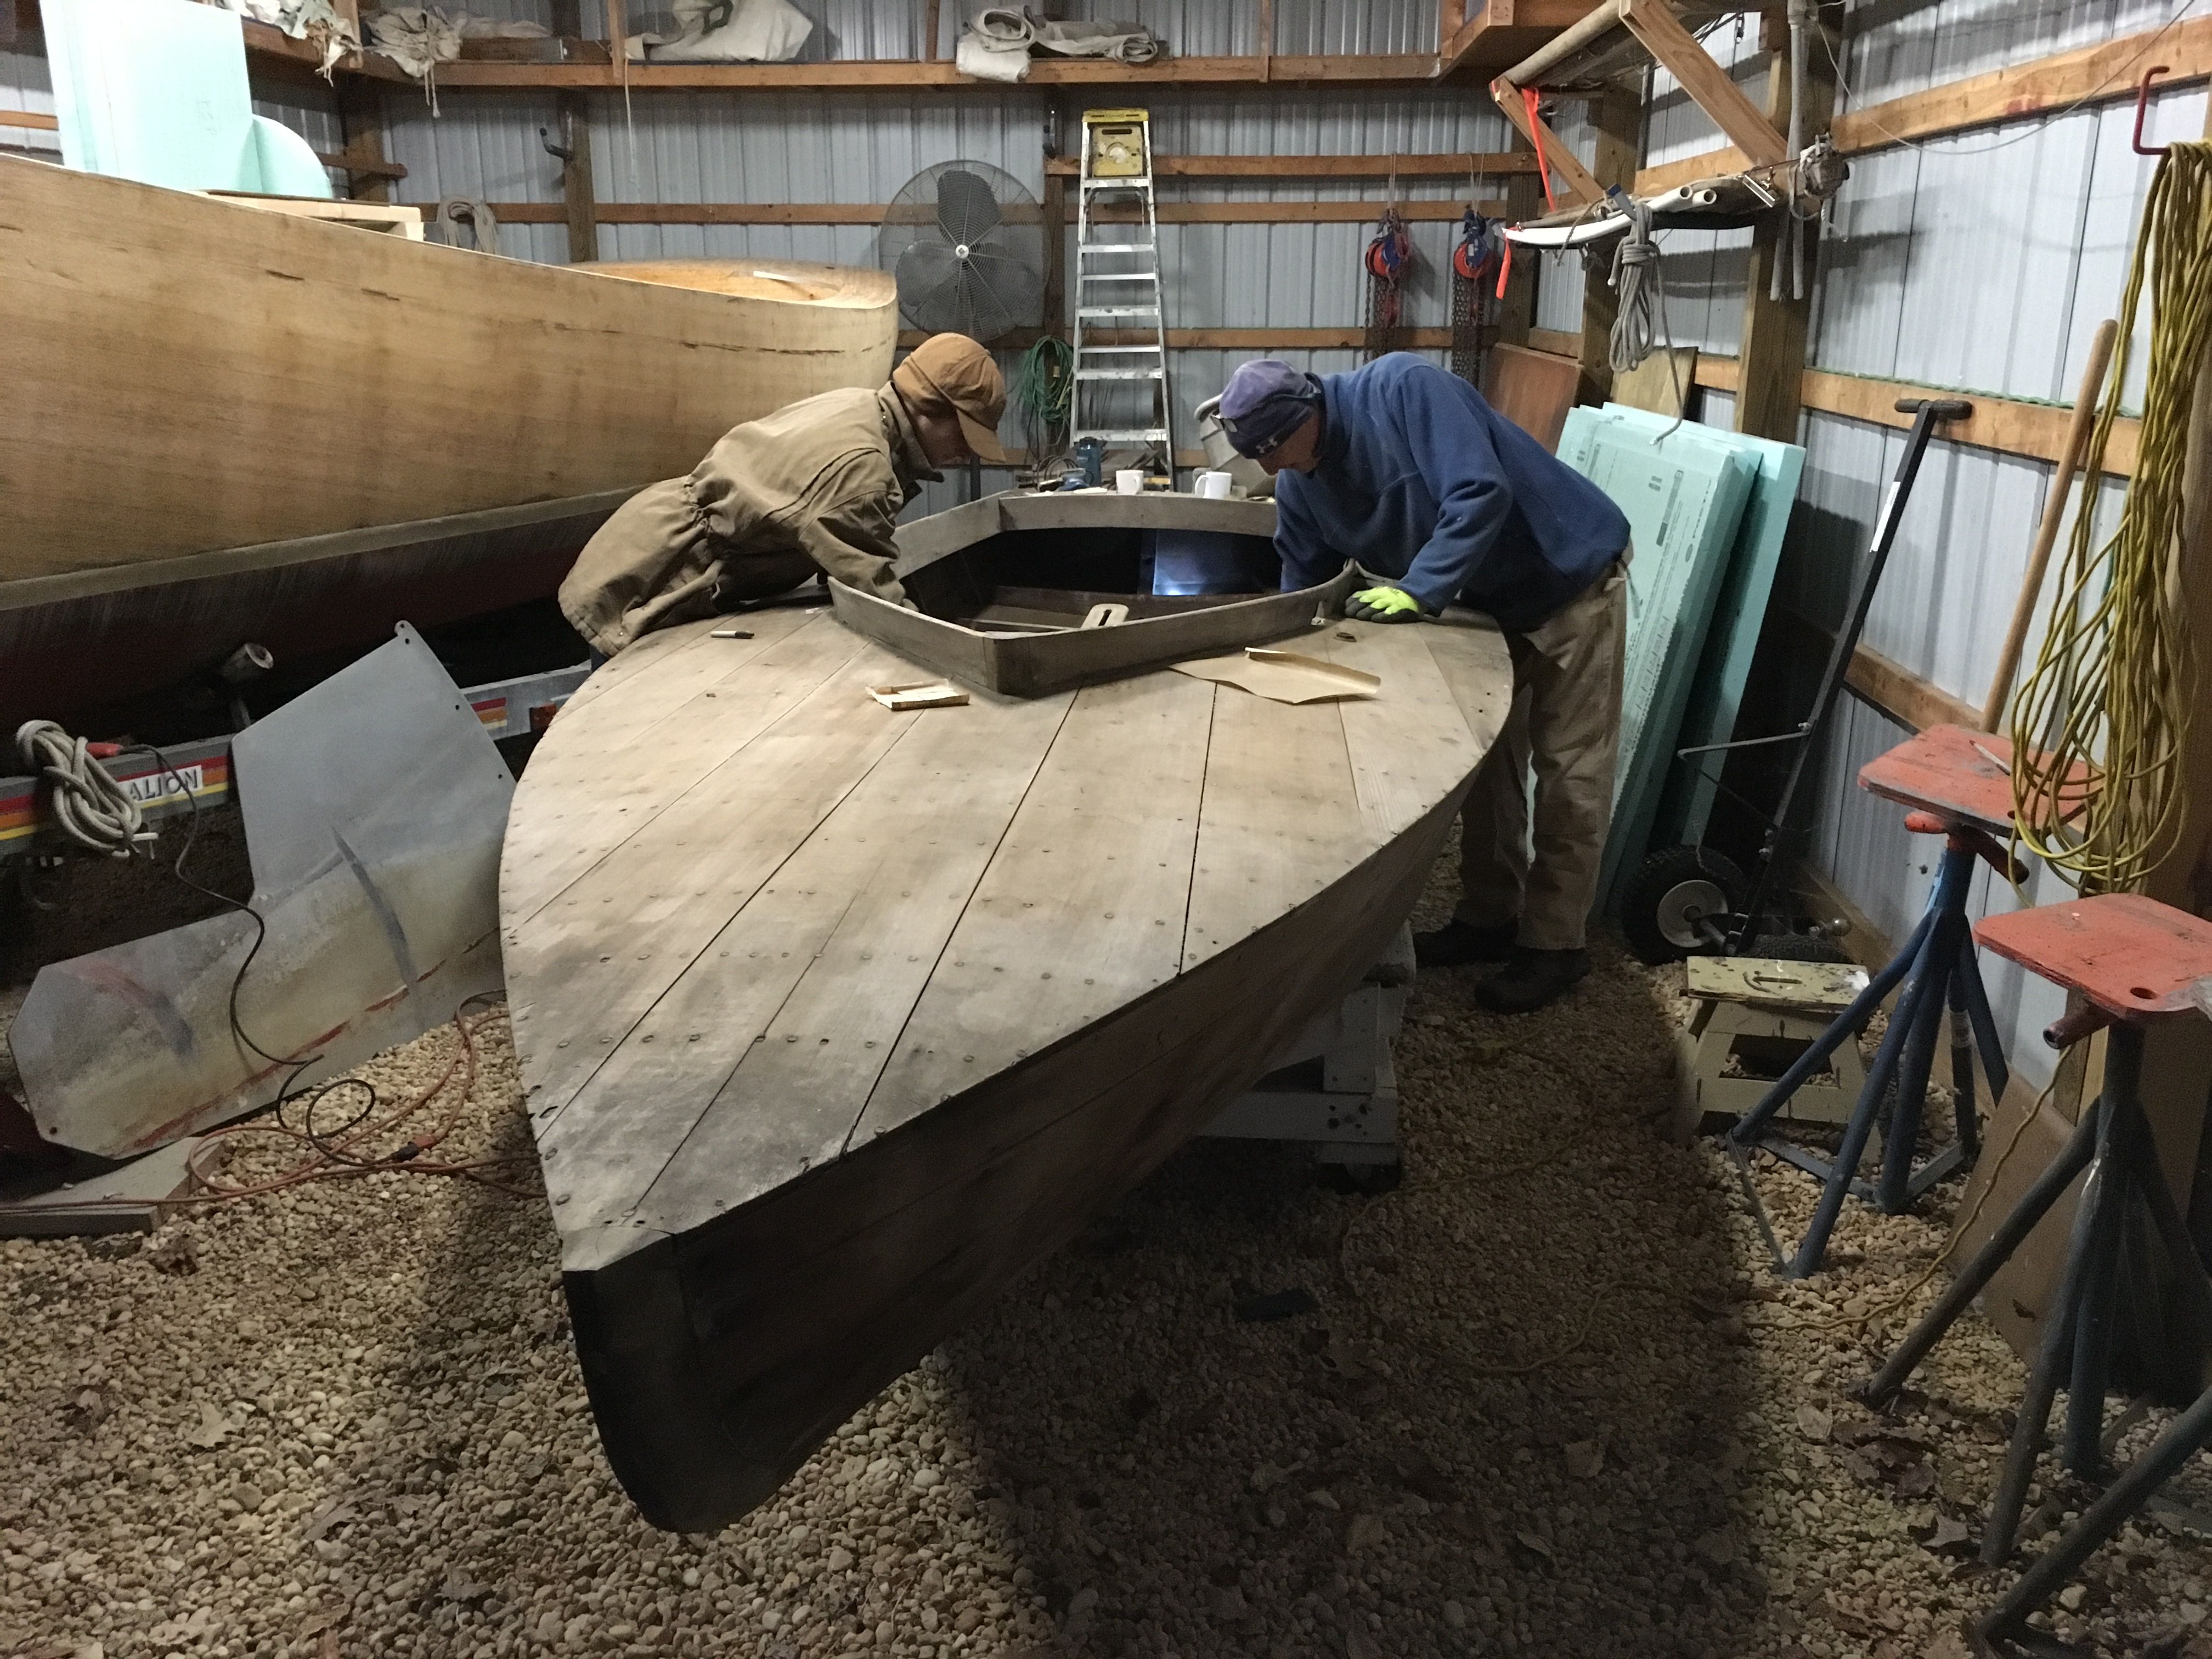
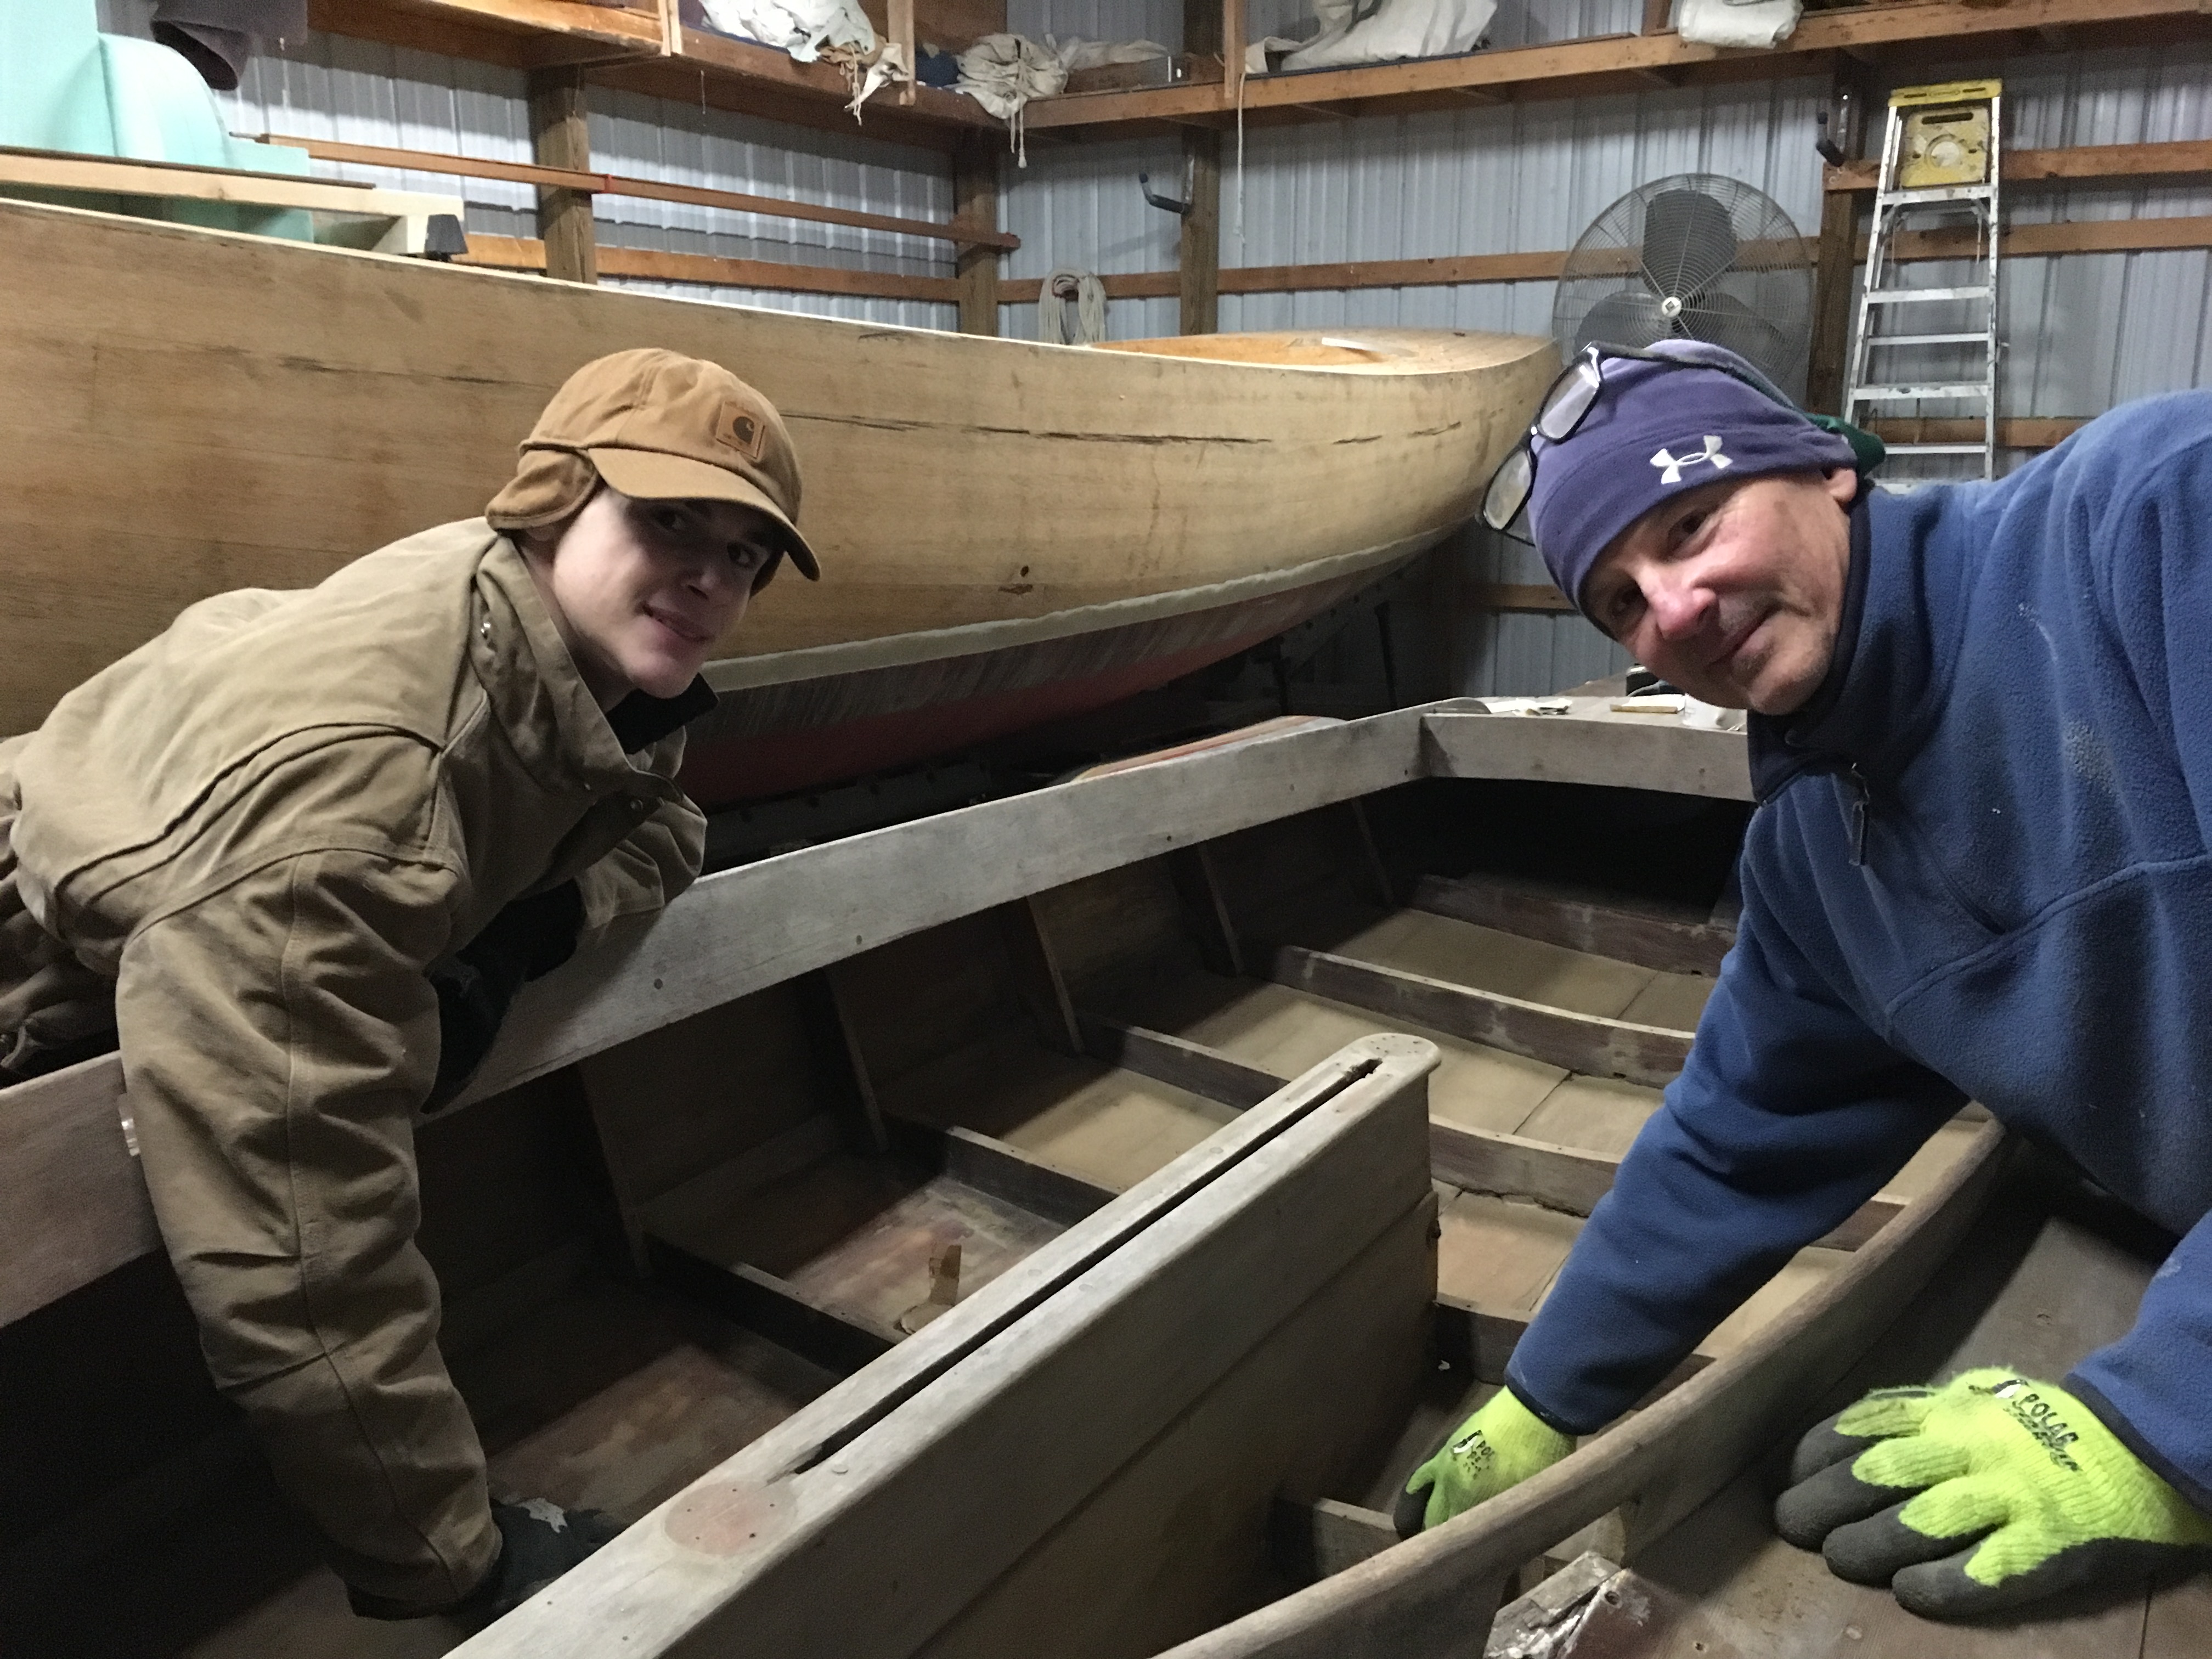
After a year of graduate school, I made it back to the Eastern Shore with the goal of finishing Chile Willow before I move (yet again) to NYC. Even in landlocked Nashville, TN pursuing an education degree I managed to squeeze wooden boatbuilding into my schoolwork. Below are pictures of boat models aimed to help students conceptualize planes, axes, and lines. Even my thesis examined industrial arts education. Suffice it to say, I’m happy to be back working and thinking with my hands.

img_0668

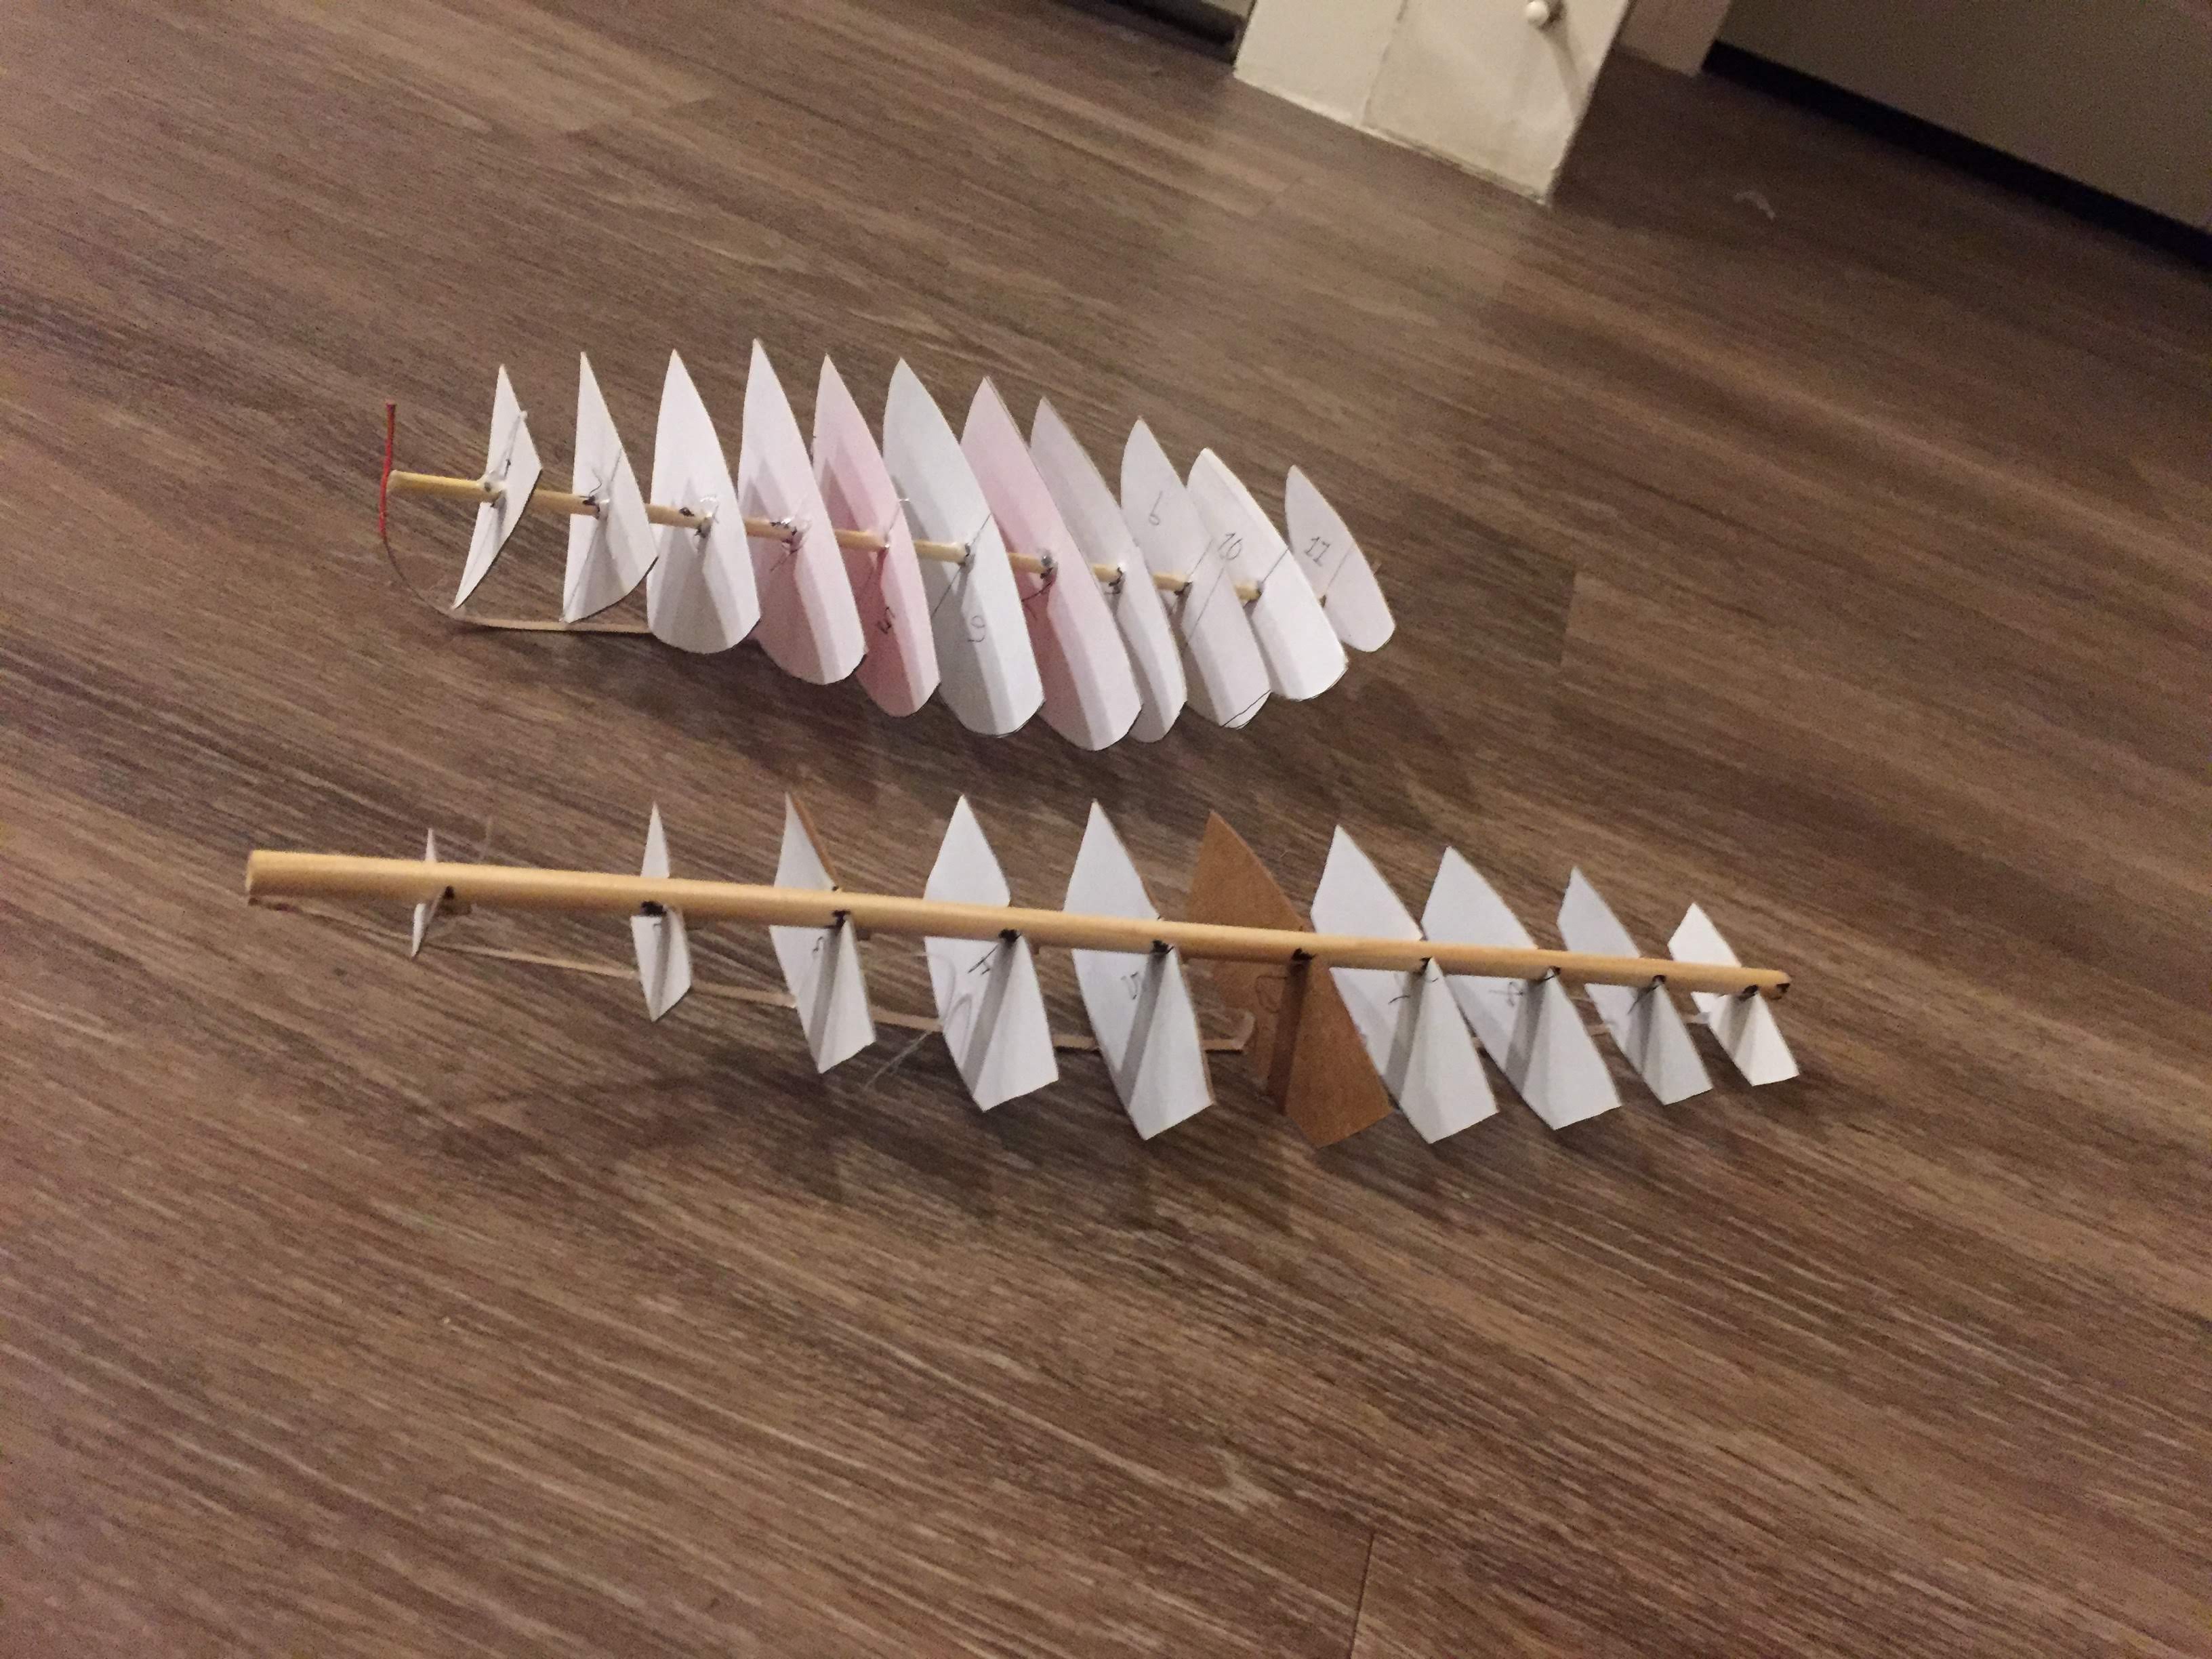
The model furthest above is a Beetlecat. Below is a Star (the inspiration for the Hampton!). Constructed with kabob sticks, cereal box cardboard, and a hot glue gun.

Back to Chile Willow though!

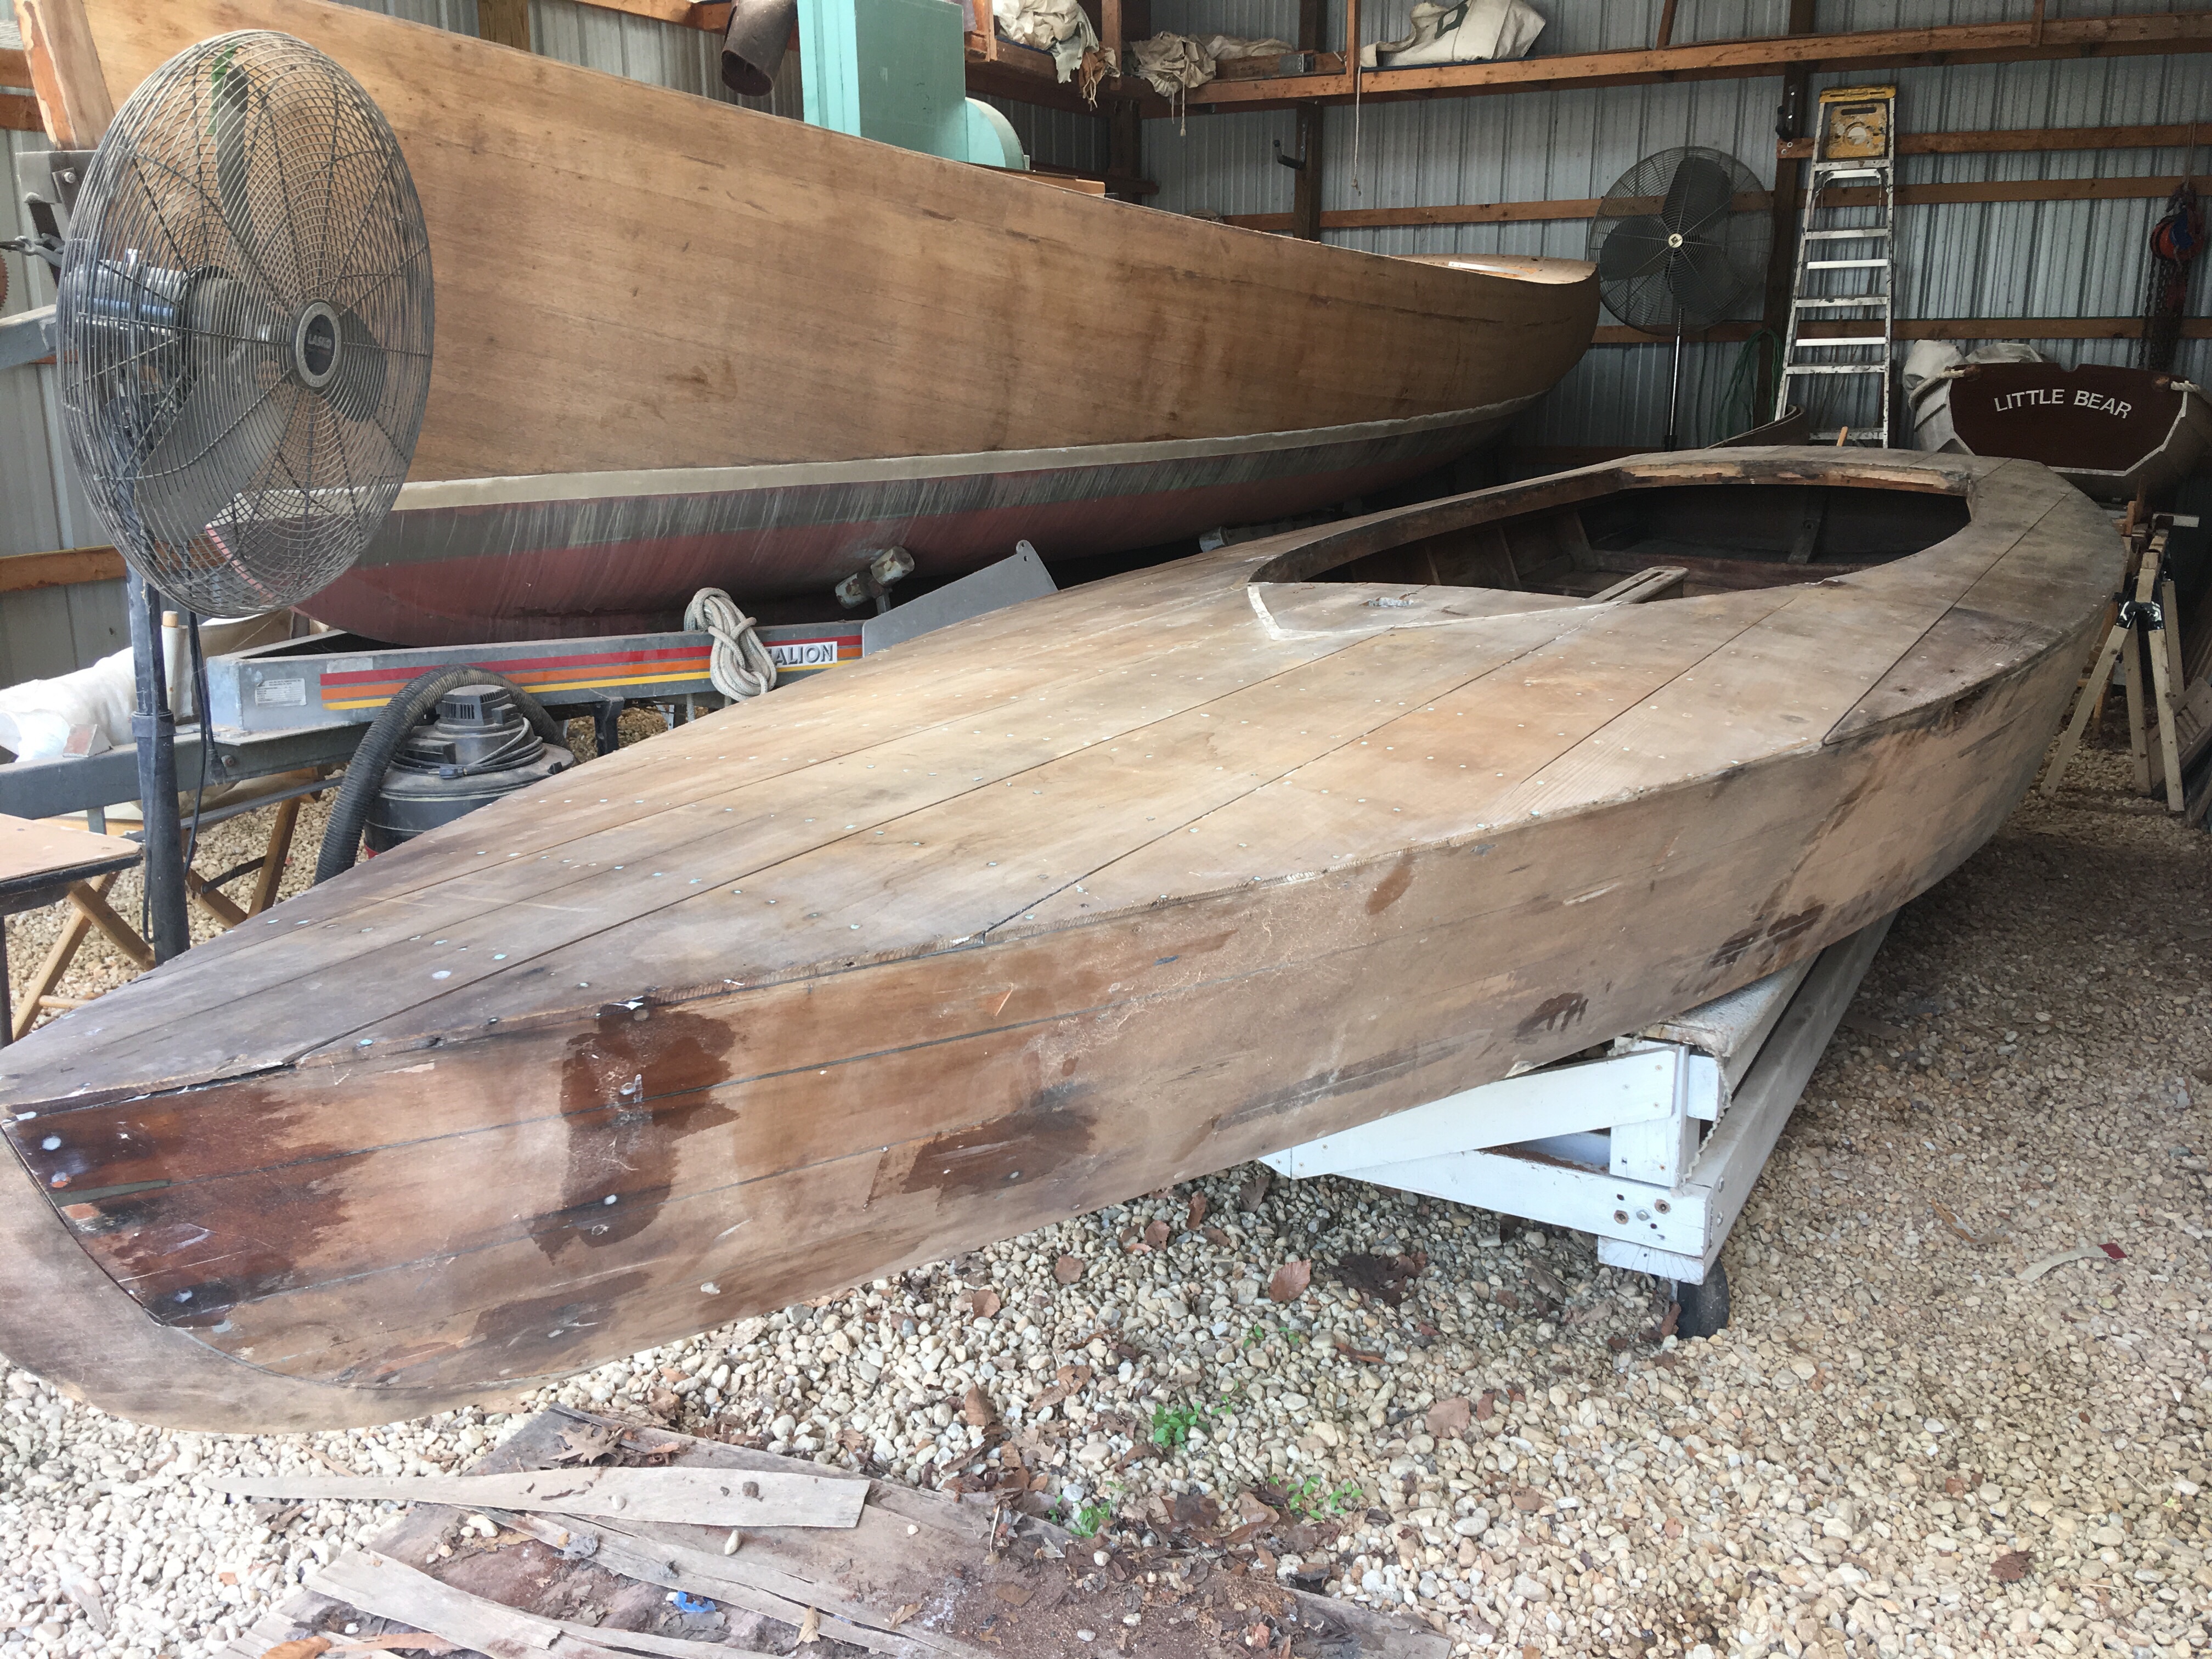
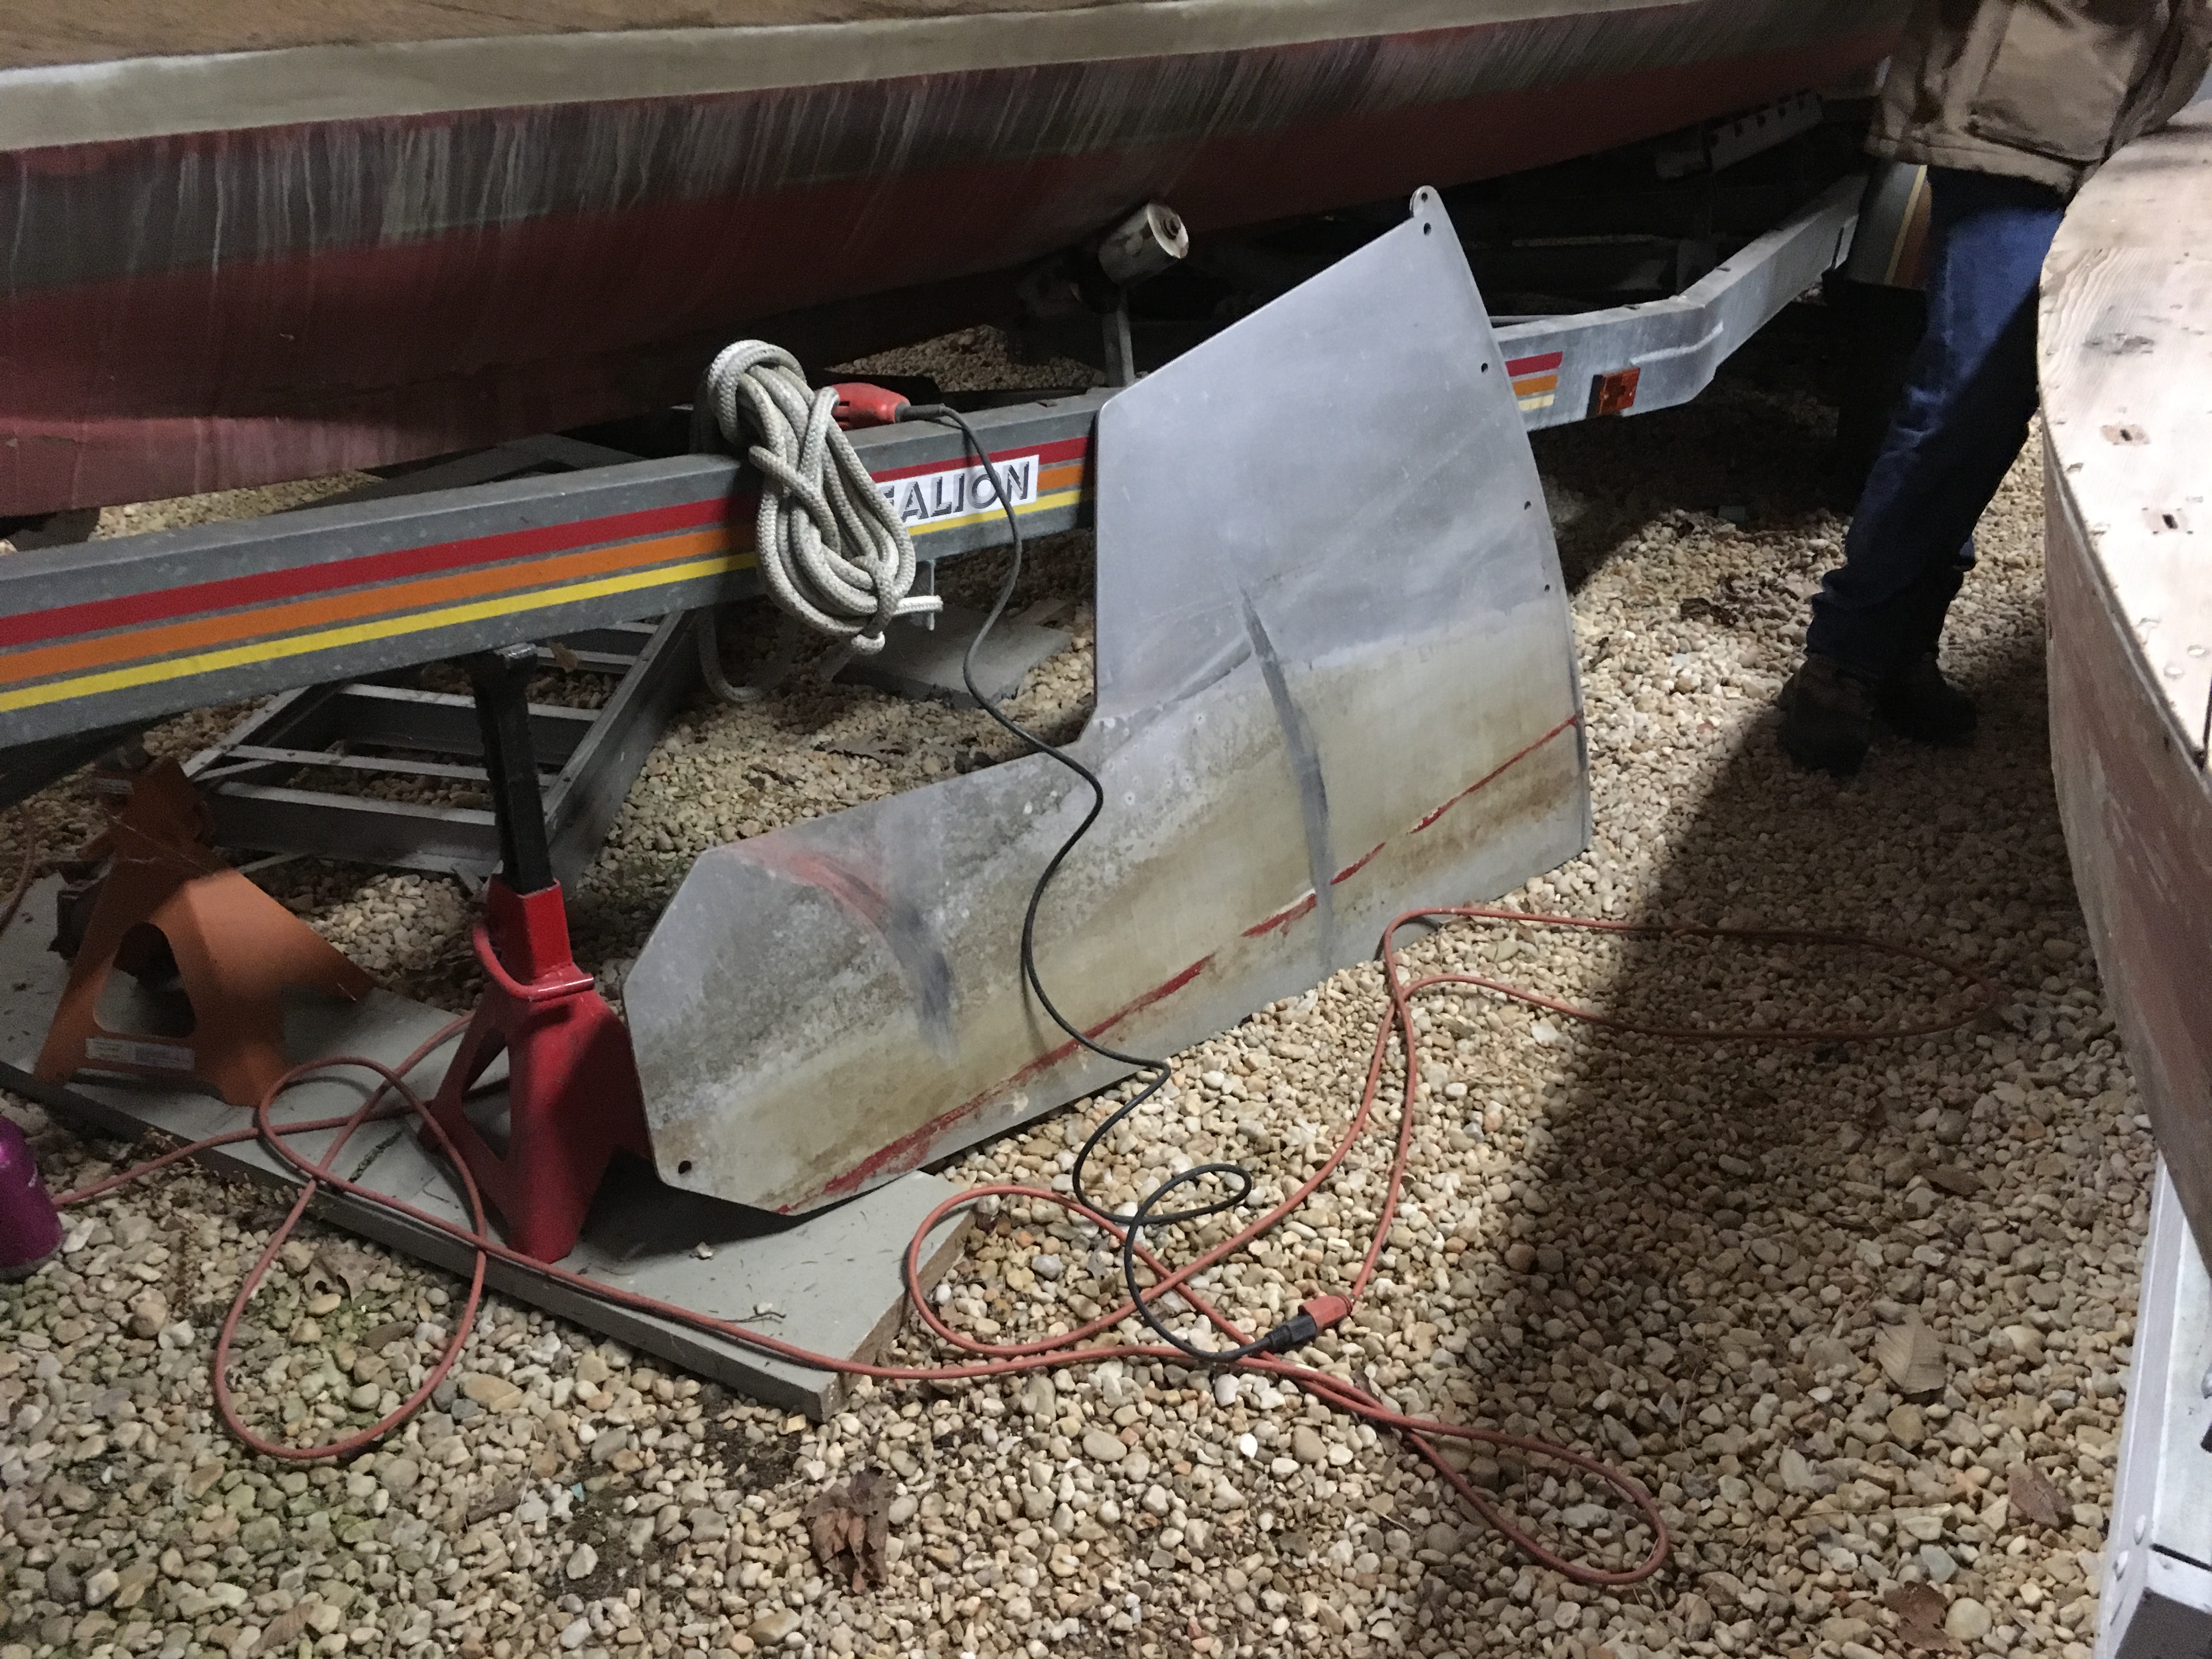
Fortunately, Maryland had a mild winter and Bill had no need for extra firewood, so the boat was safe.

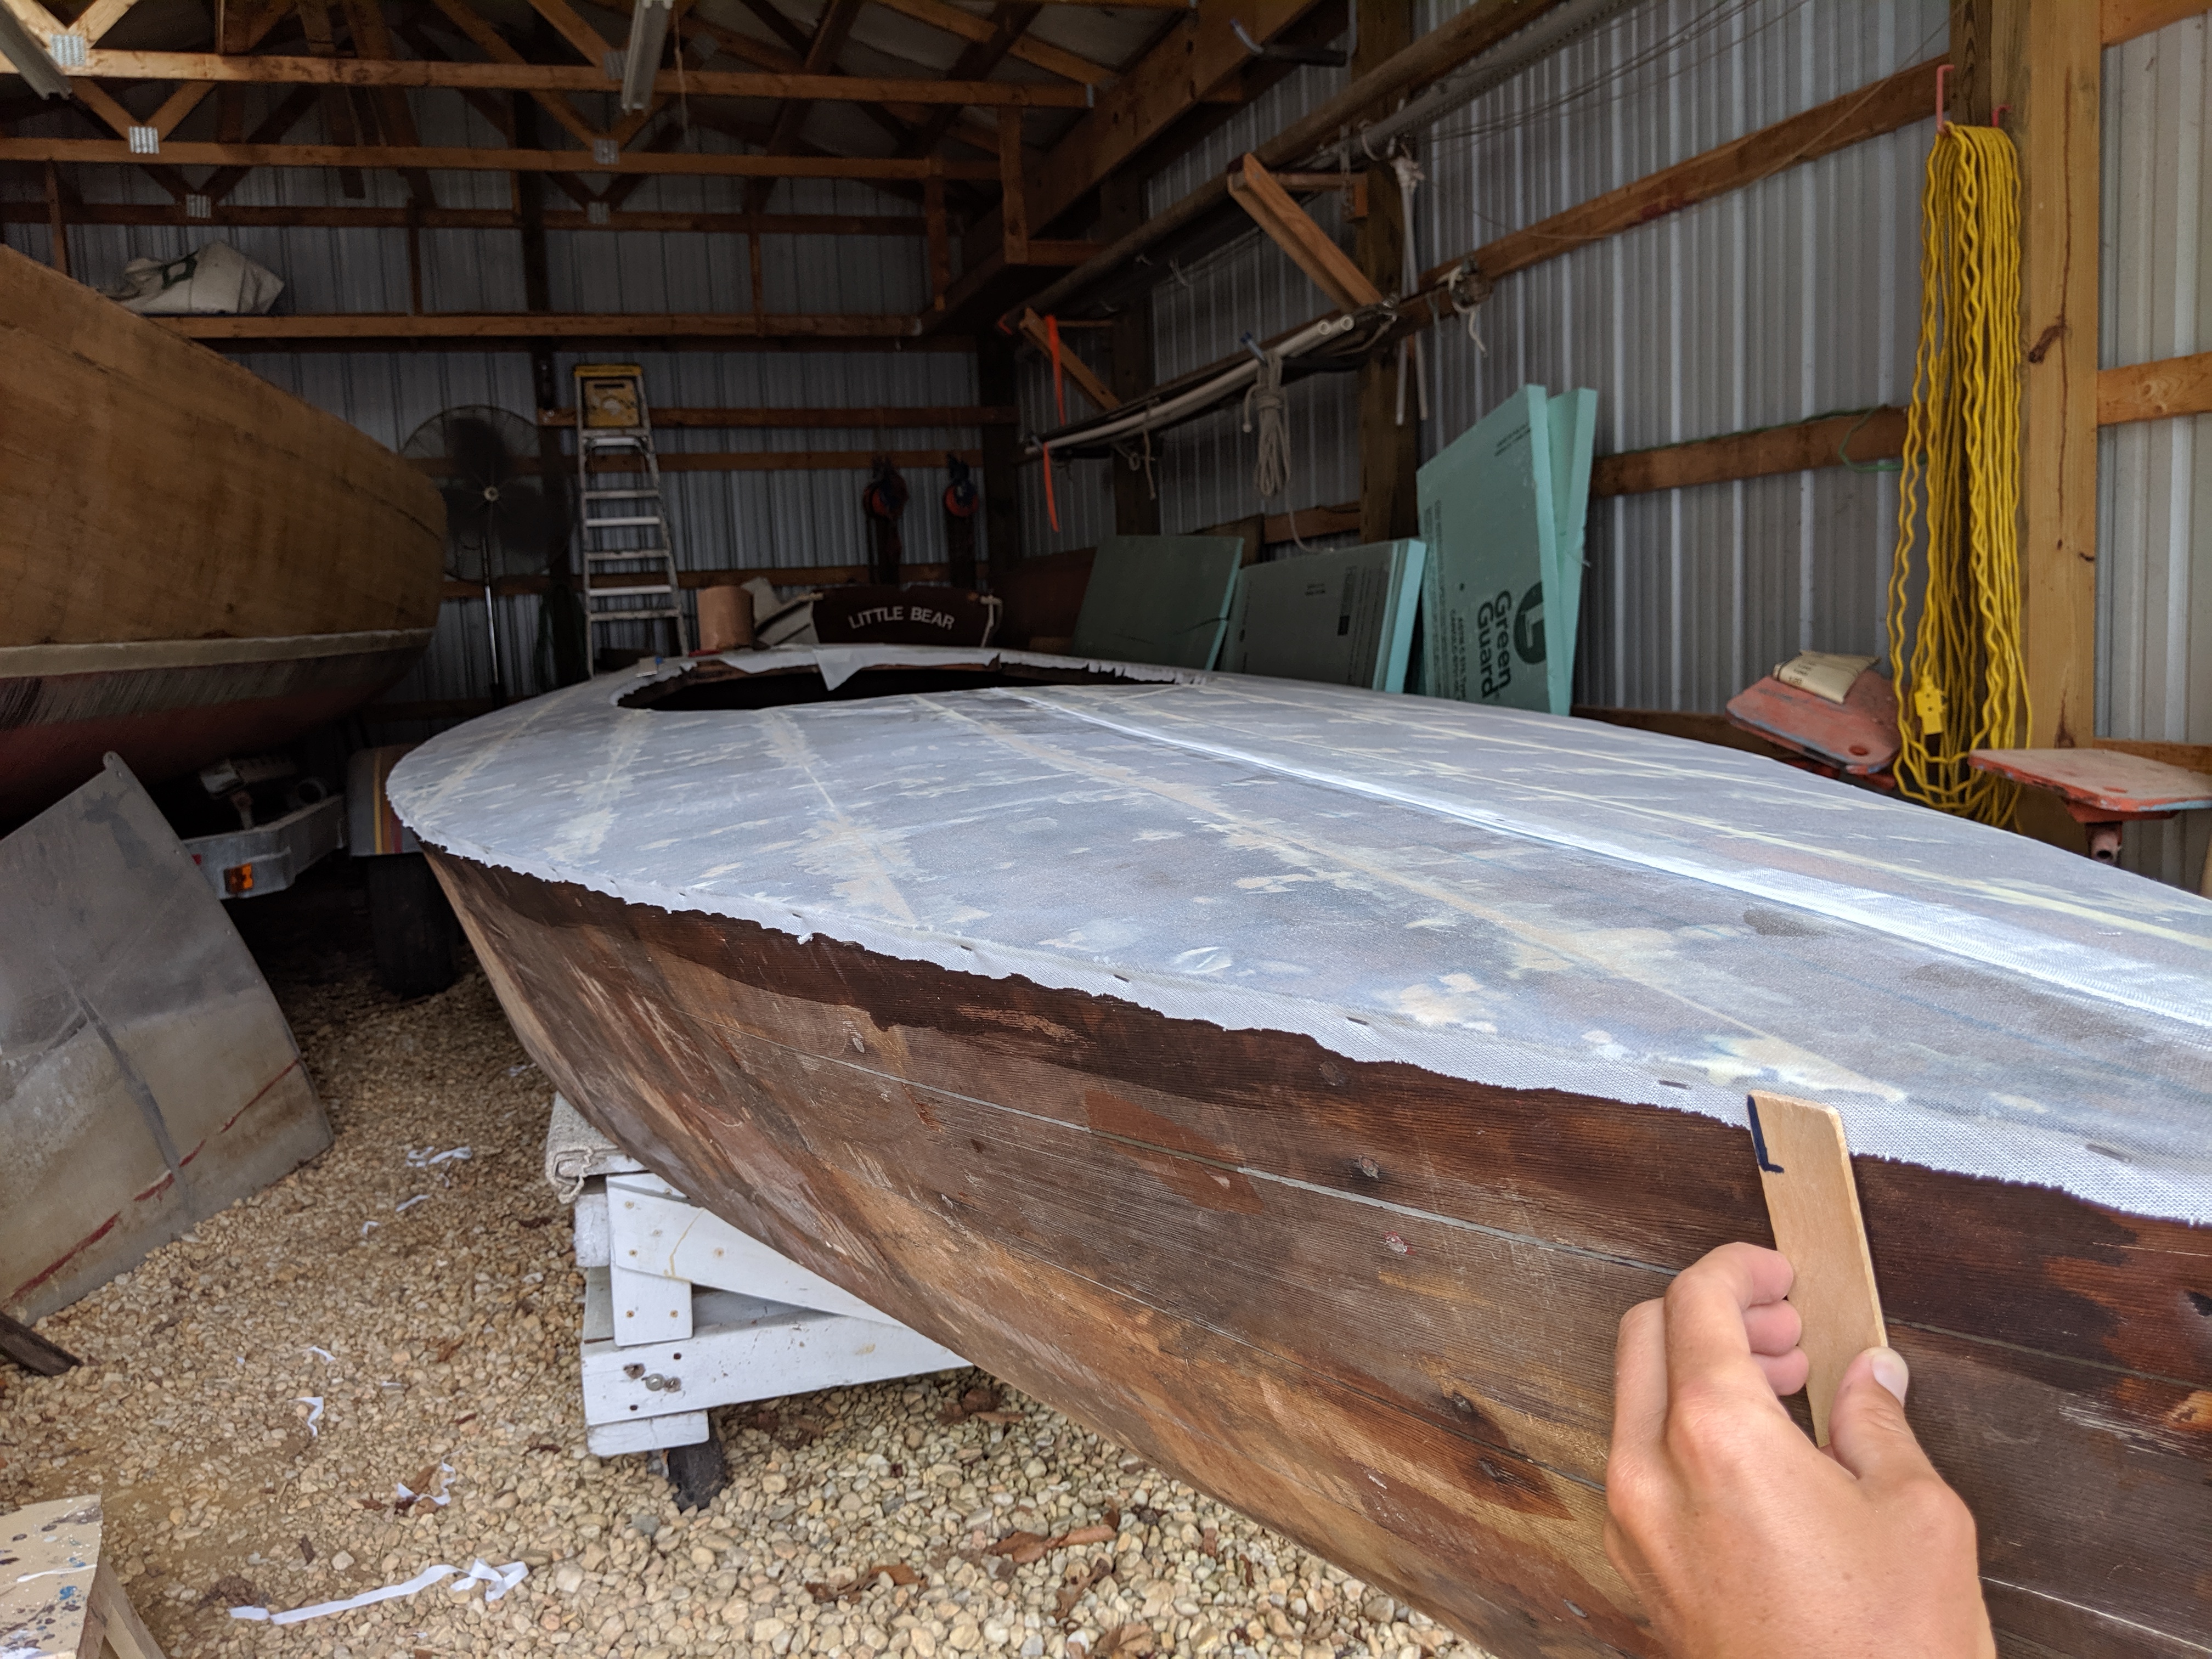
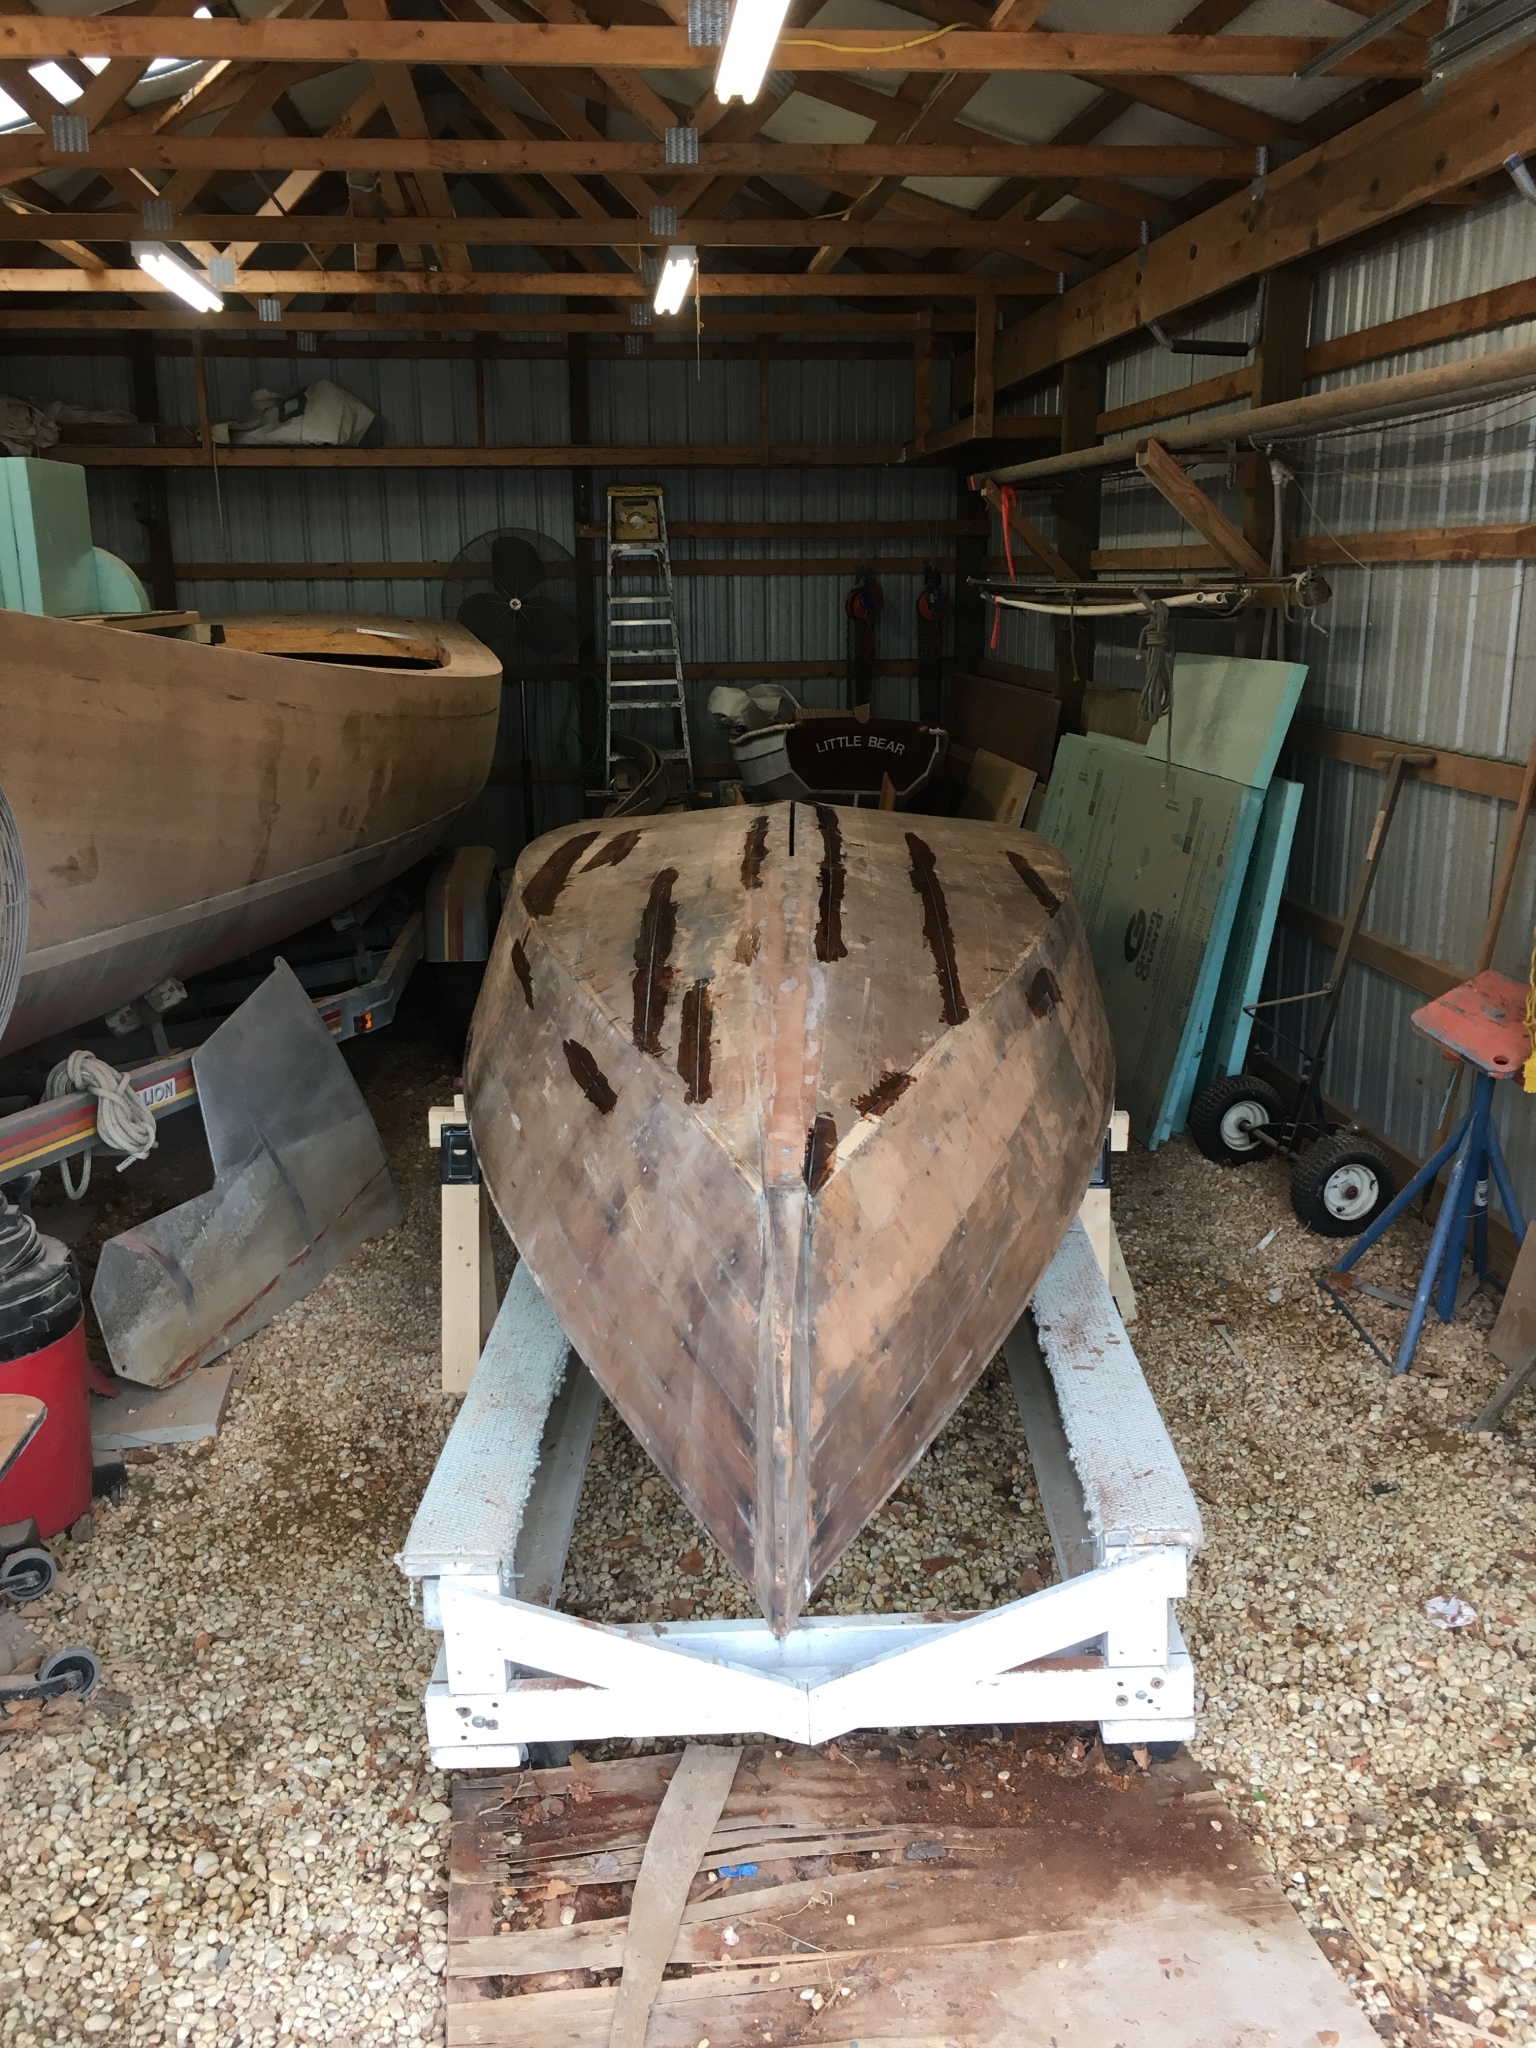
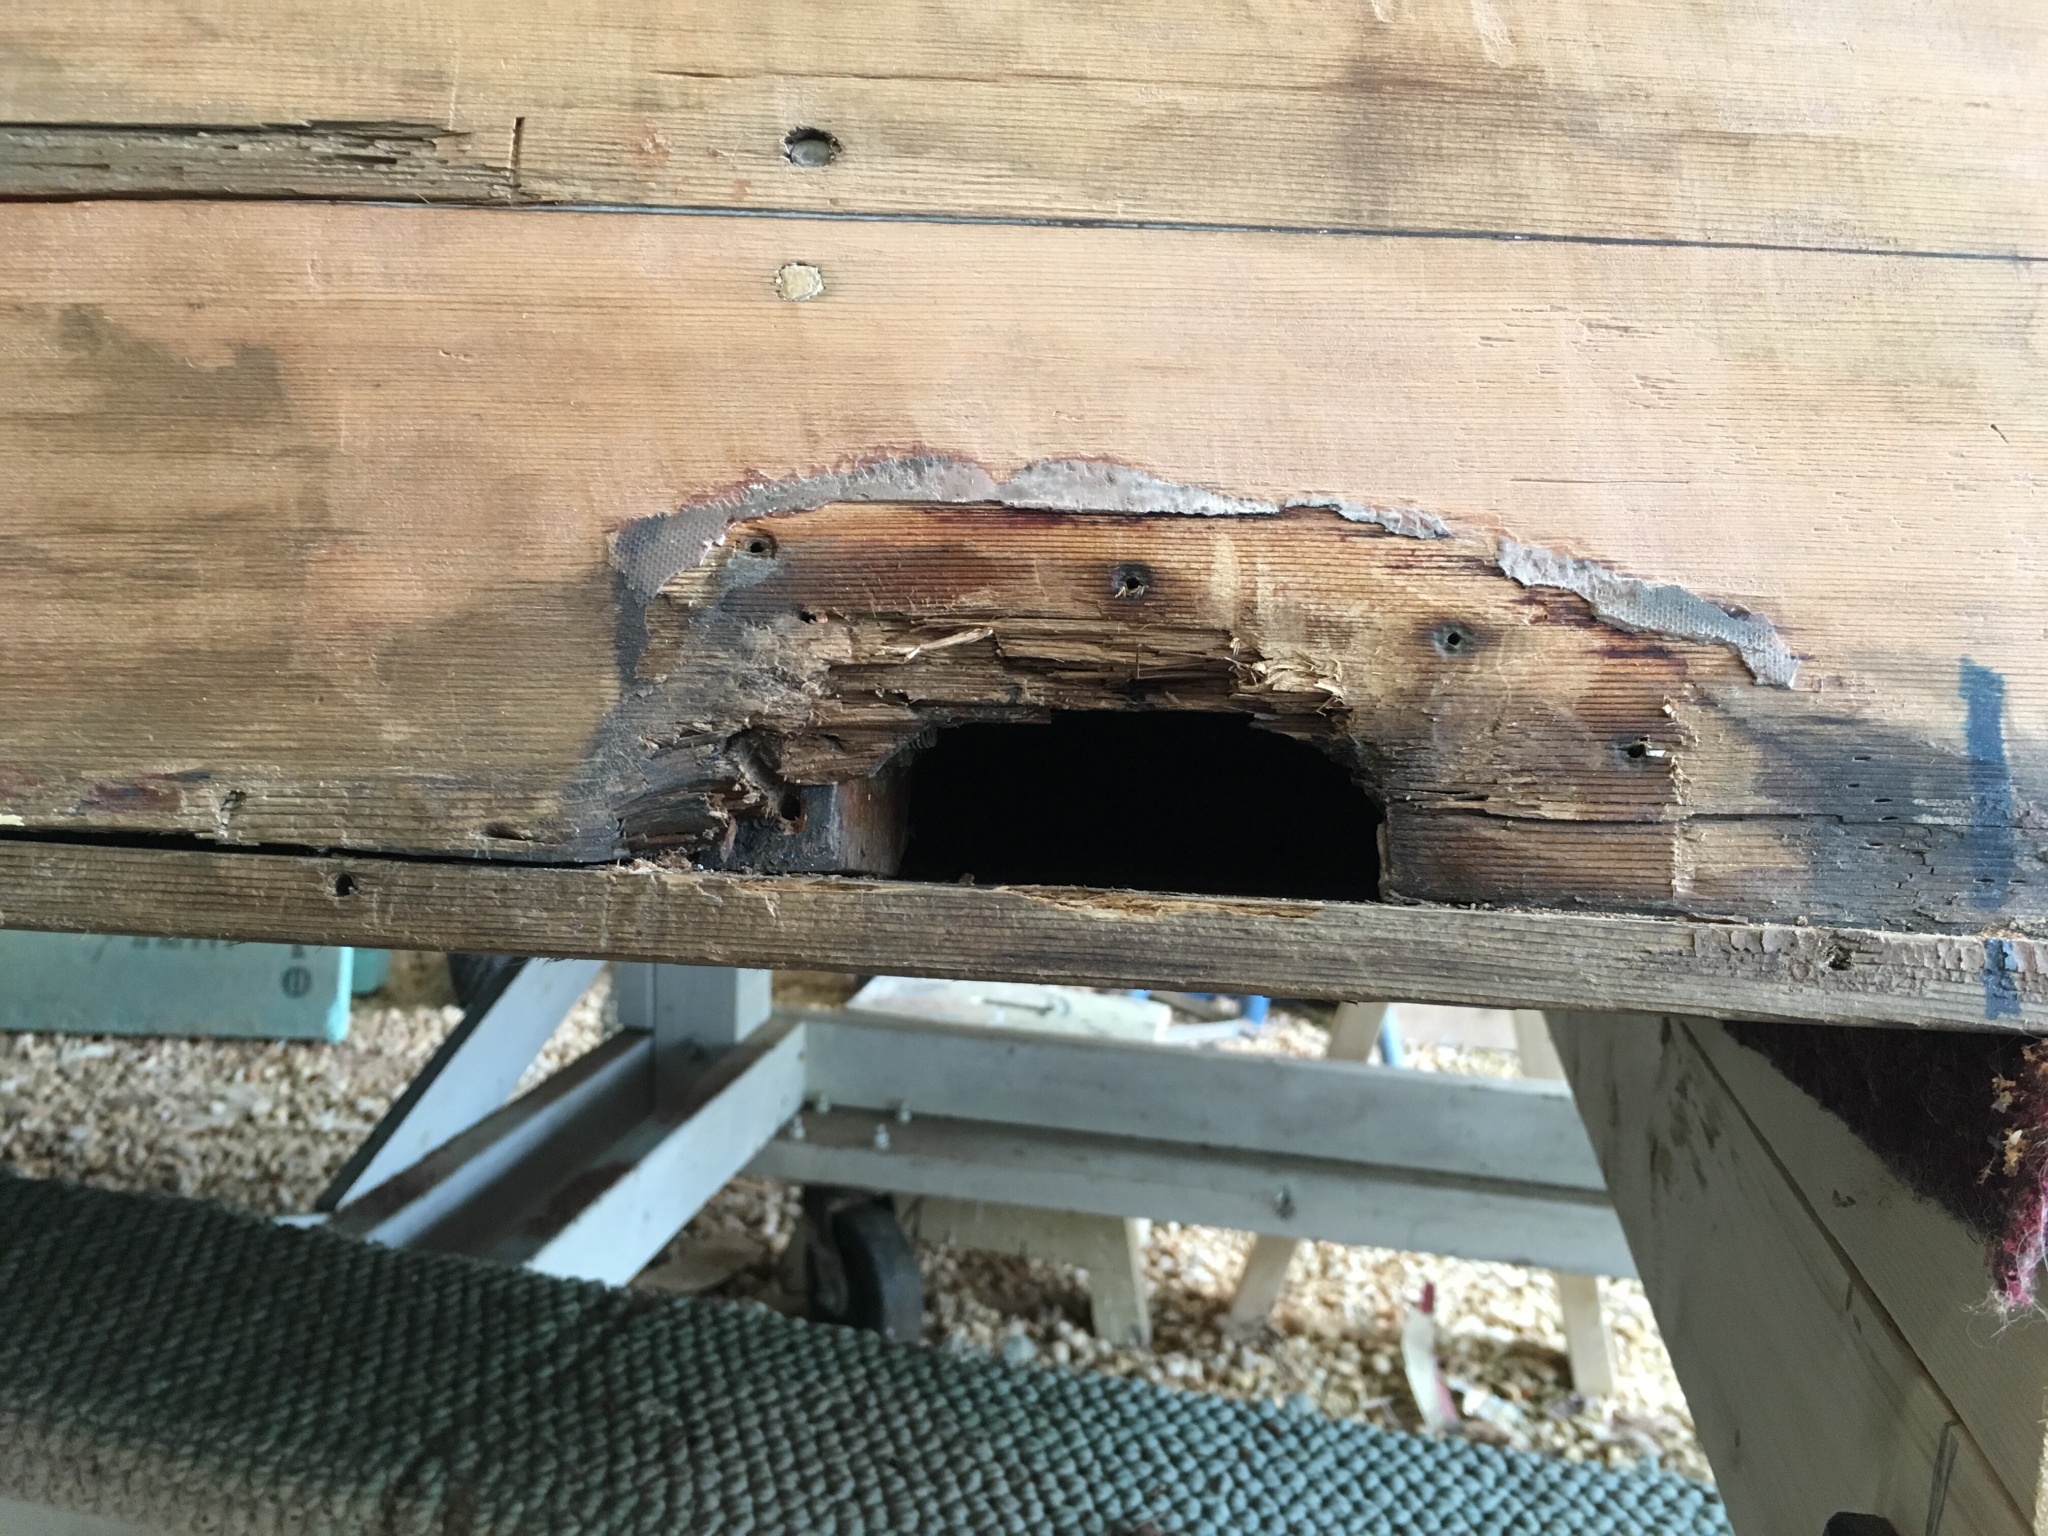
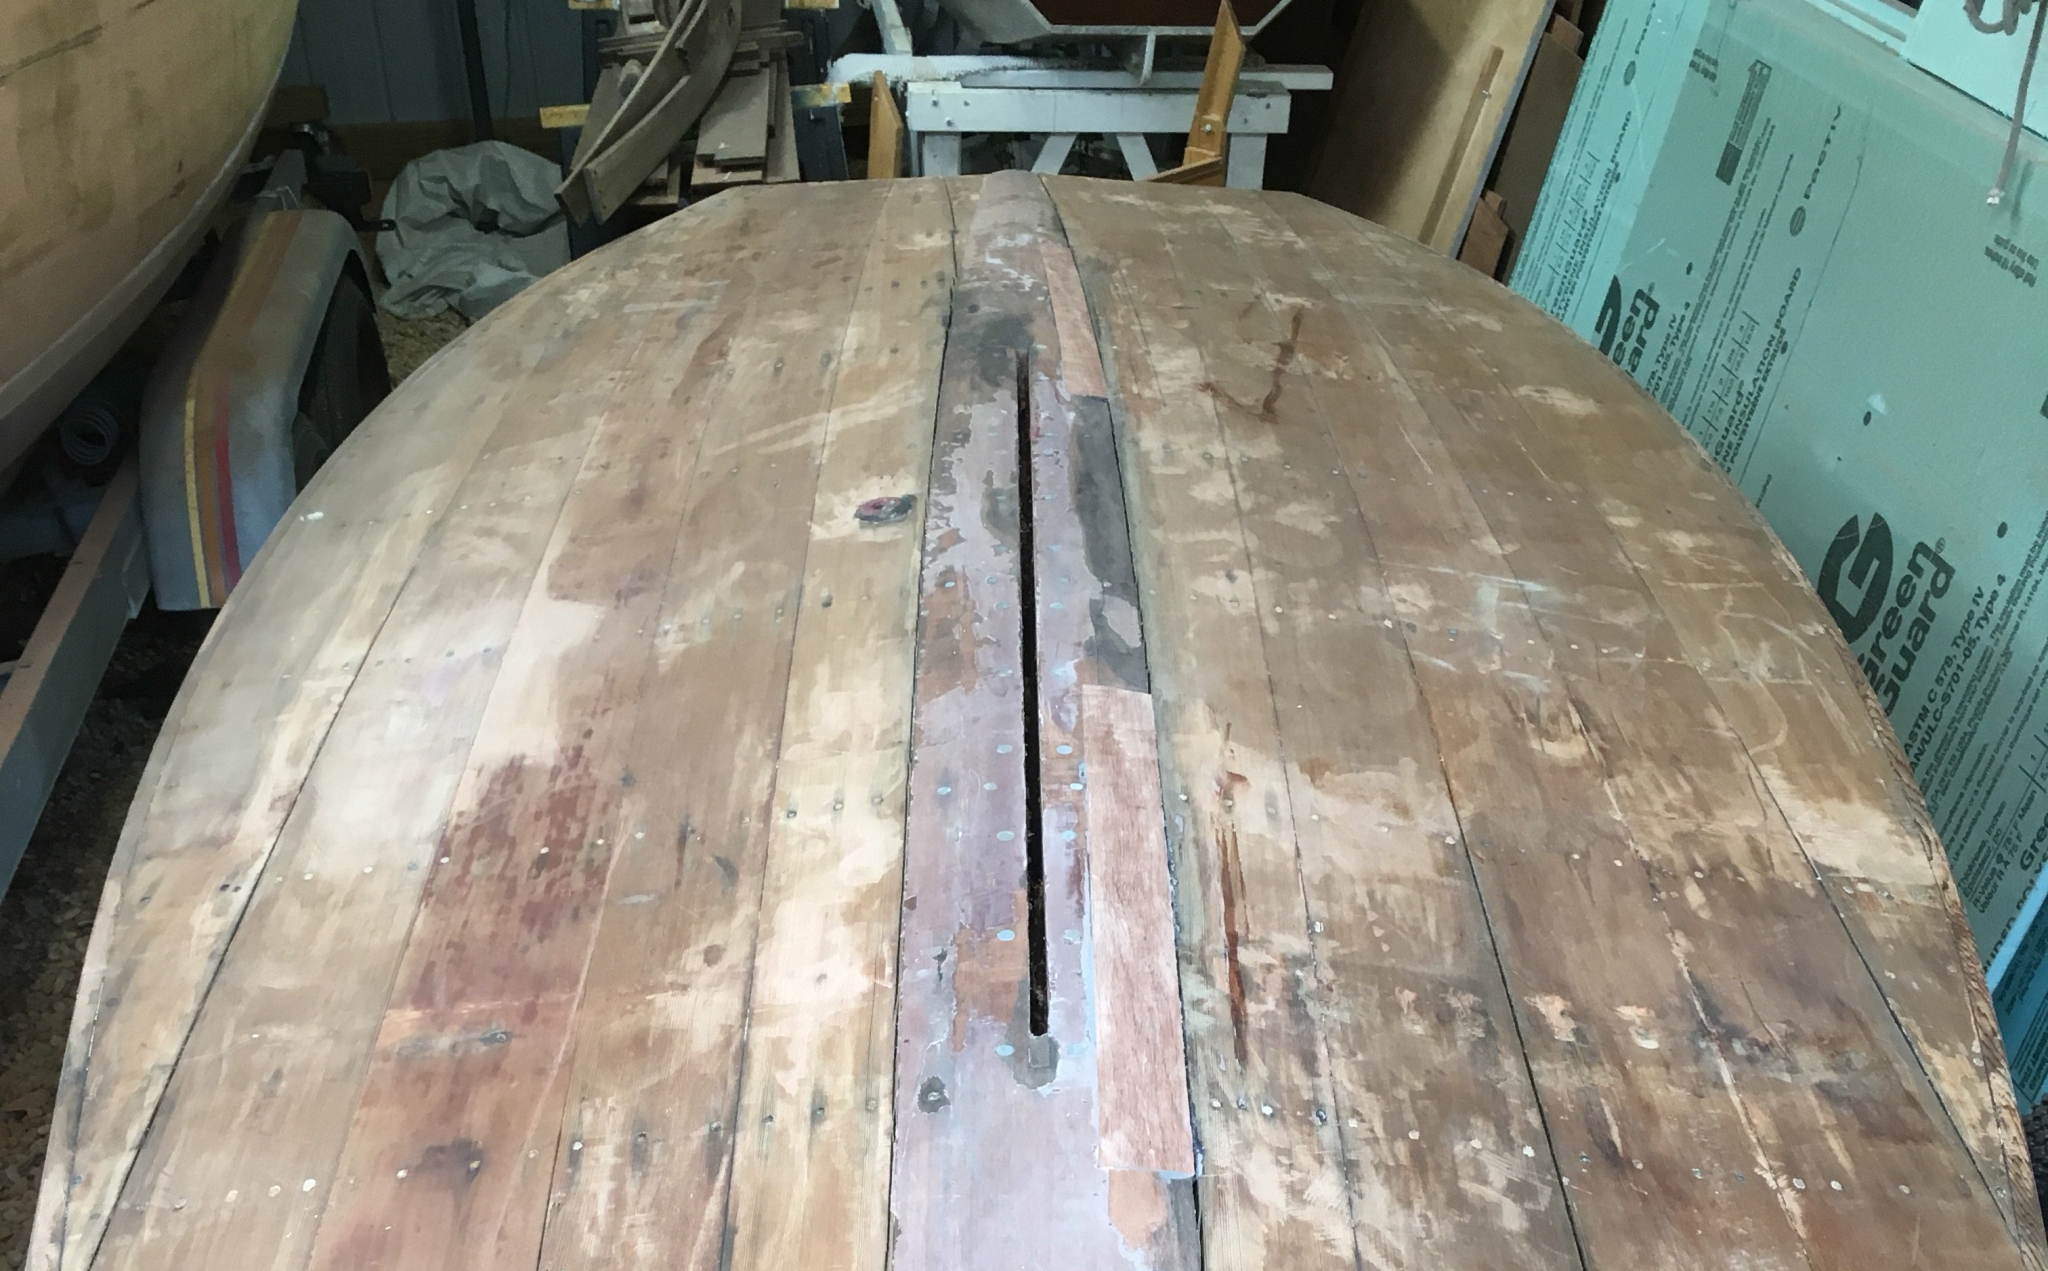
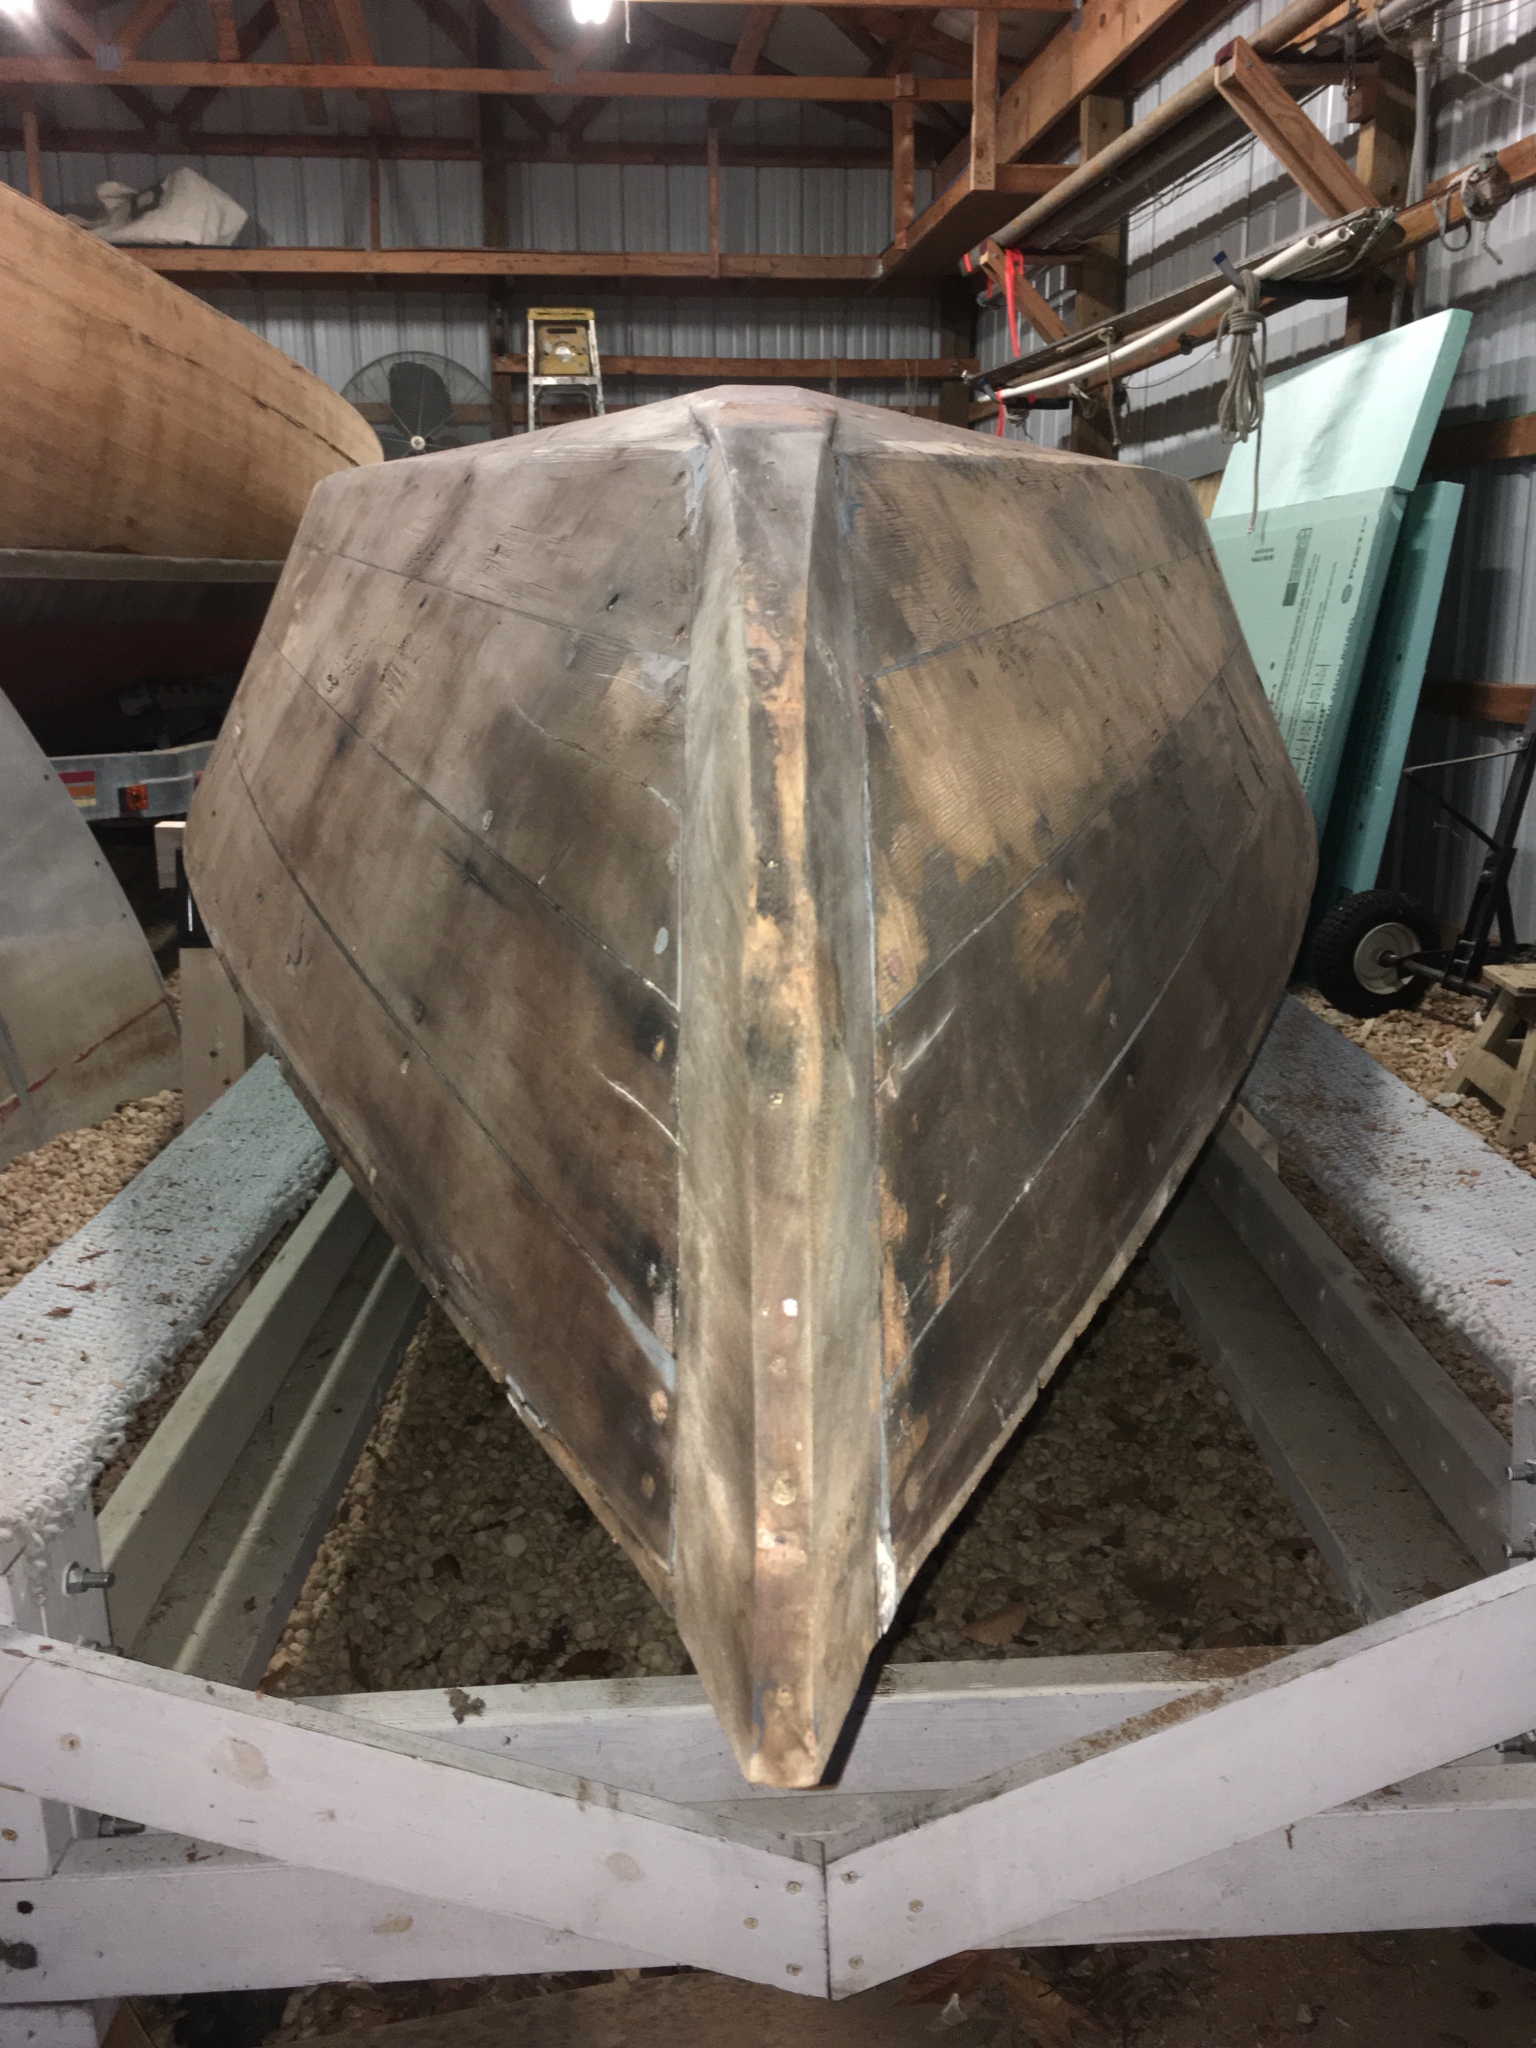
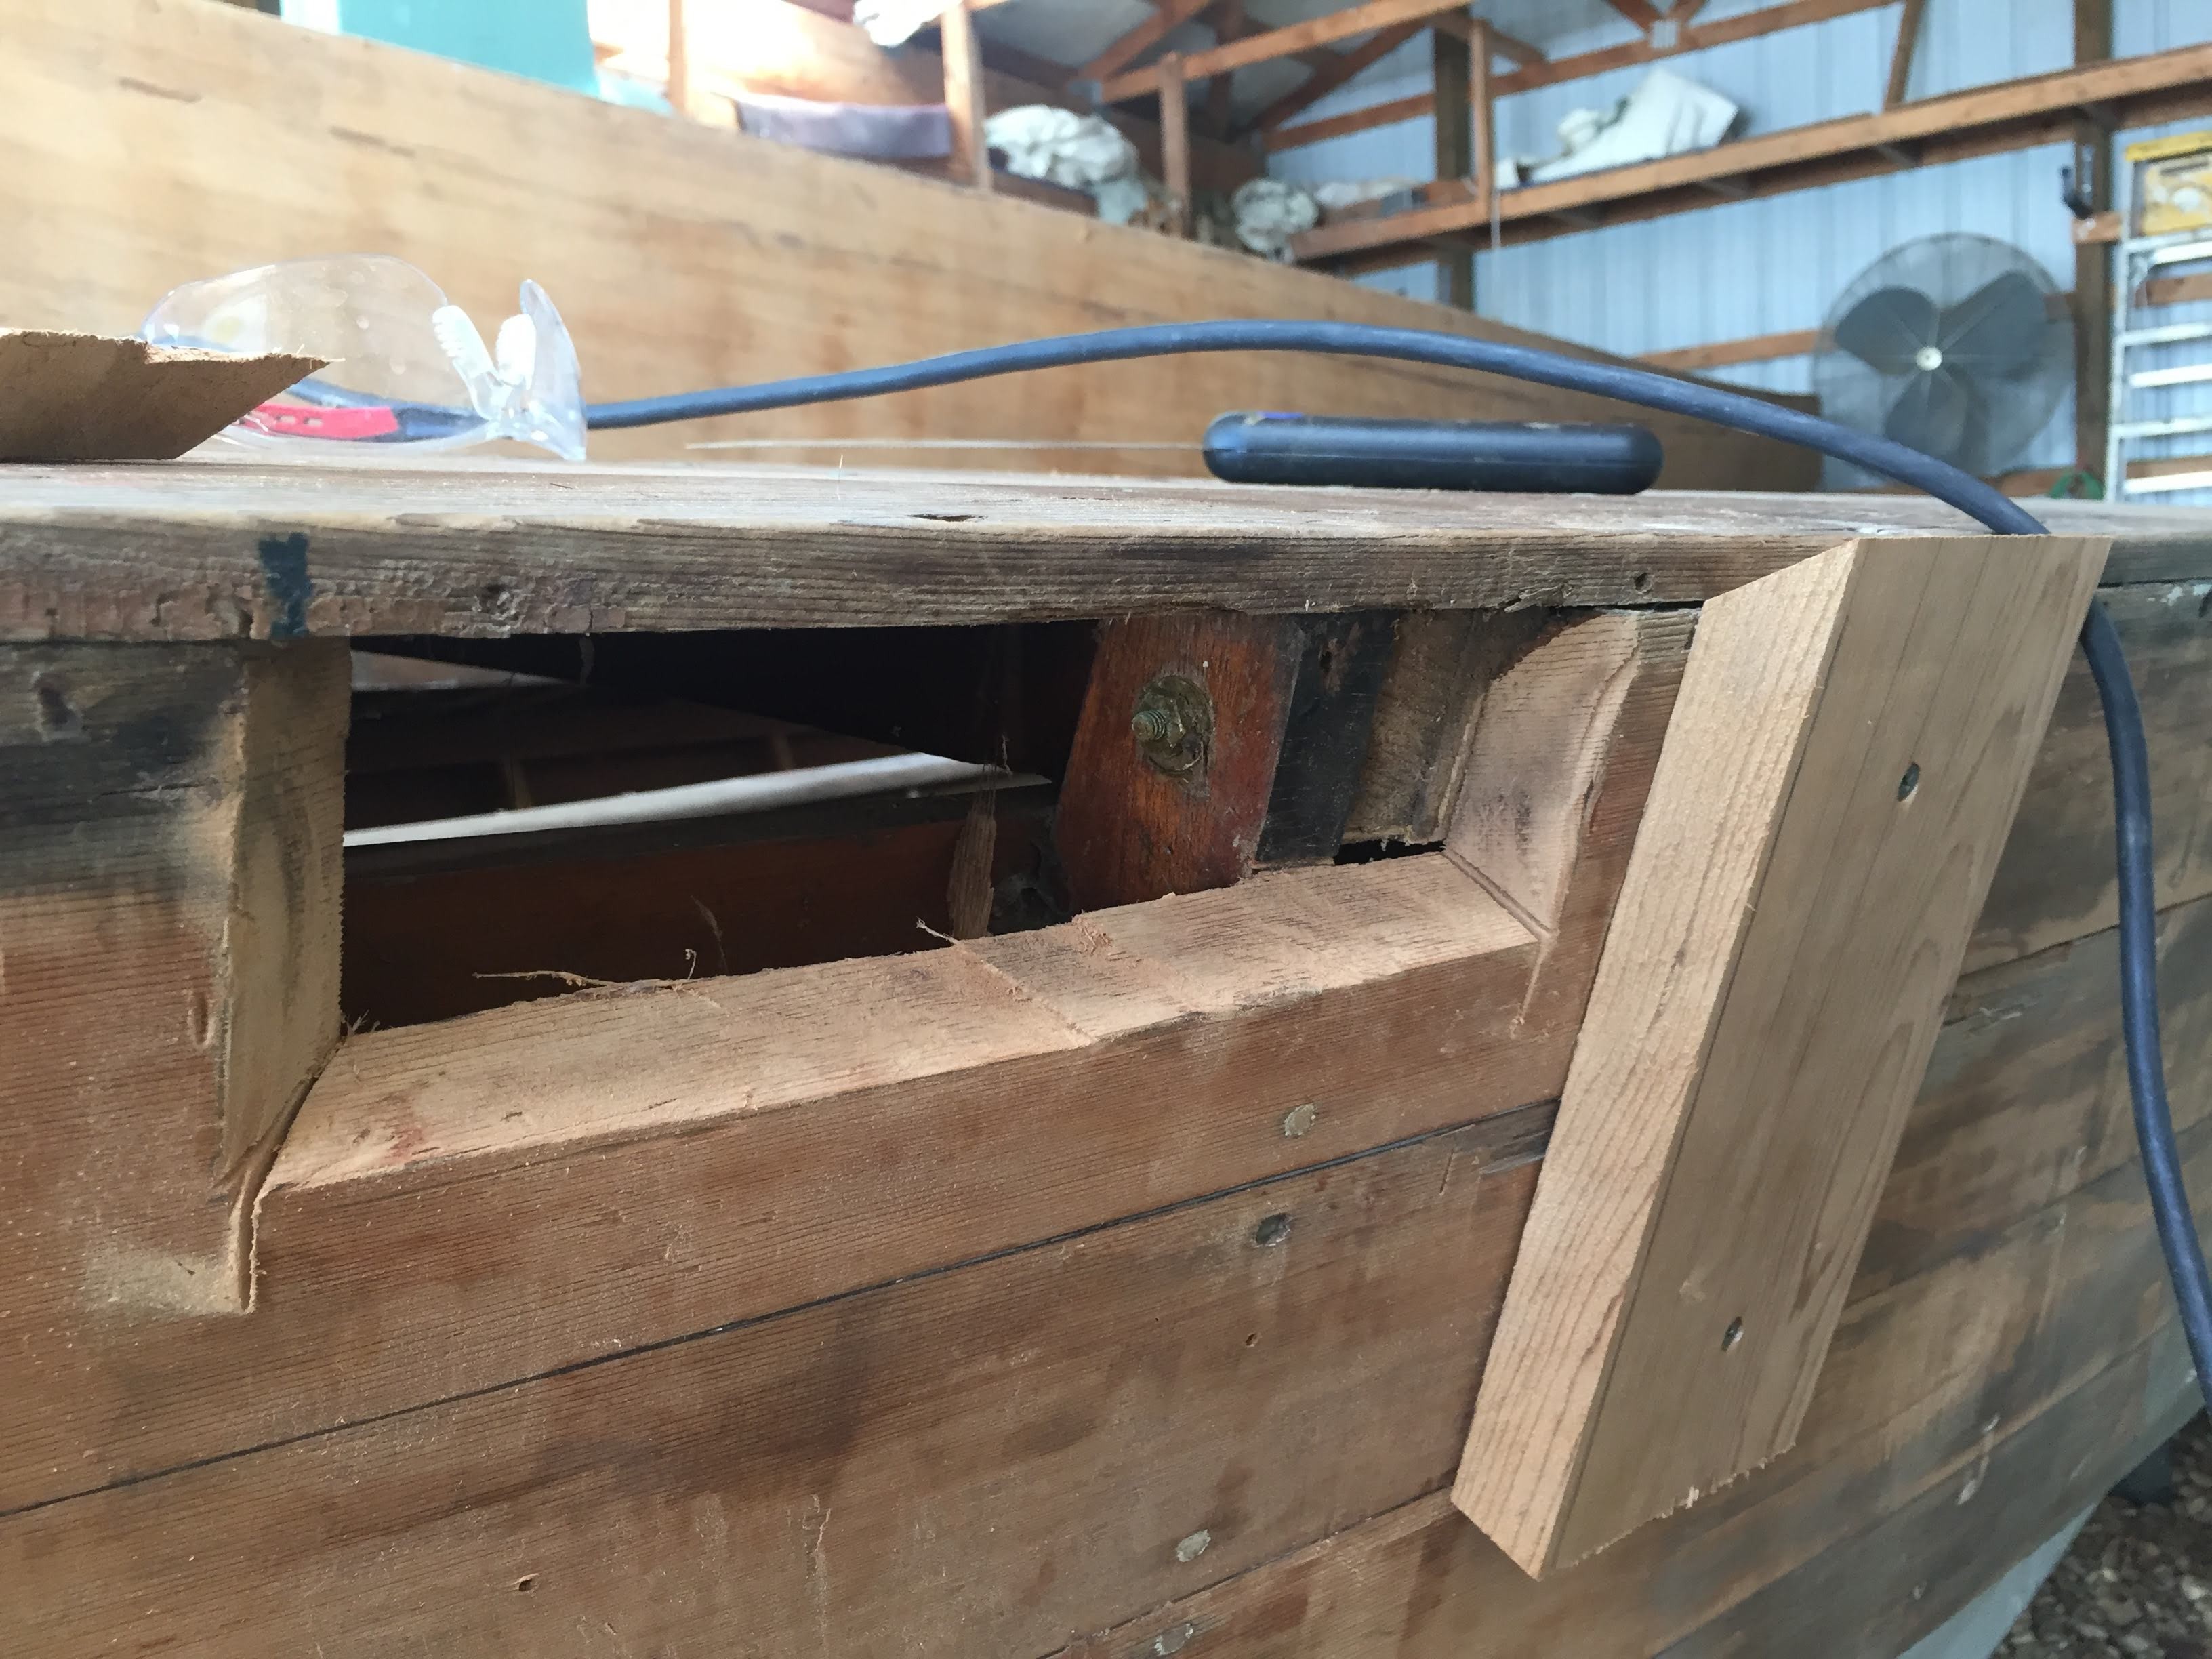
If you recall, just before my departure, I unearthed some carnage hidden by a shoddy MarineTex repair job. My more permanent repair options included a Dutchman (see previous posts) or a full plank replacement. Each of Chile’s planks runs from the stem to the transom. This top plank would be a 19′ long red cedar plank. Finding that board at the lumber store, let alone shaping and fastening it may have consumed my whole summer. And while I’m enjoying this process, the end goal is to sail the boat, not work on it. So I opted for the (potentially) three-hour Dutchman fix.

img_3566

Unlike my Dutchman on the keel, this one required a slightly trickier cut. The surface of the keel was rotten, but I did not need to replace the entire depth of the keel. I.e. there was not a gaping hole. This plank, however, had a hole in it. So I had to consider maximizing glue surface and finding a way to clamp the Dutchman down. So instead of butt joints, the Dutchman required angled cuts.

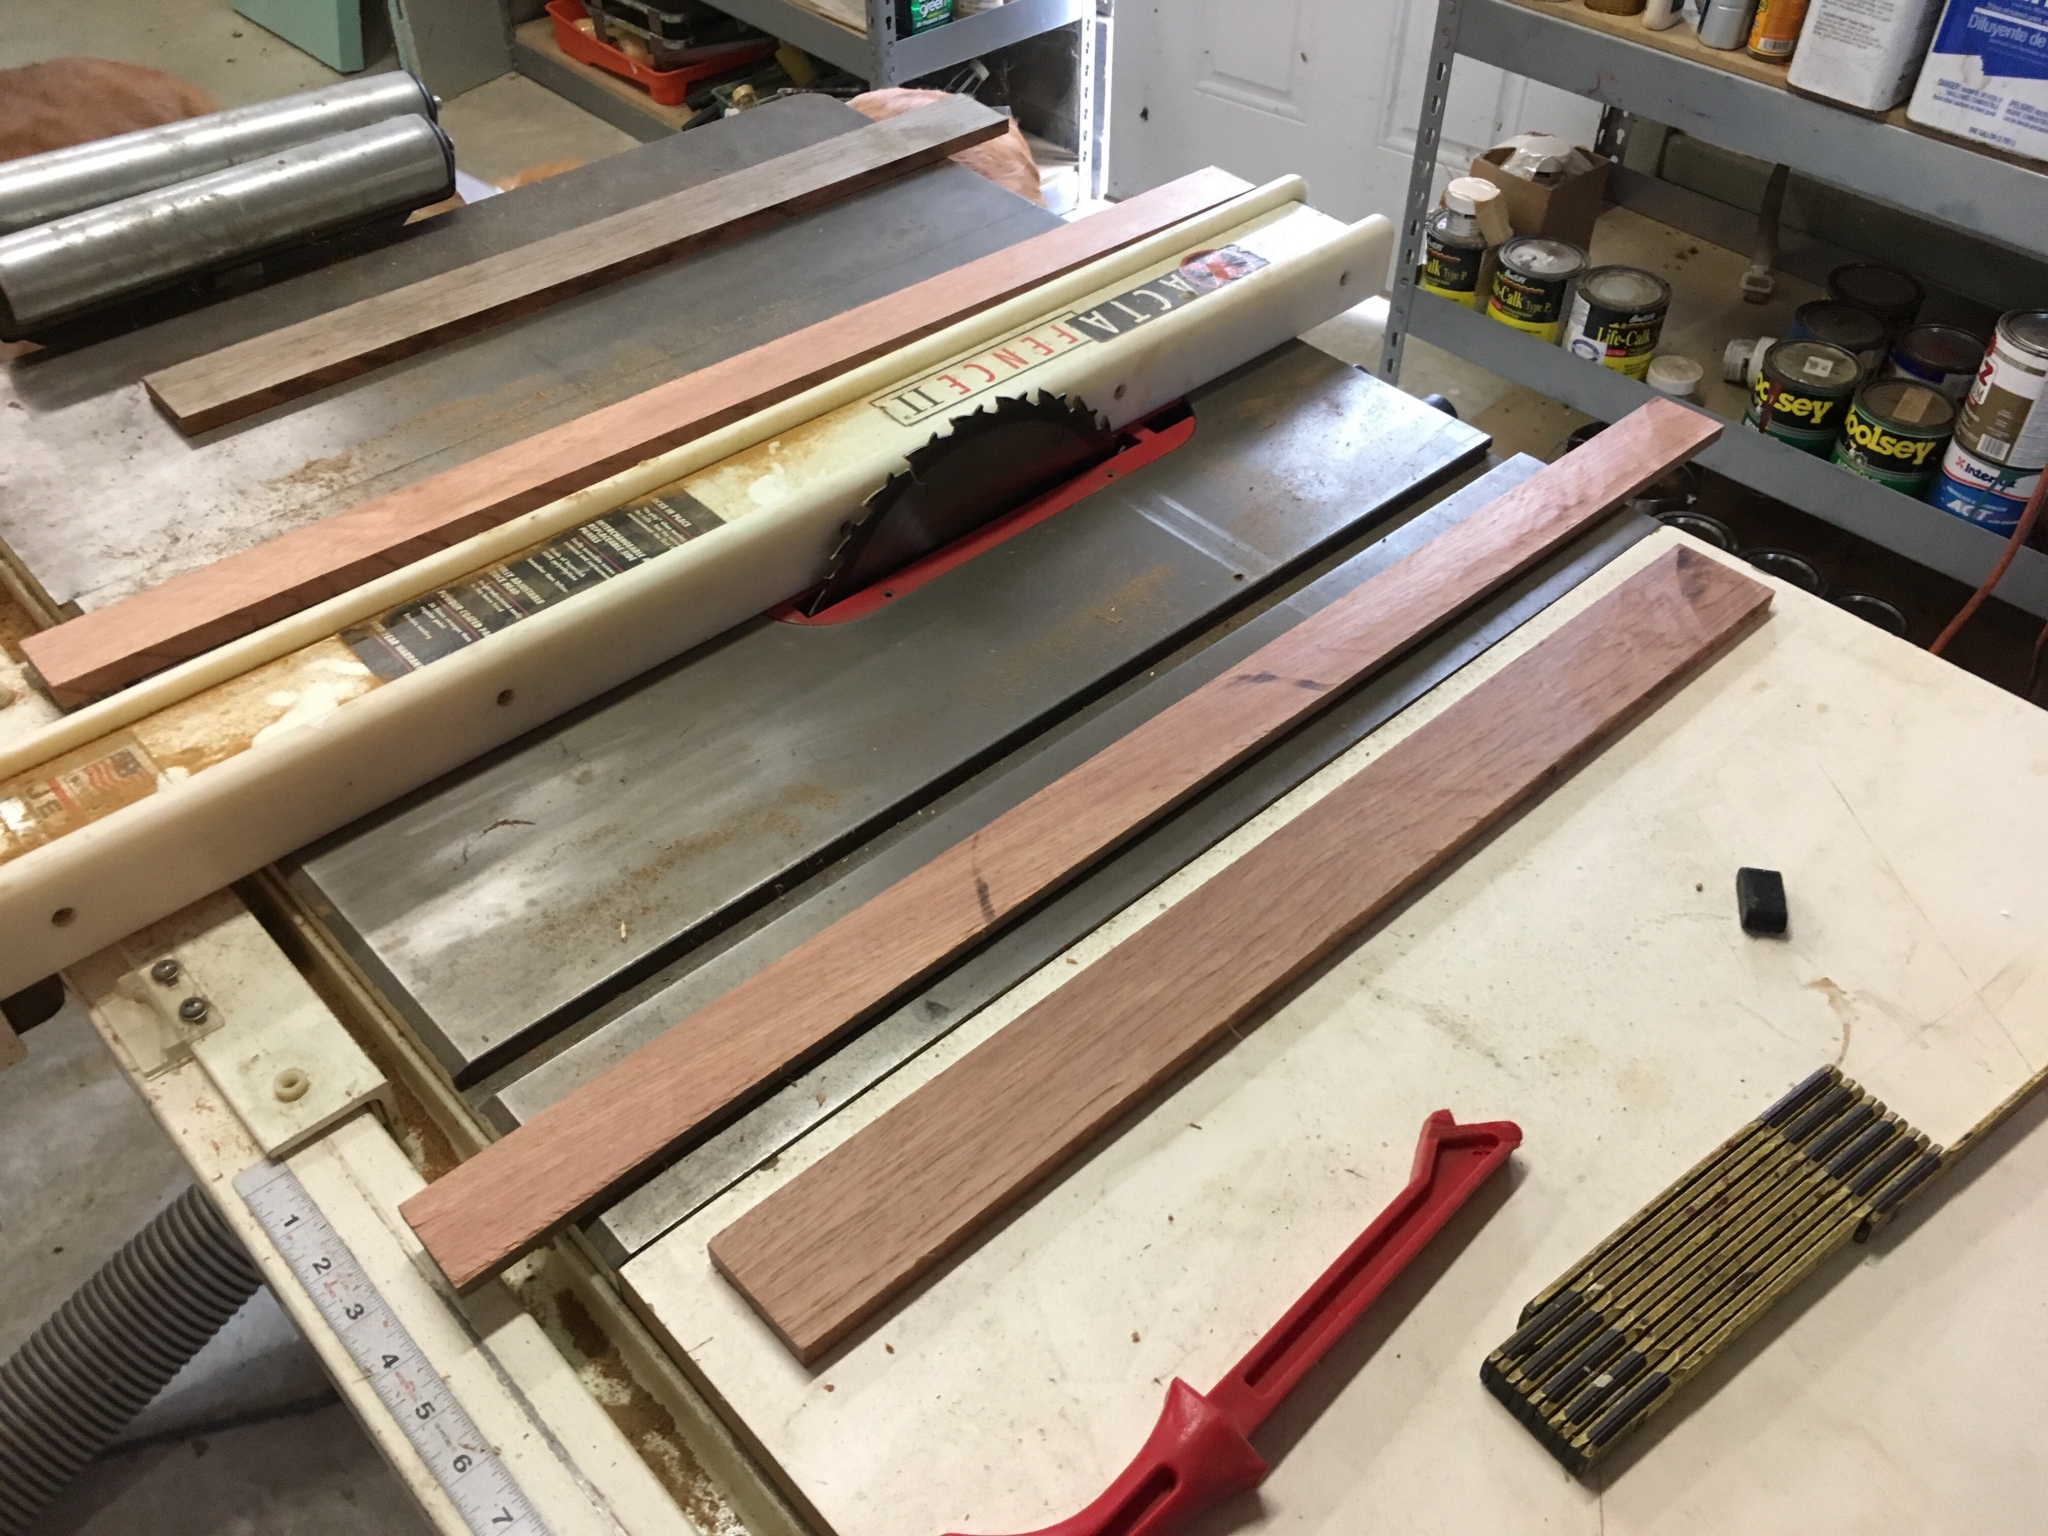
Step 1: Make a pattern for the Dutchman. Here, I had to be generous in my pattern size so as to account for the 45° angled cuts that would shrink the inside face of the Dutchman.

Step 2: Cut the Dutchman on the table saw by angling the blade.

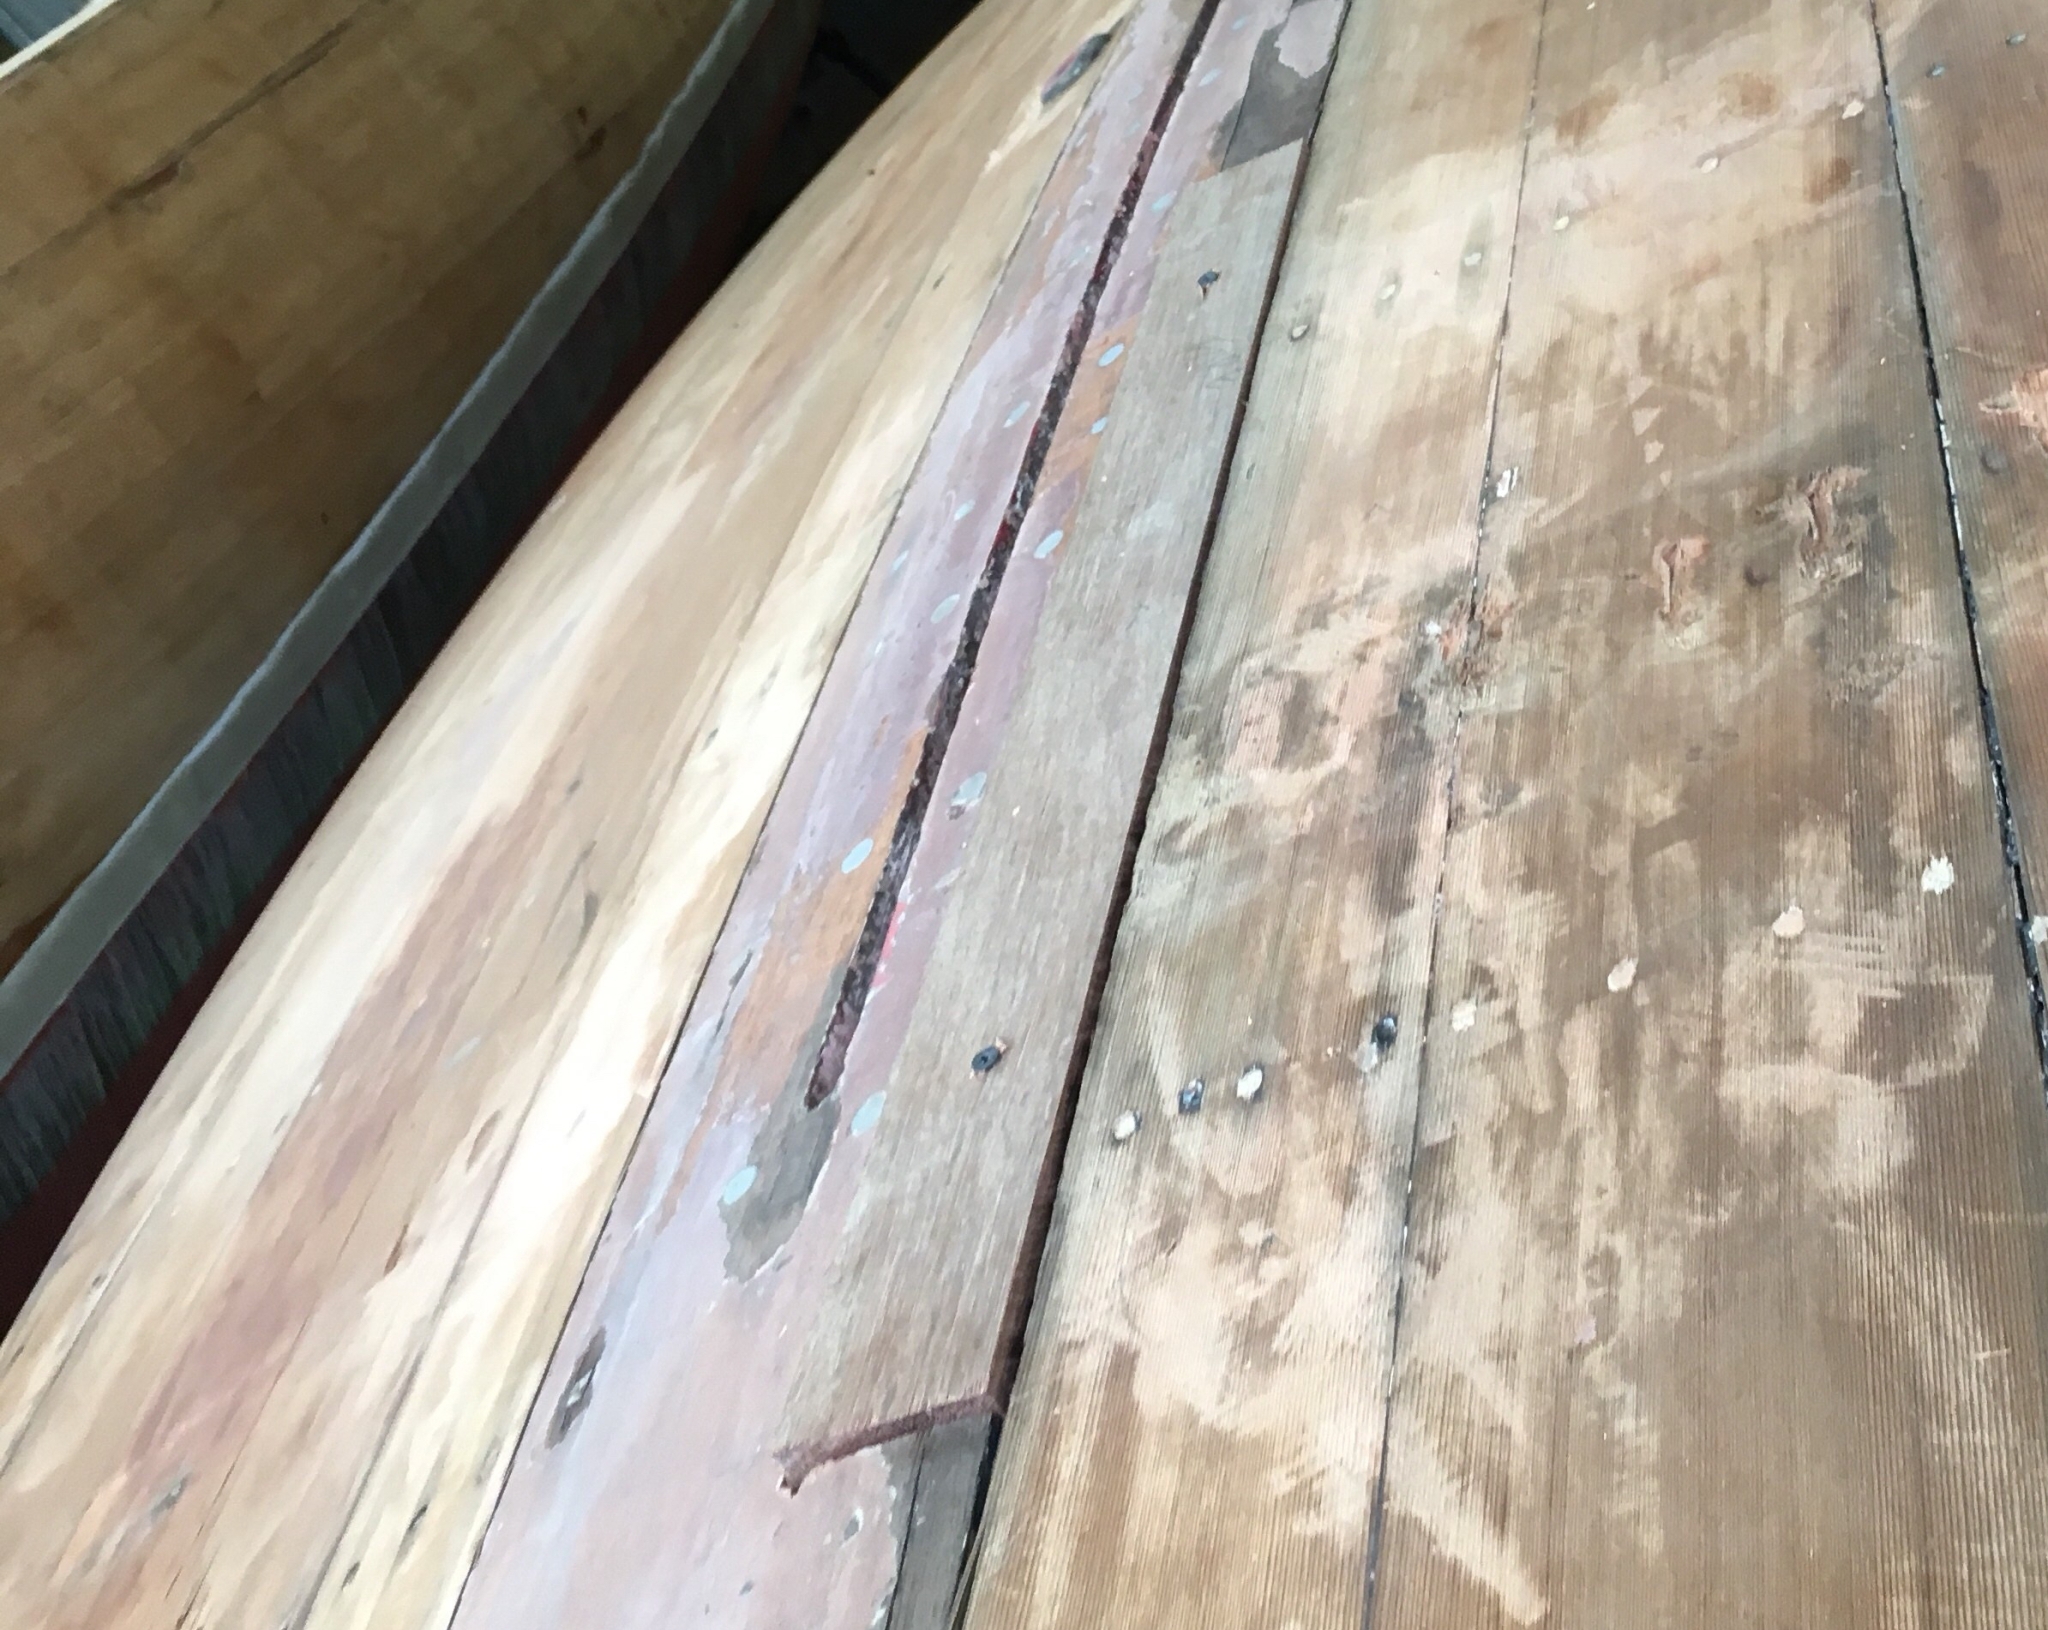
Step 3: Cut out the section of the plank where the Dutchman will go. This is the hard part. A table saw makes a perfect 45° cut. But we can’t run a boat over the table saw. So Bill suggested the Feintool, which has a pretty big margin of error. Especially when I’m the user… How can you cut 45° accurately? Move a bevel gauge alongside the Feintool as I cut? Then we (rather ingeniously if I may say so myself) thought to fasten the leftover cedar from the Dutchman parallel to the cut with the angle facing the cut. Essentially, the leftover cedar became the fence.

img_1151

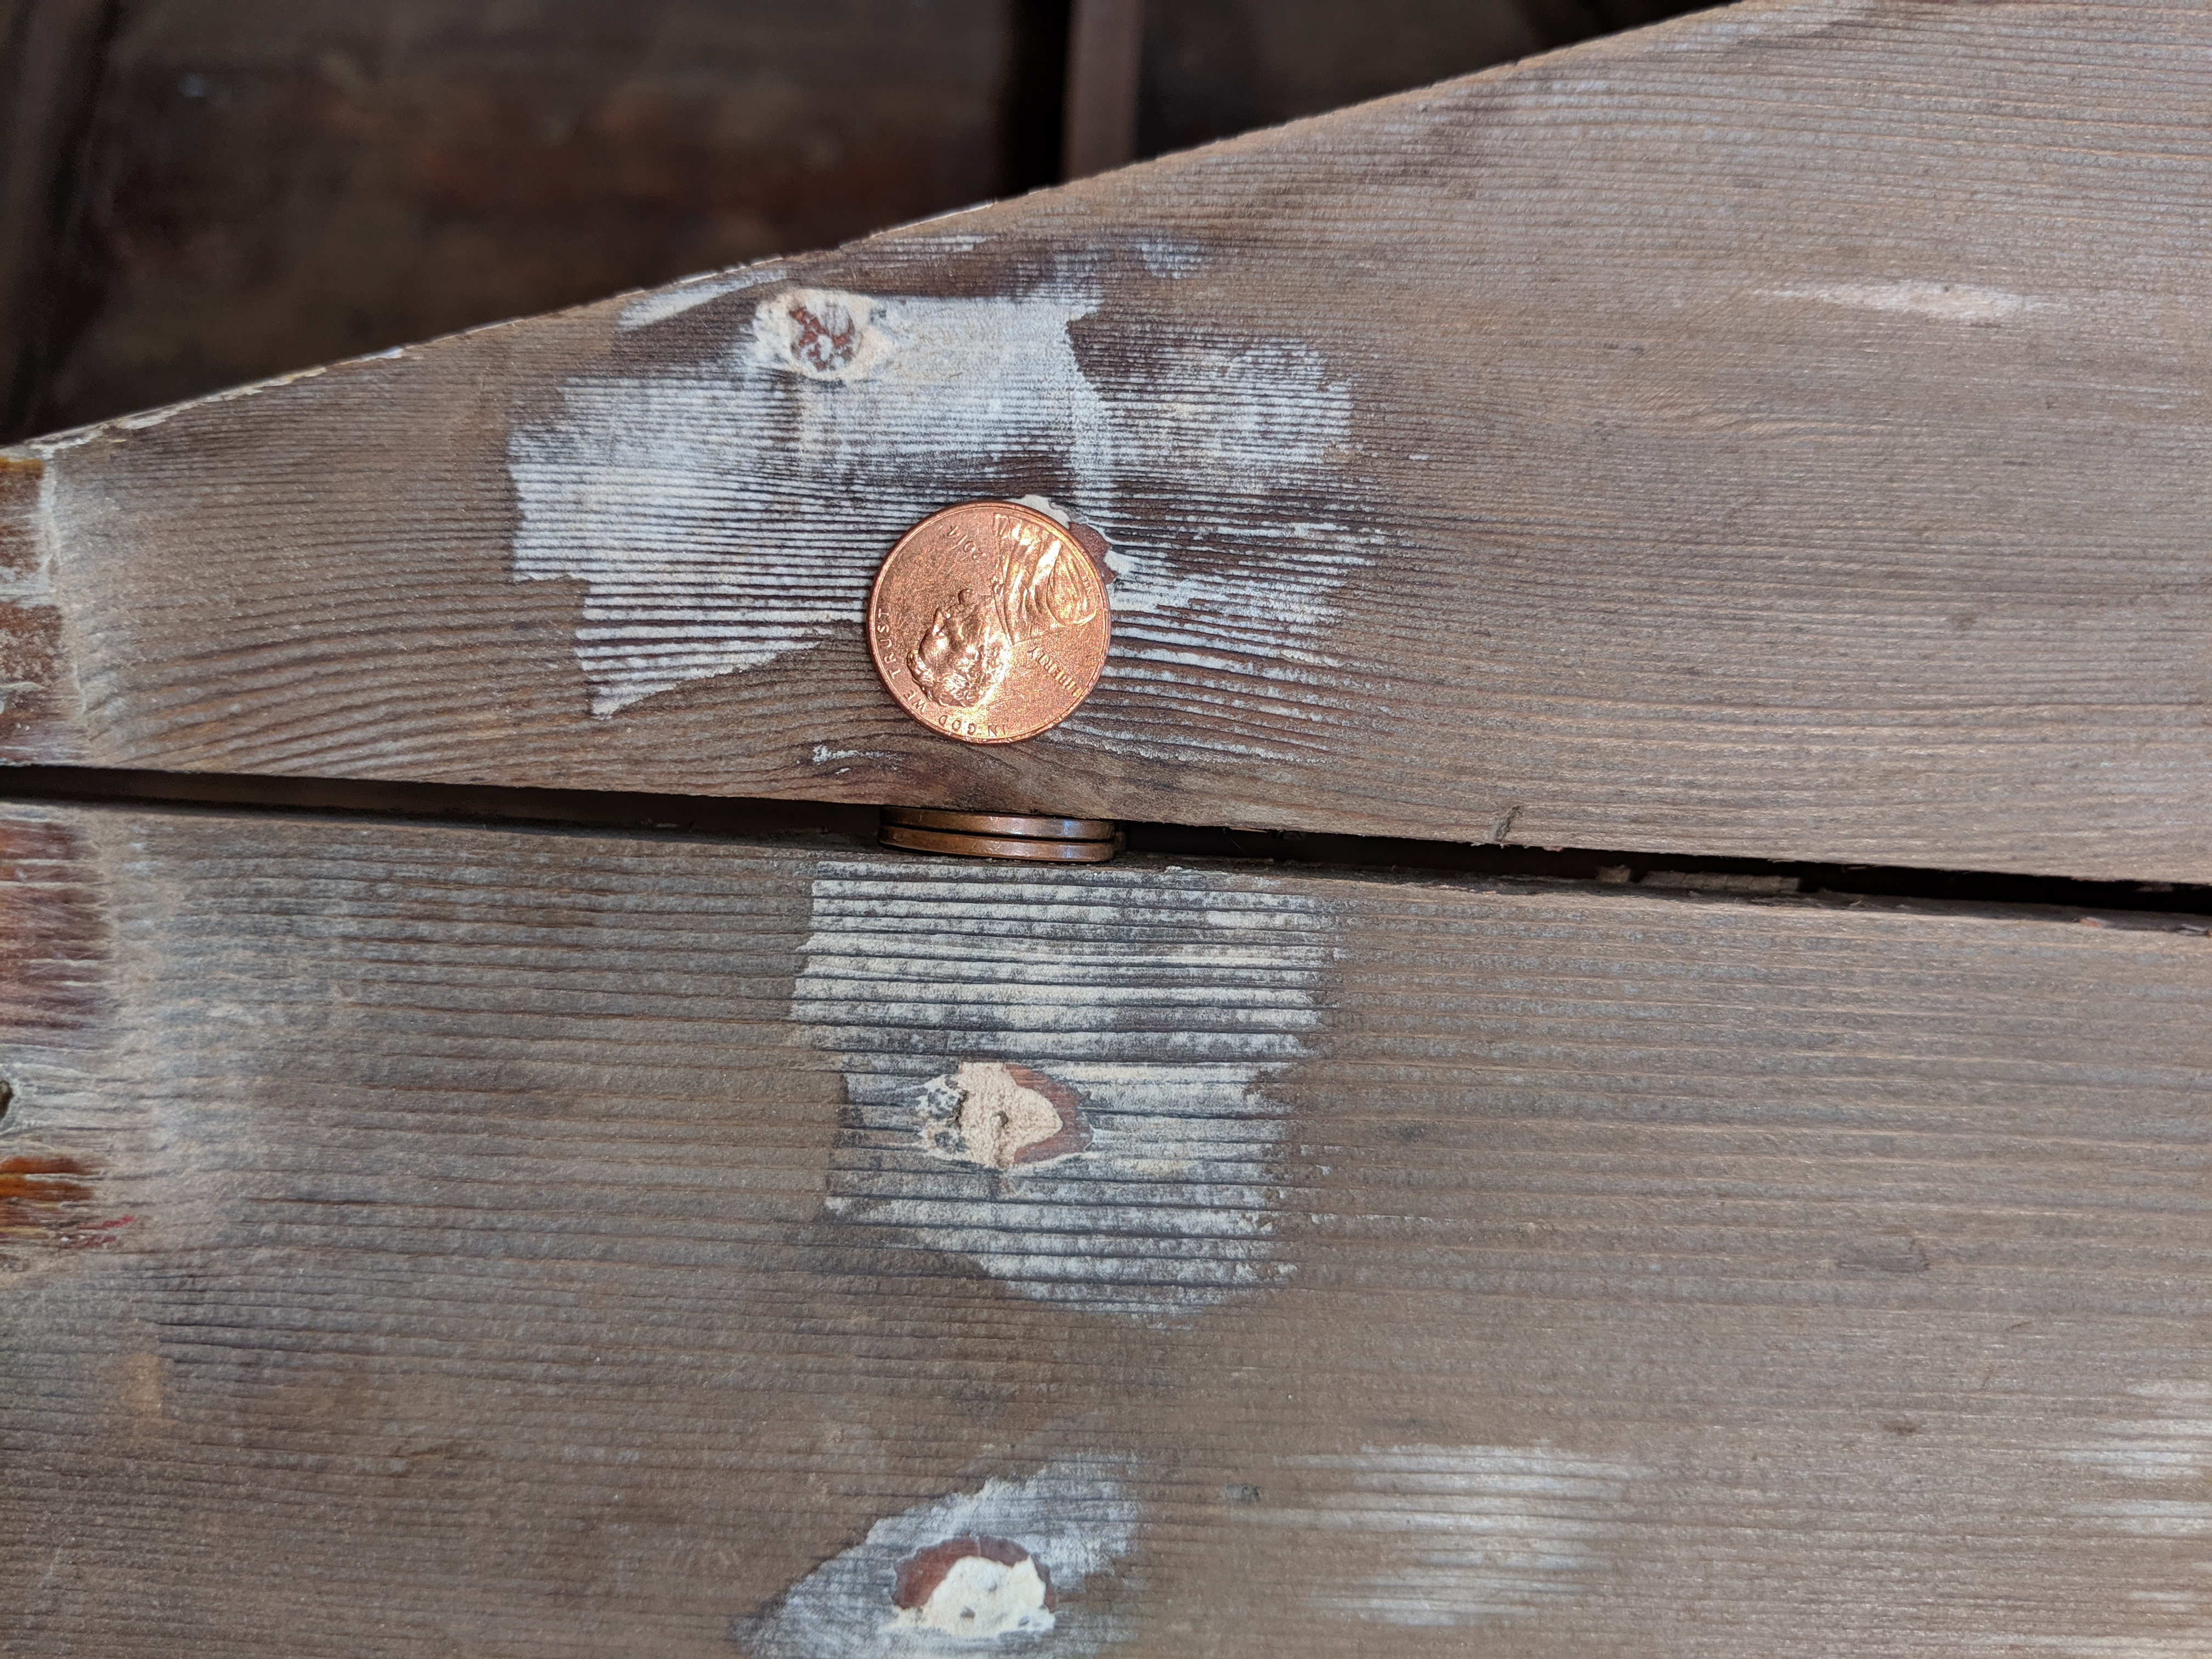
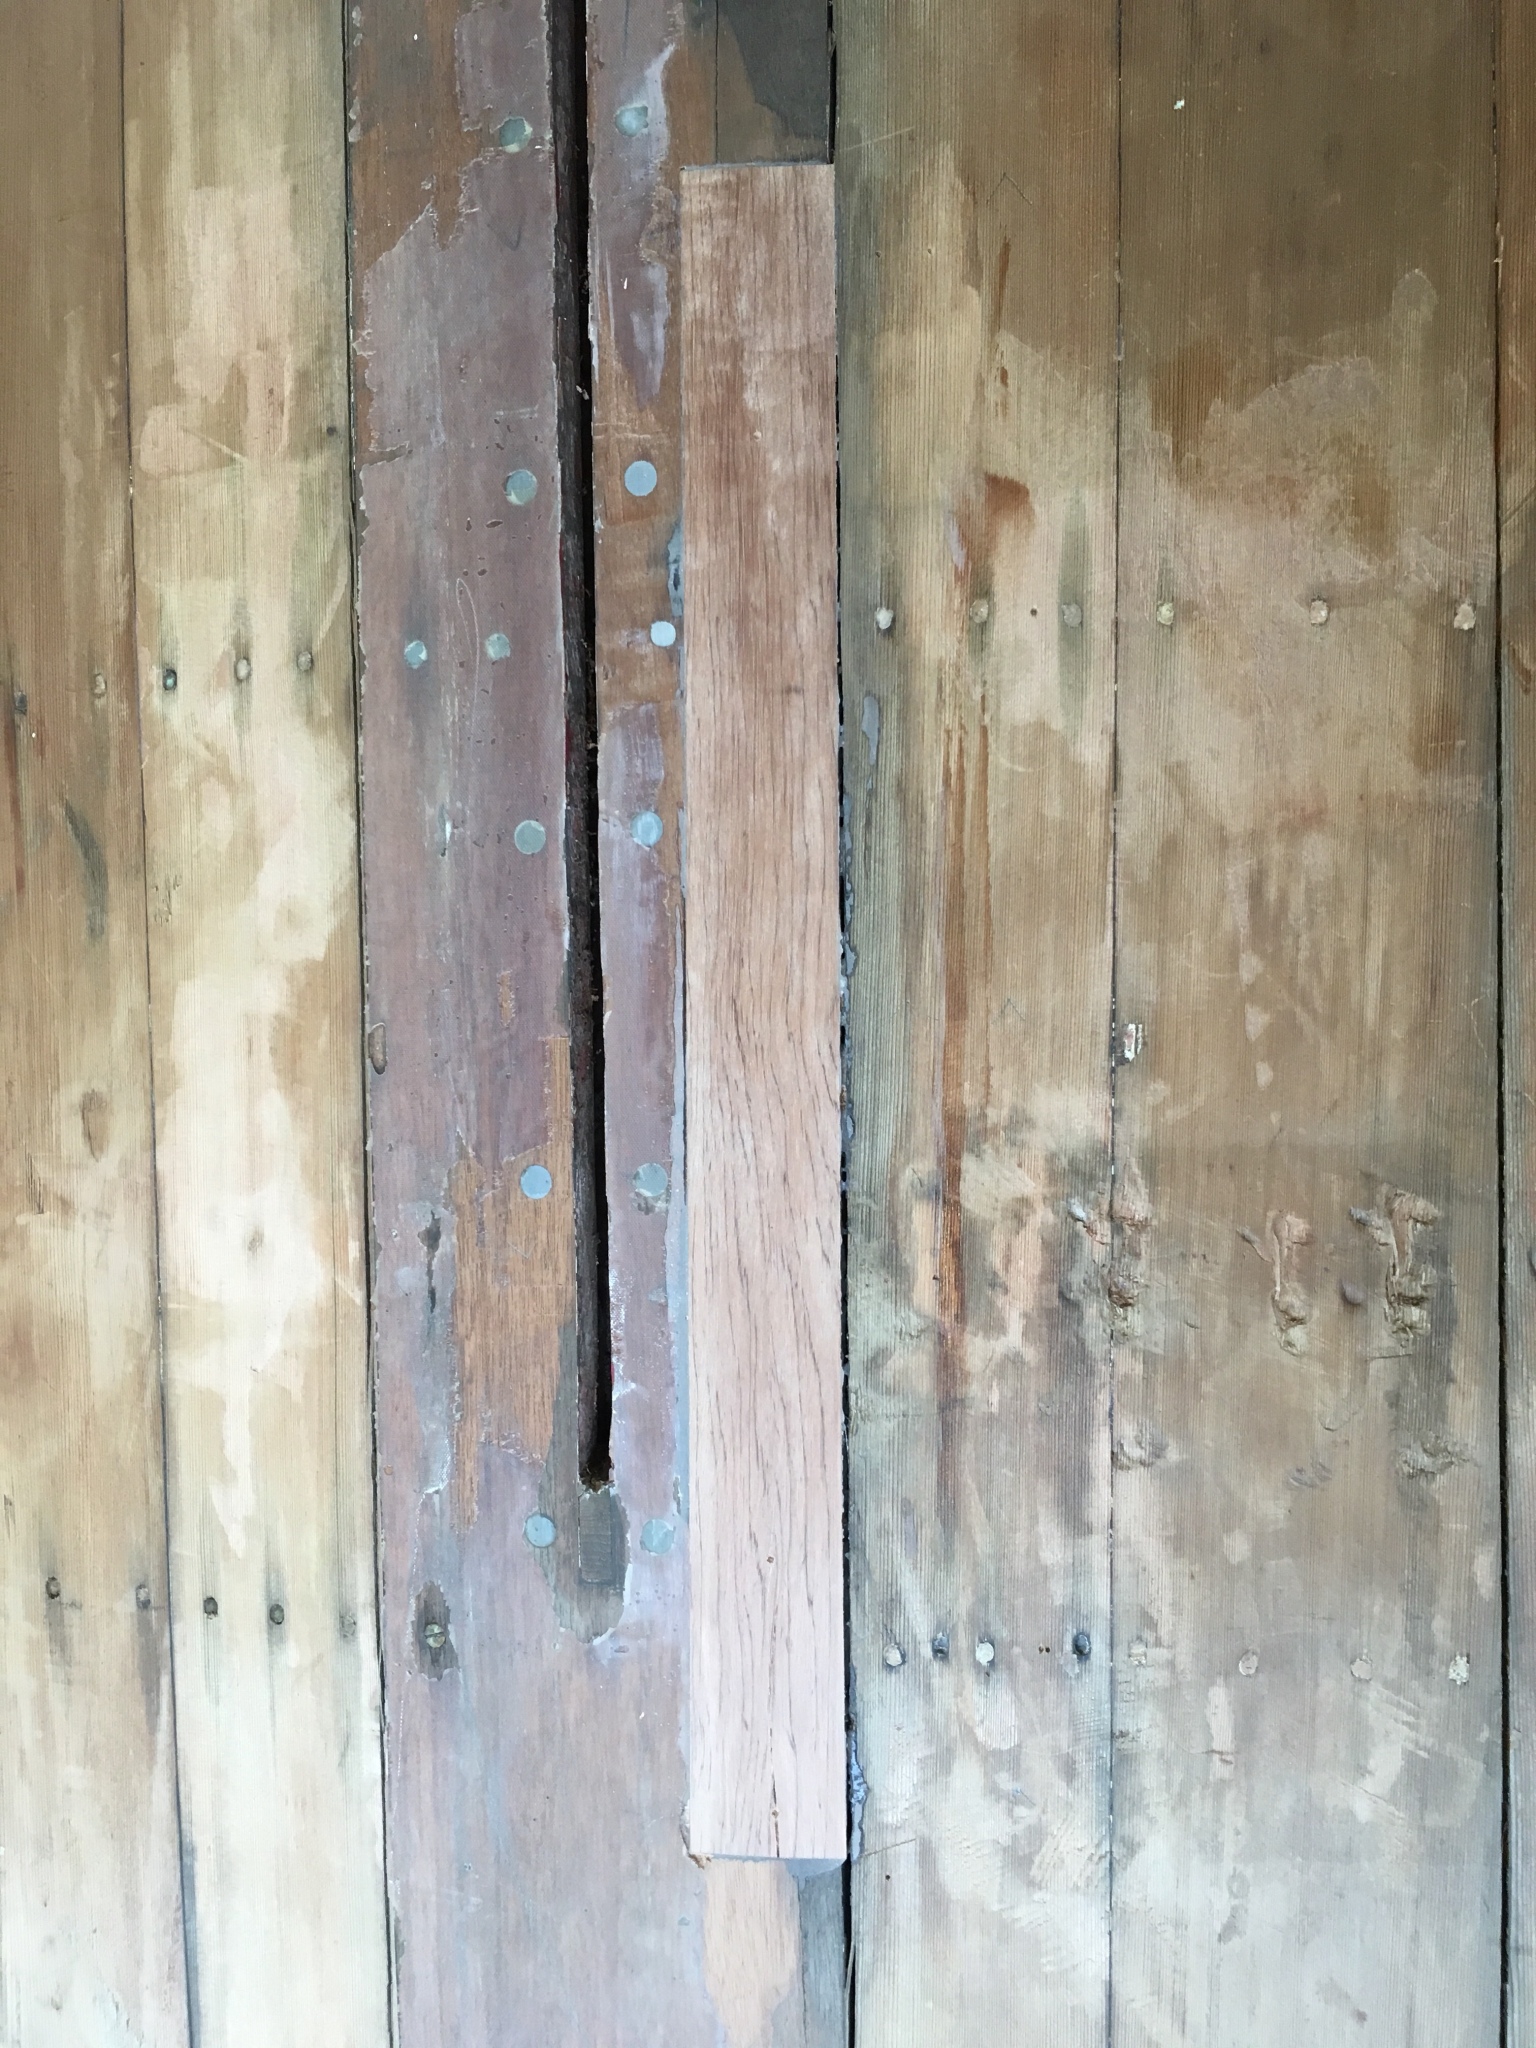
Step 4: Even though the epoxy resin to hardener ratio is 5:1, the pump ratio is still 1:1. Don’t forget that, otherwise your epoxy may never harden. And then you might come back the next day and wonder why it is still gooey. And then you have to scrub away the epoxy on the Dutchman and hole, clean it up with acetone, and sand the surfaces down again before you glue the Dutchman in again. This step is really important and might save you from becoming frustrated with yourself.

img_1152

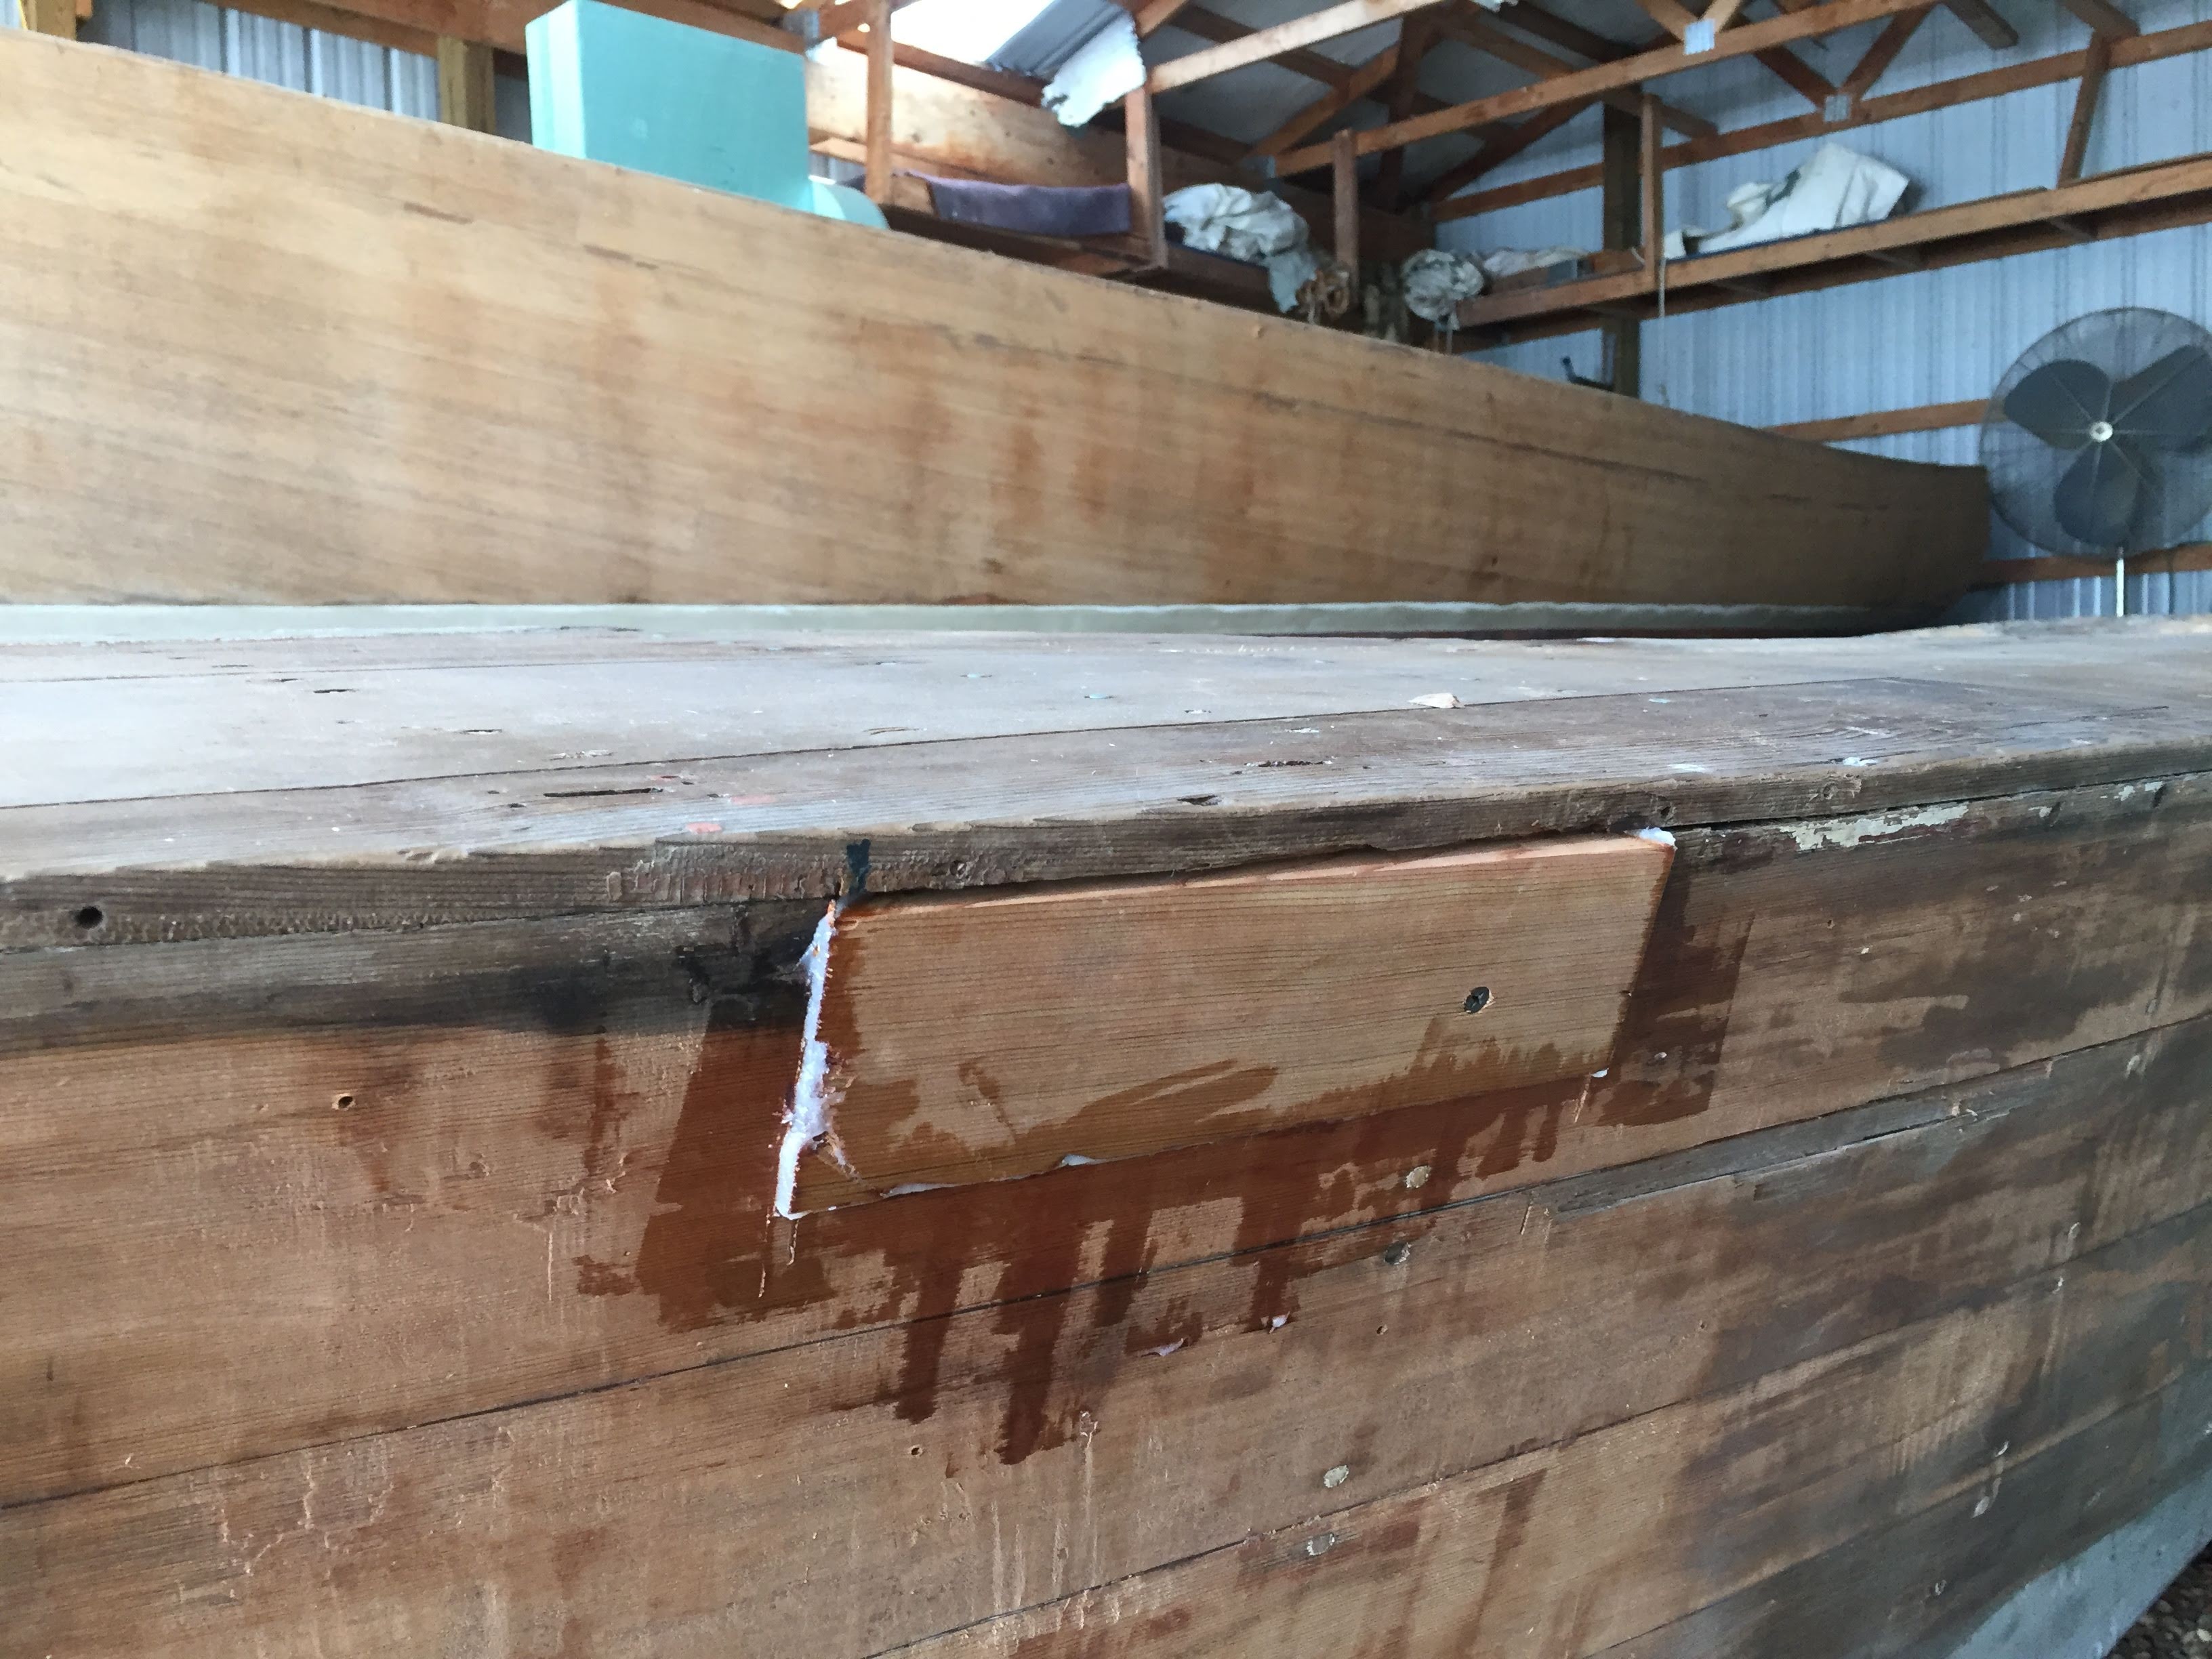
In the end, it turned out great. Sanded the insert down until it felt like part of the original plank.

img_20190613_103748

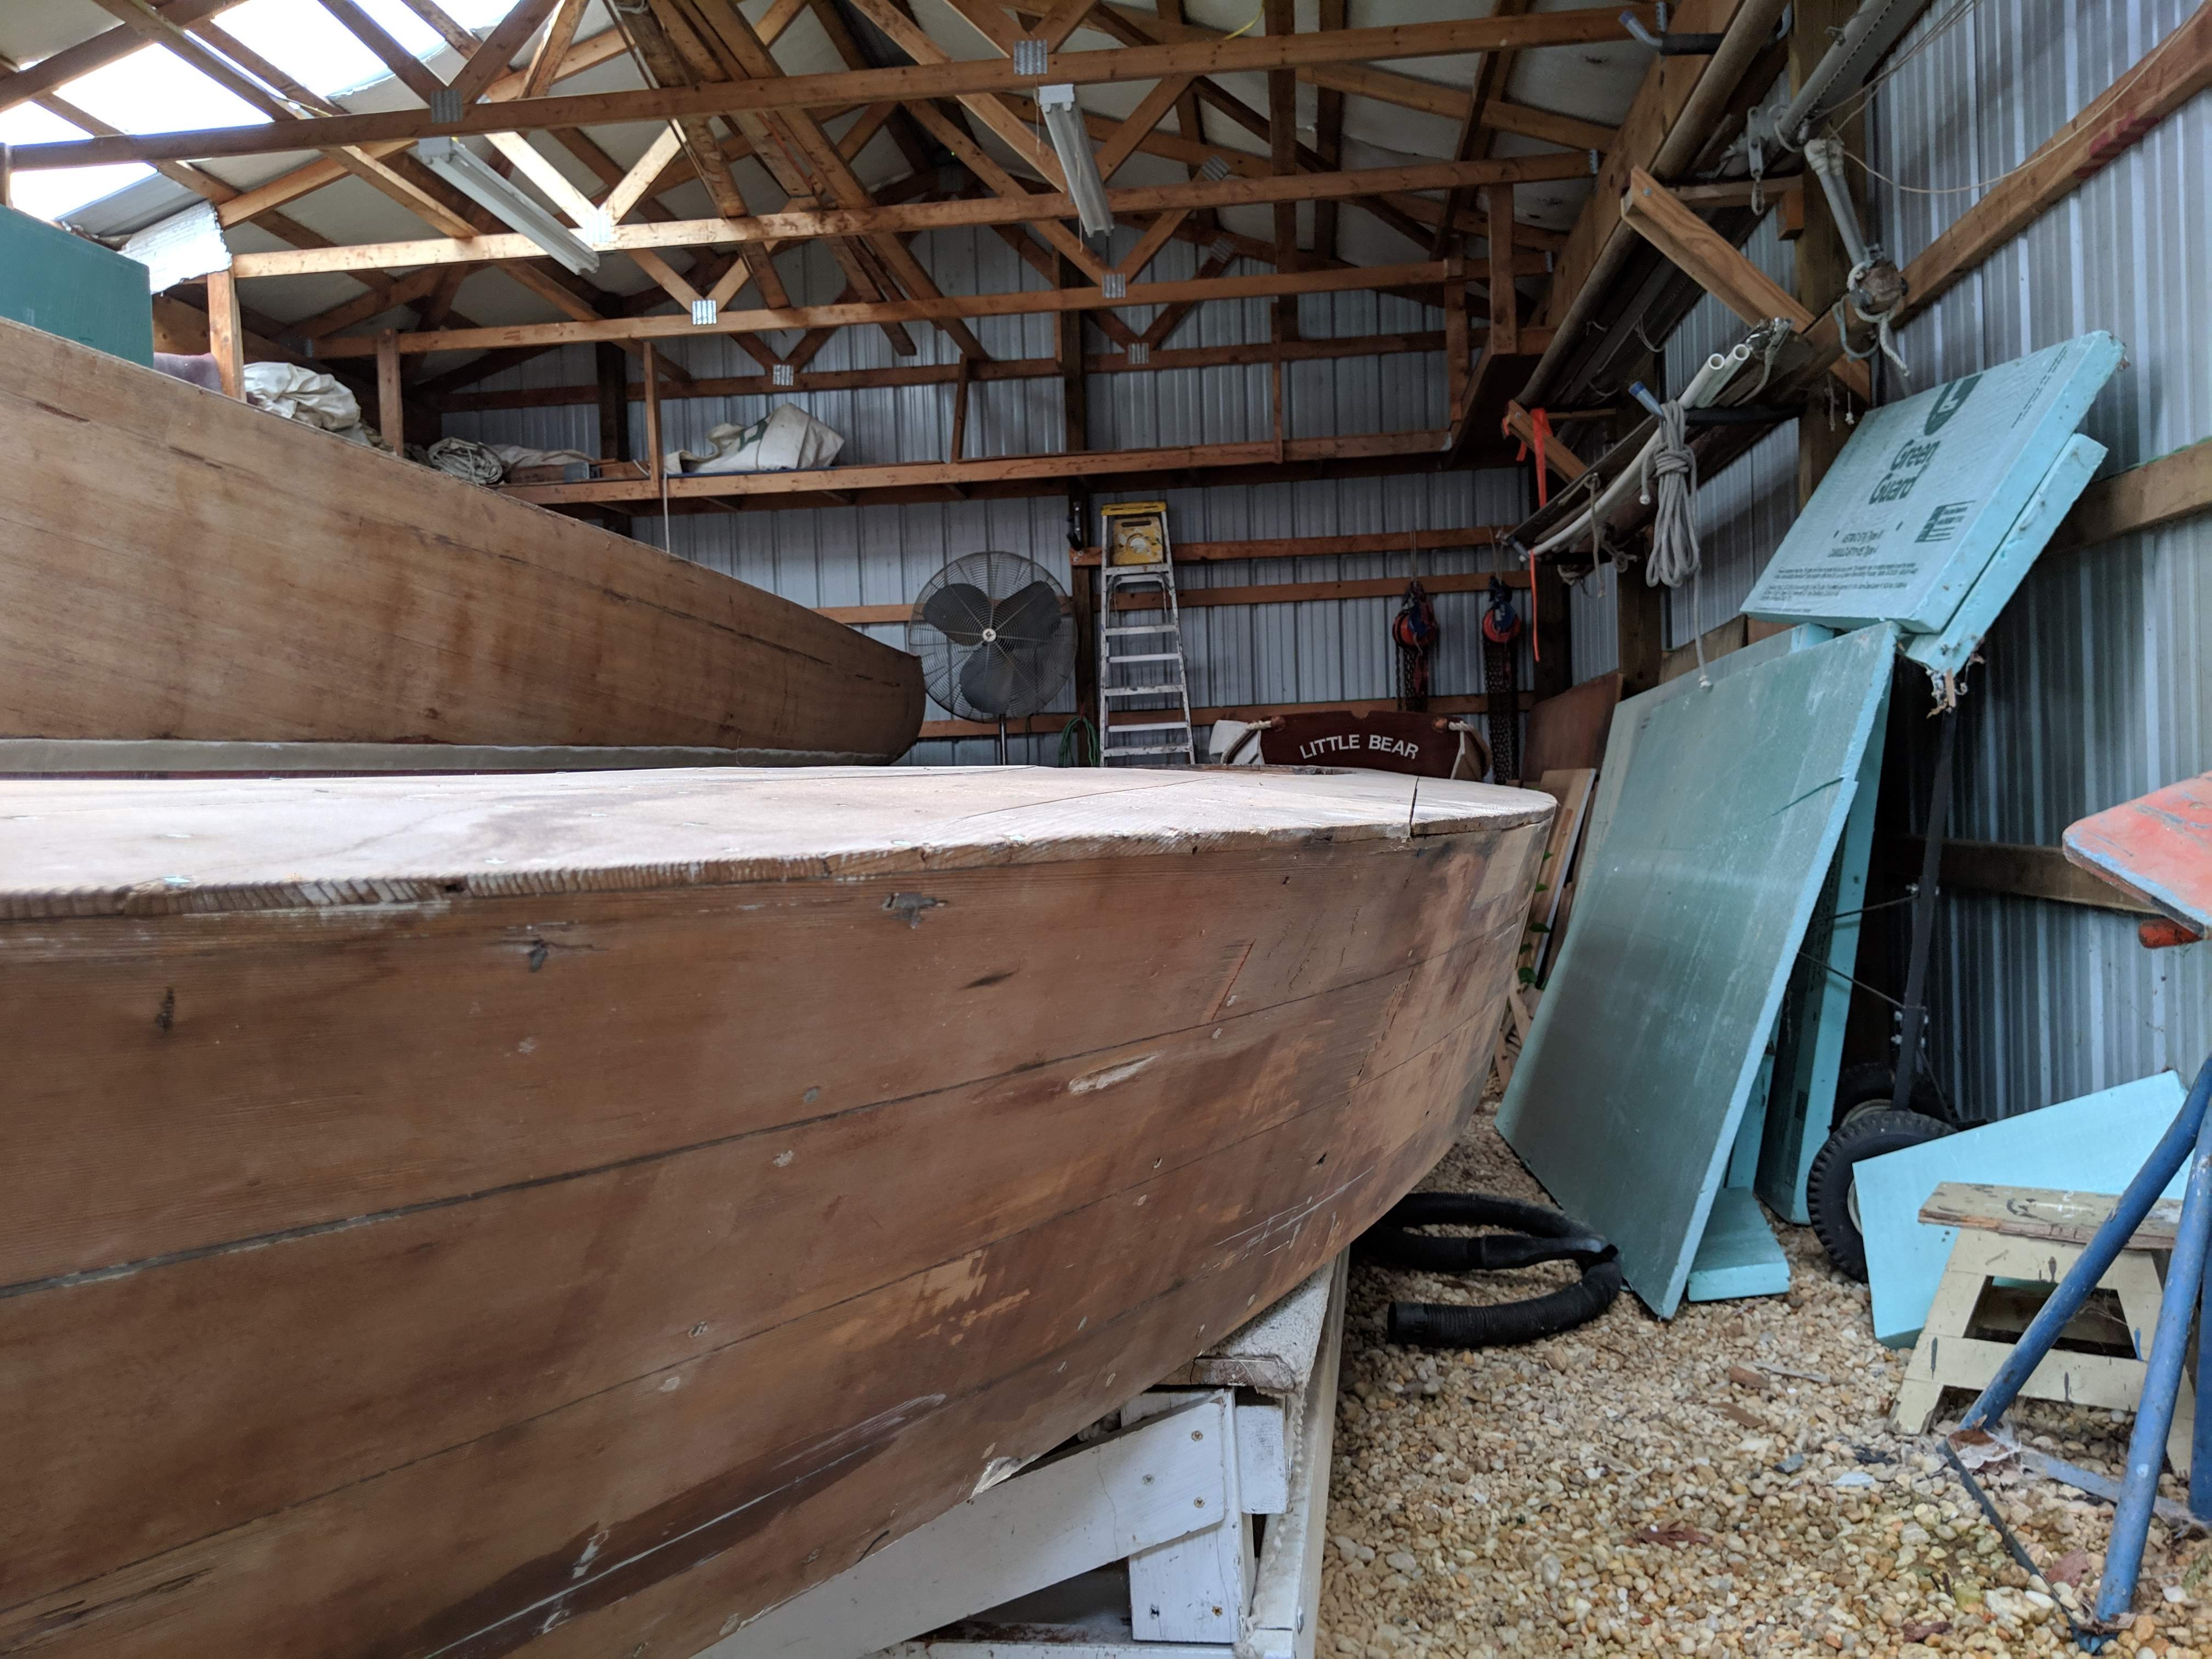
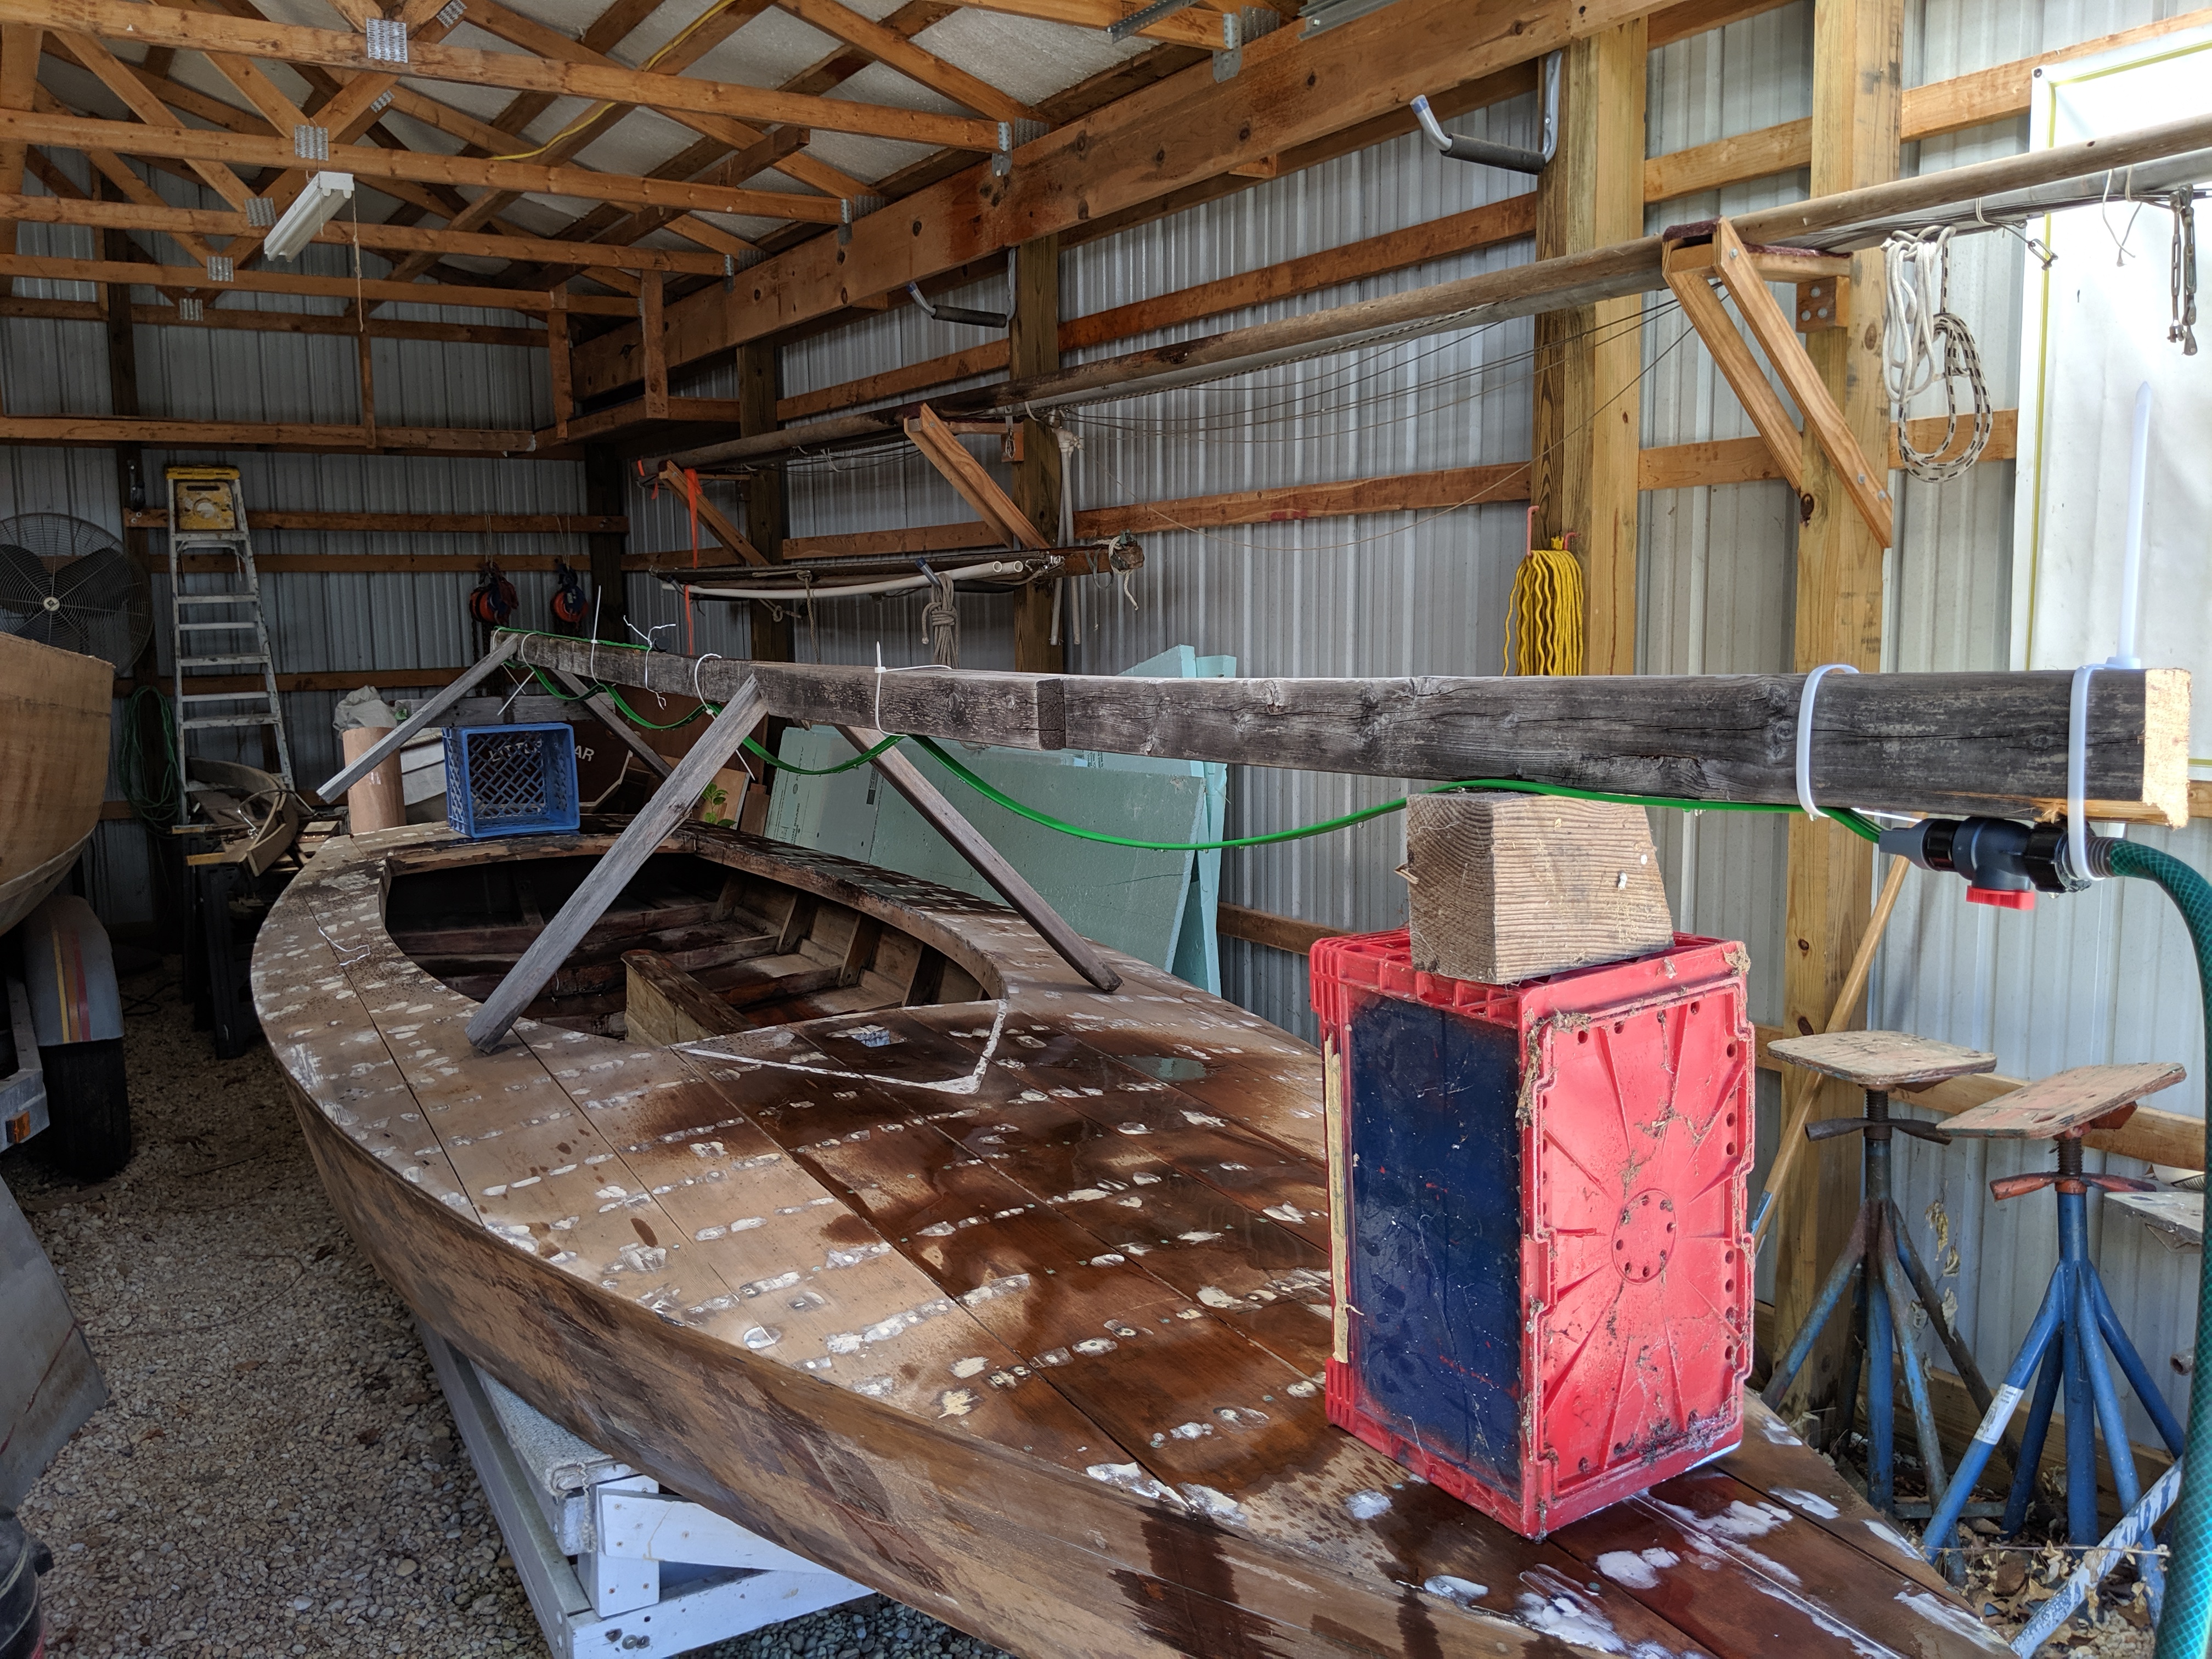
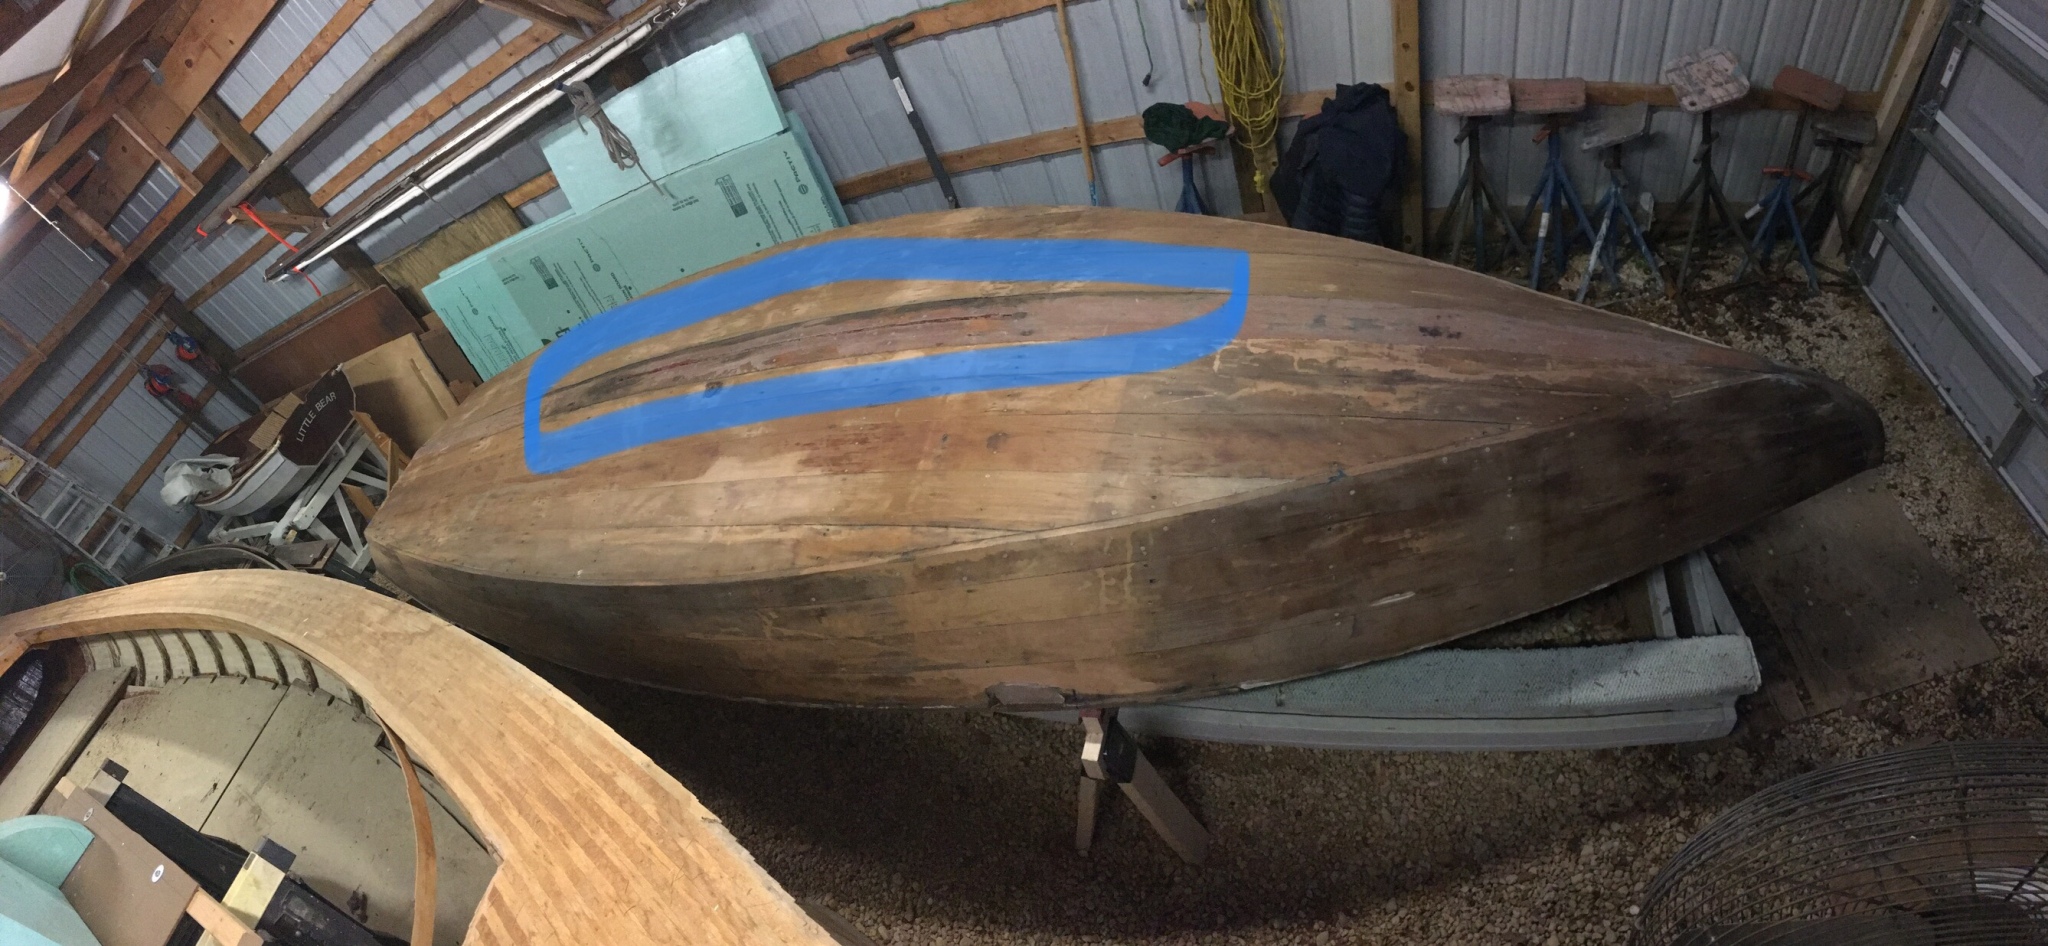
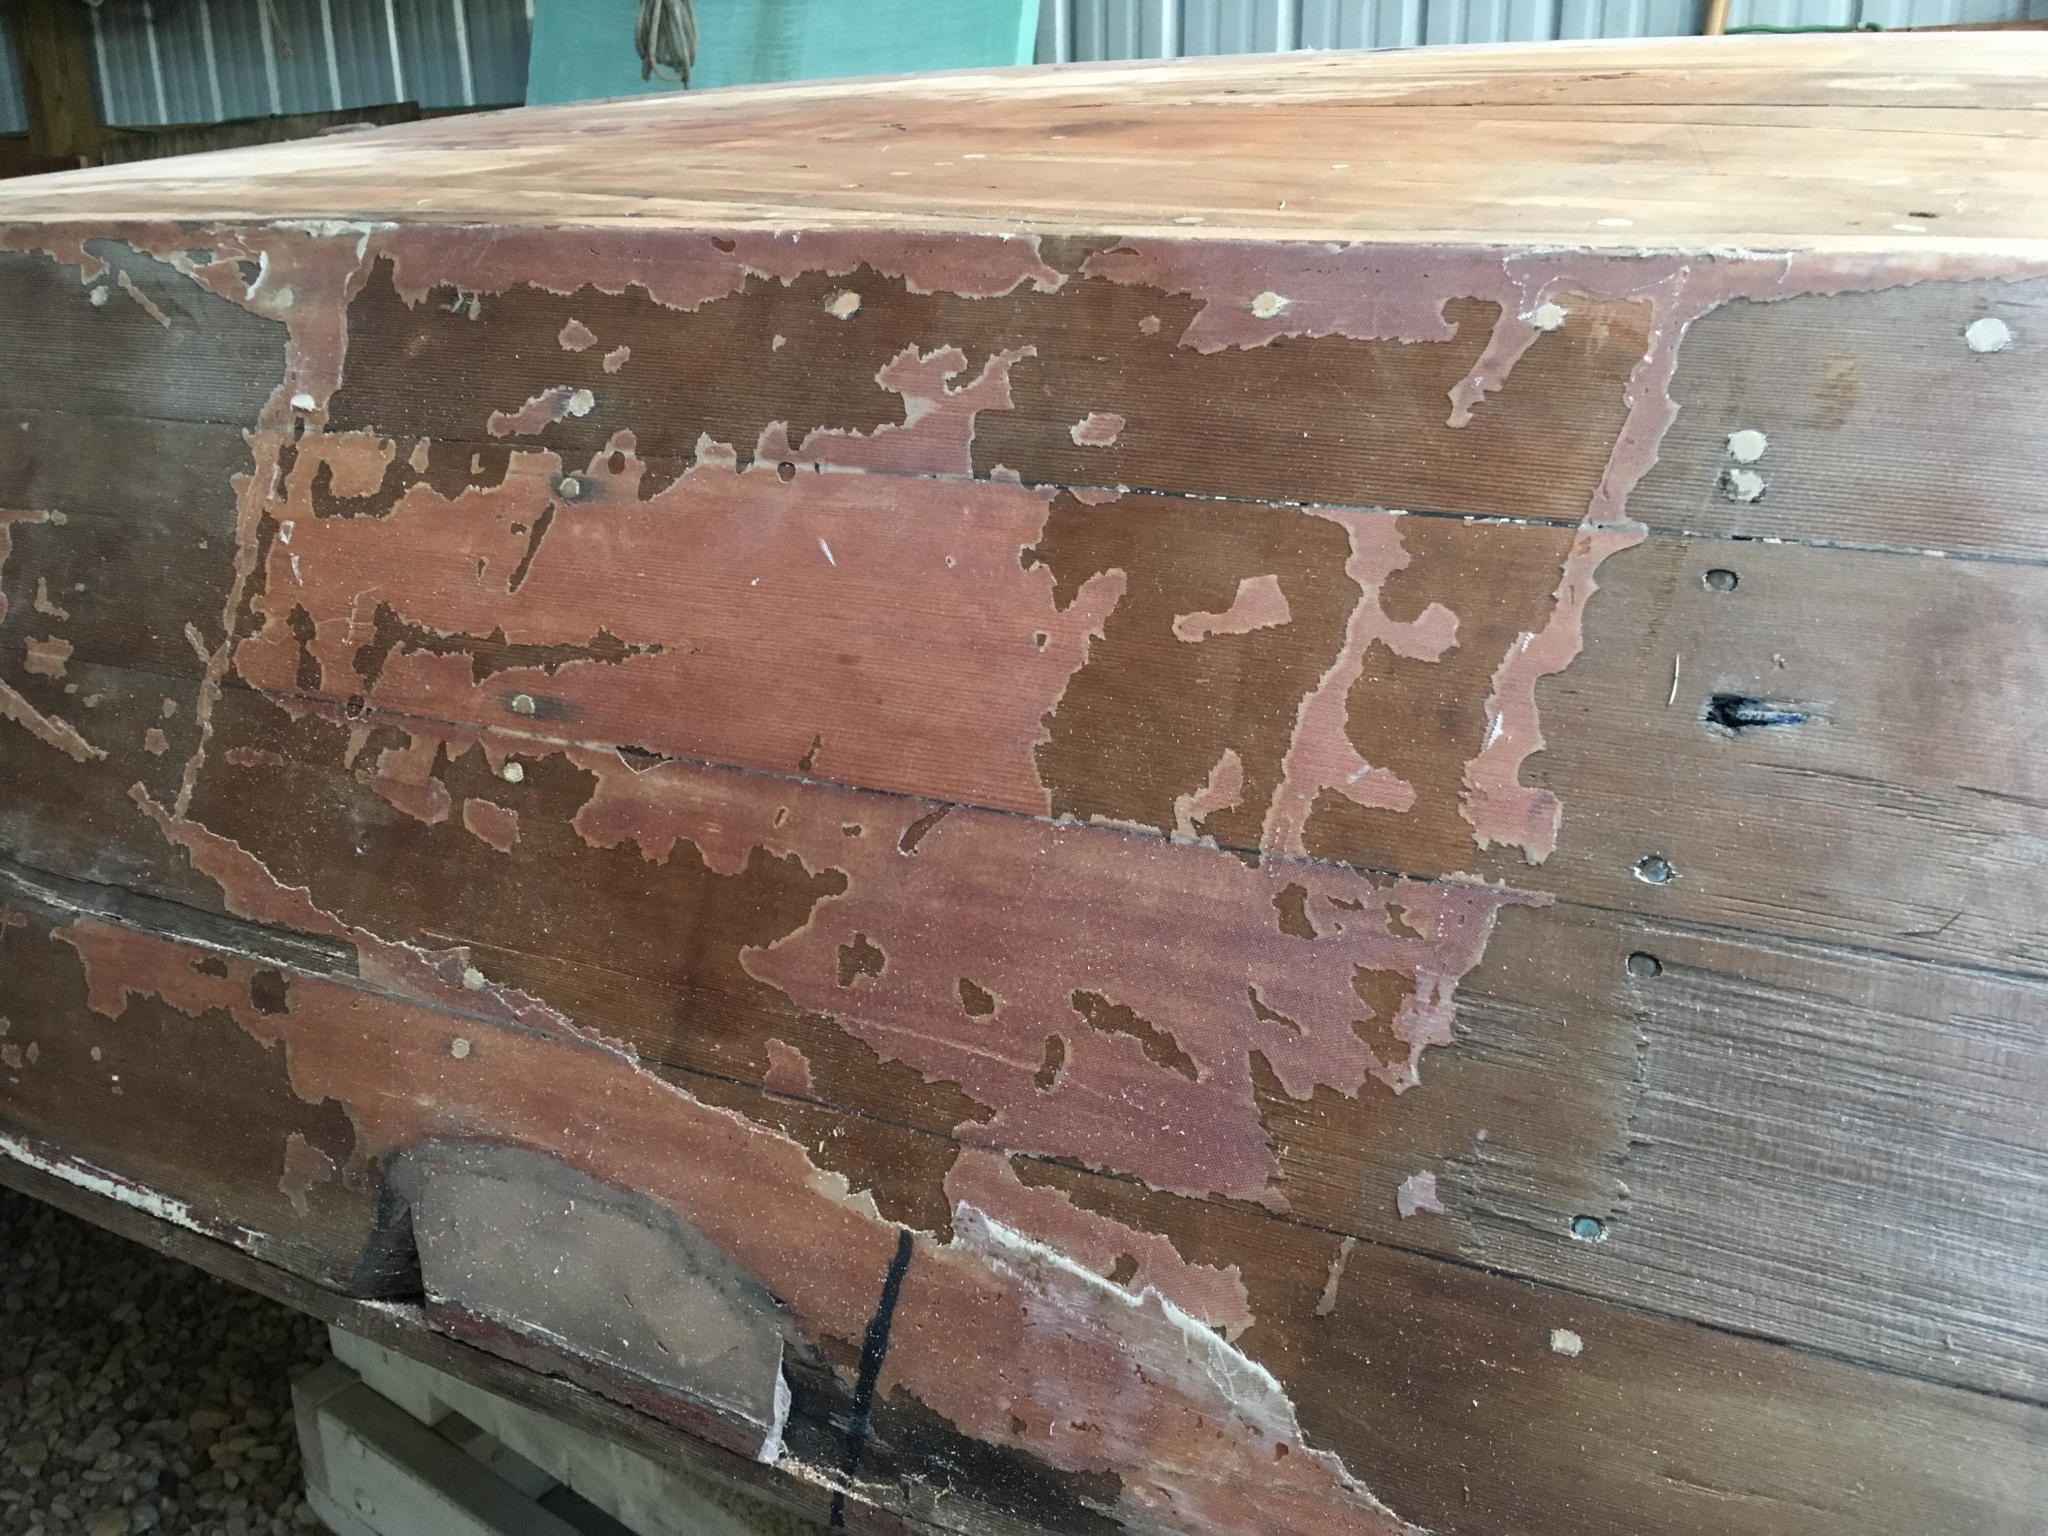
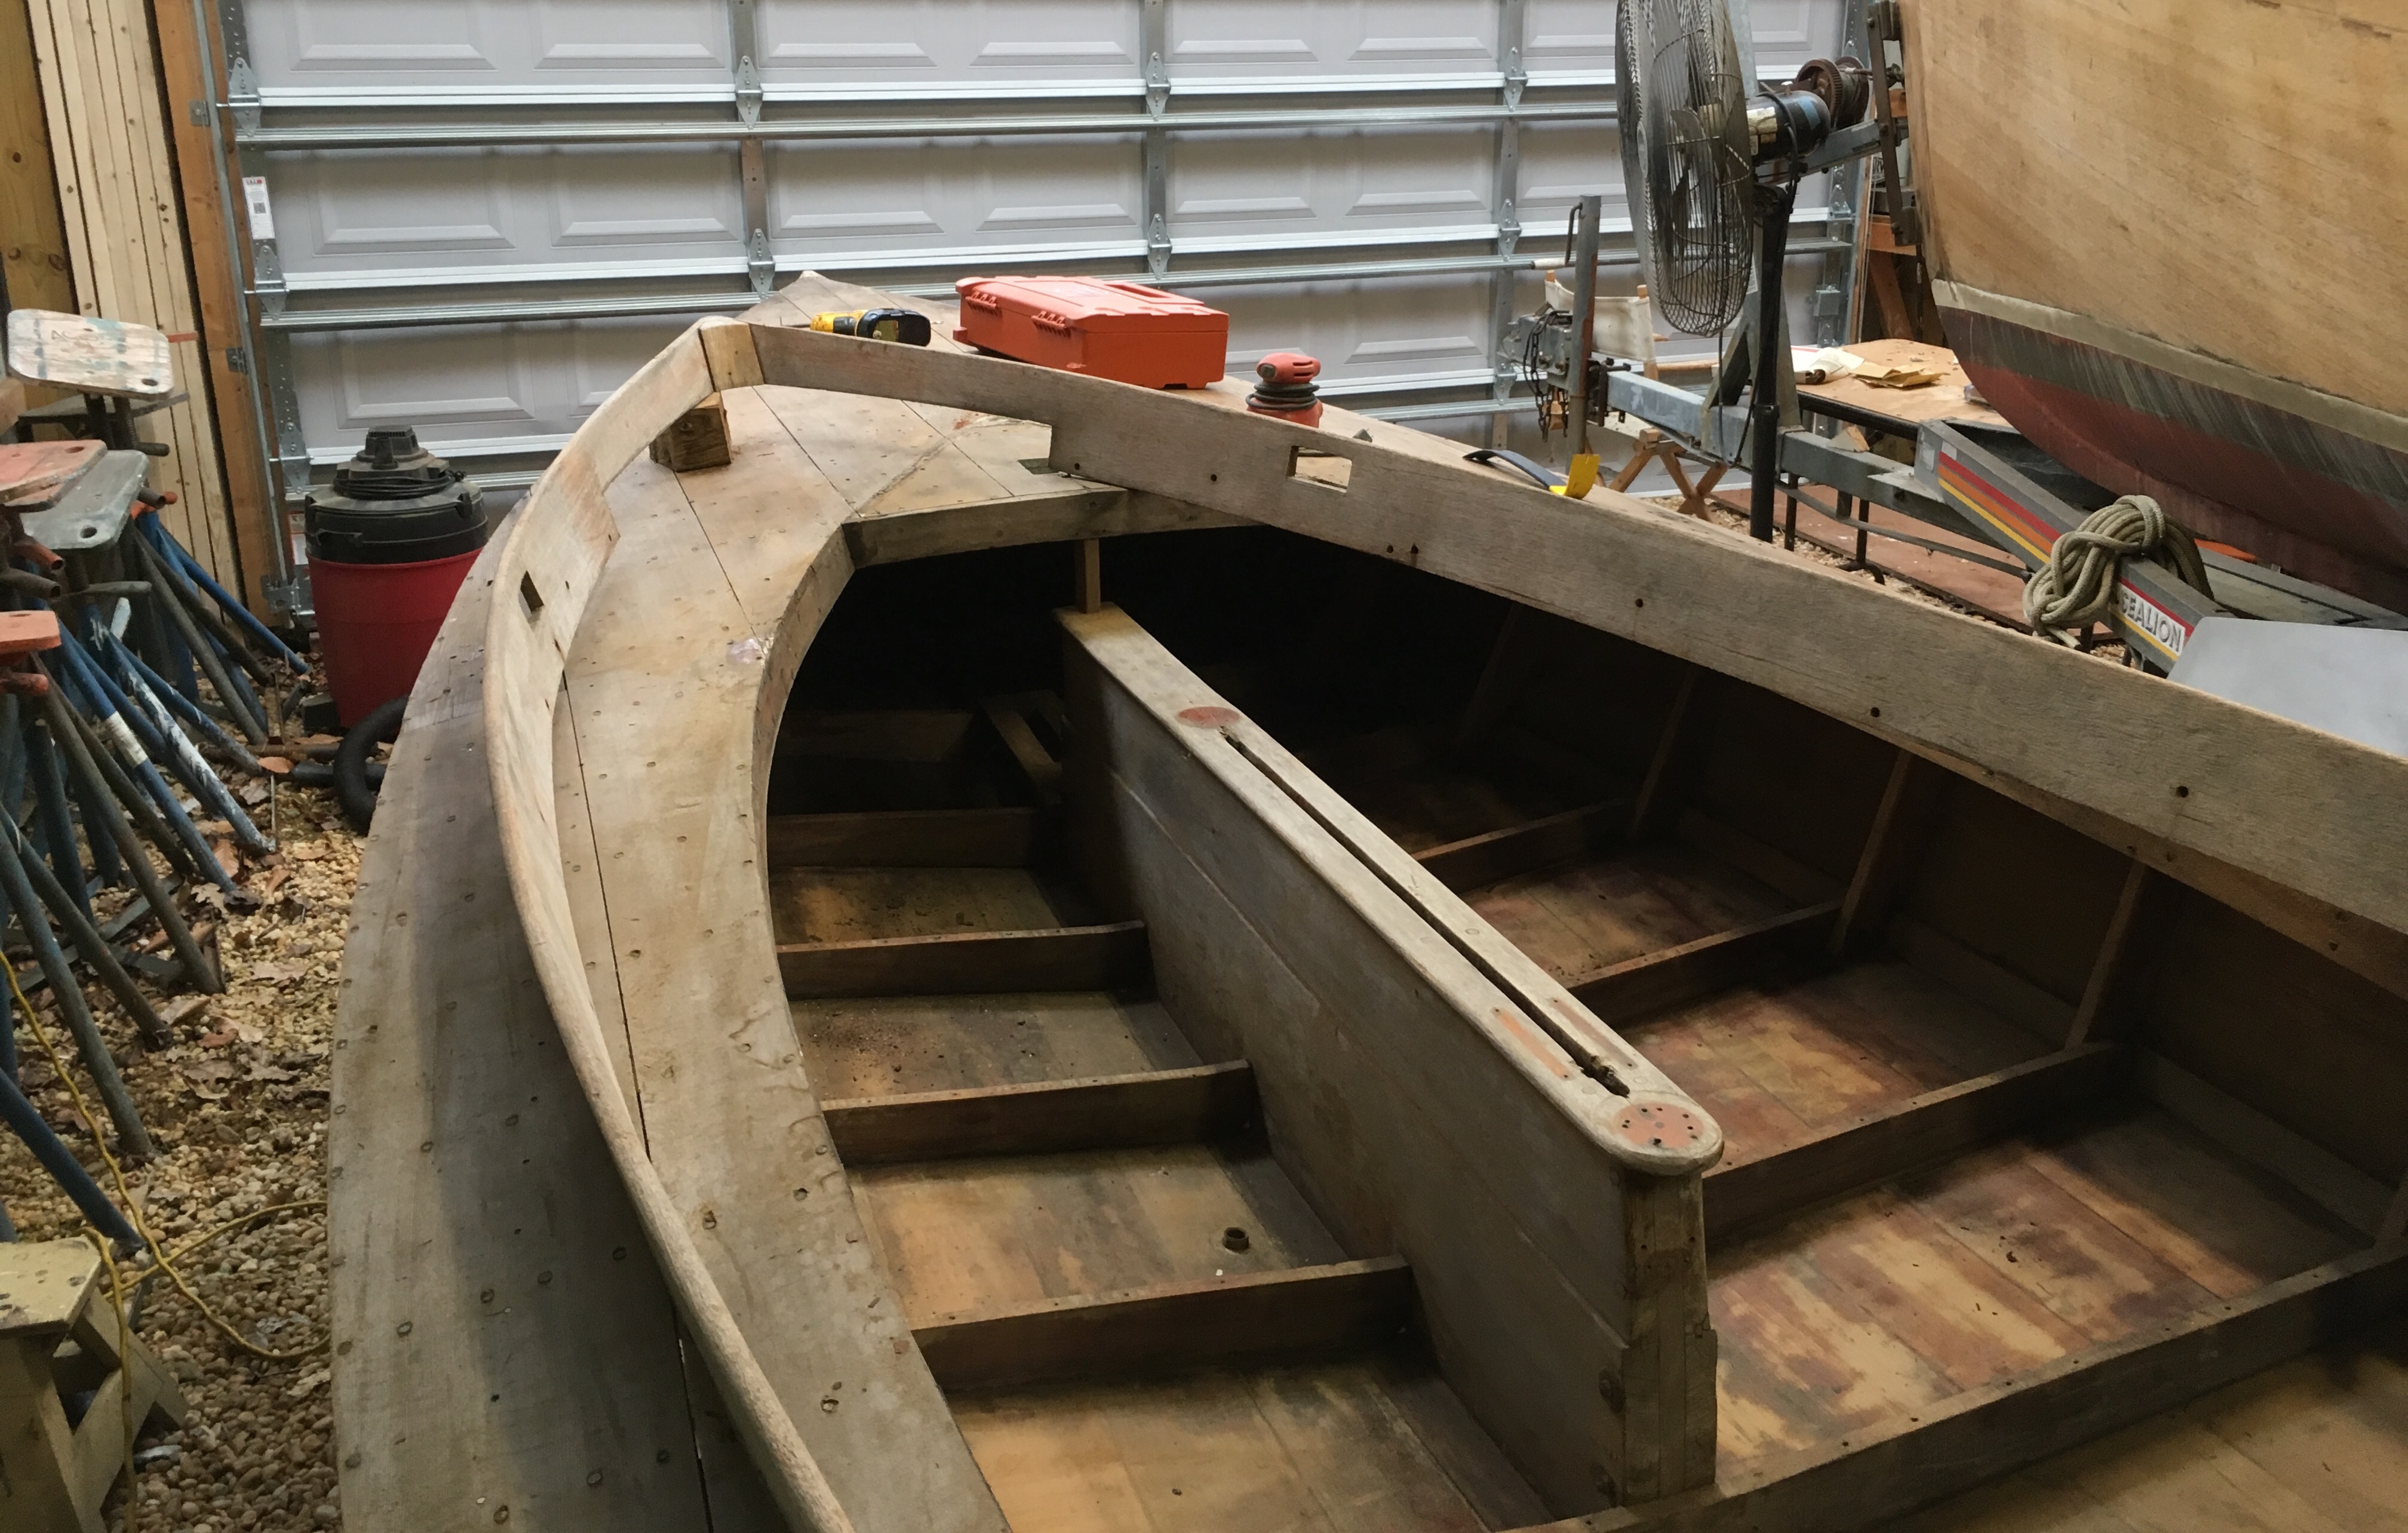
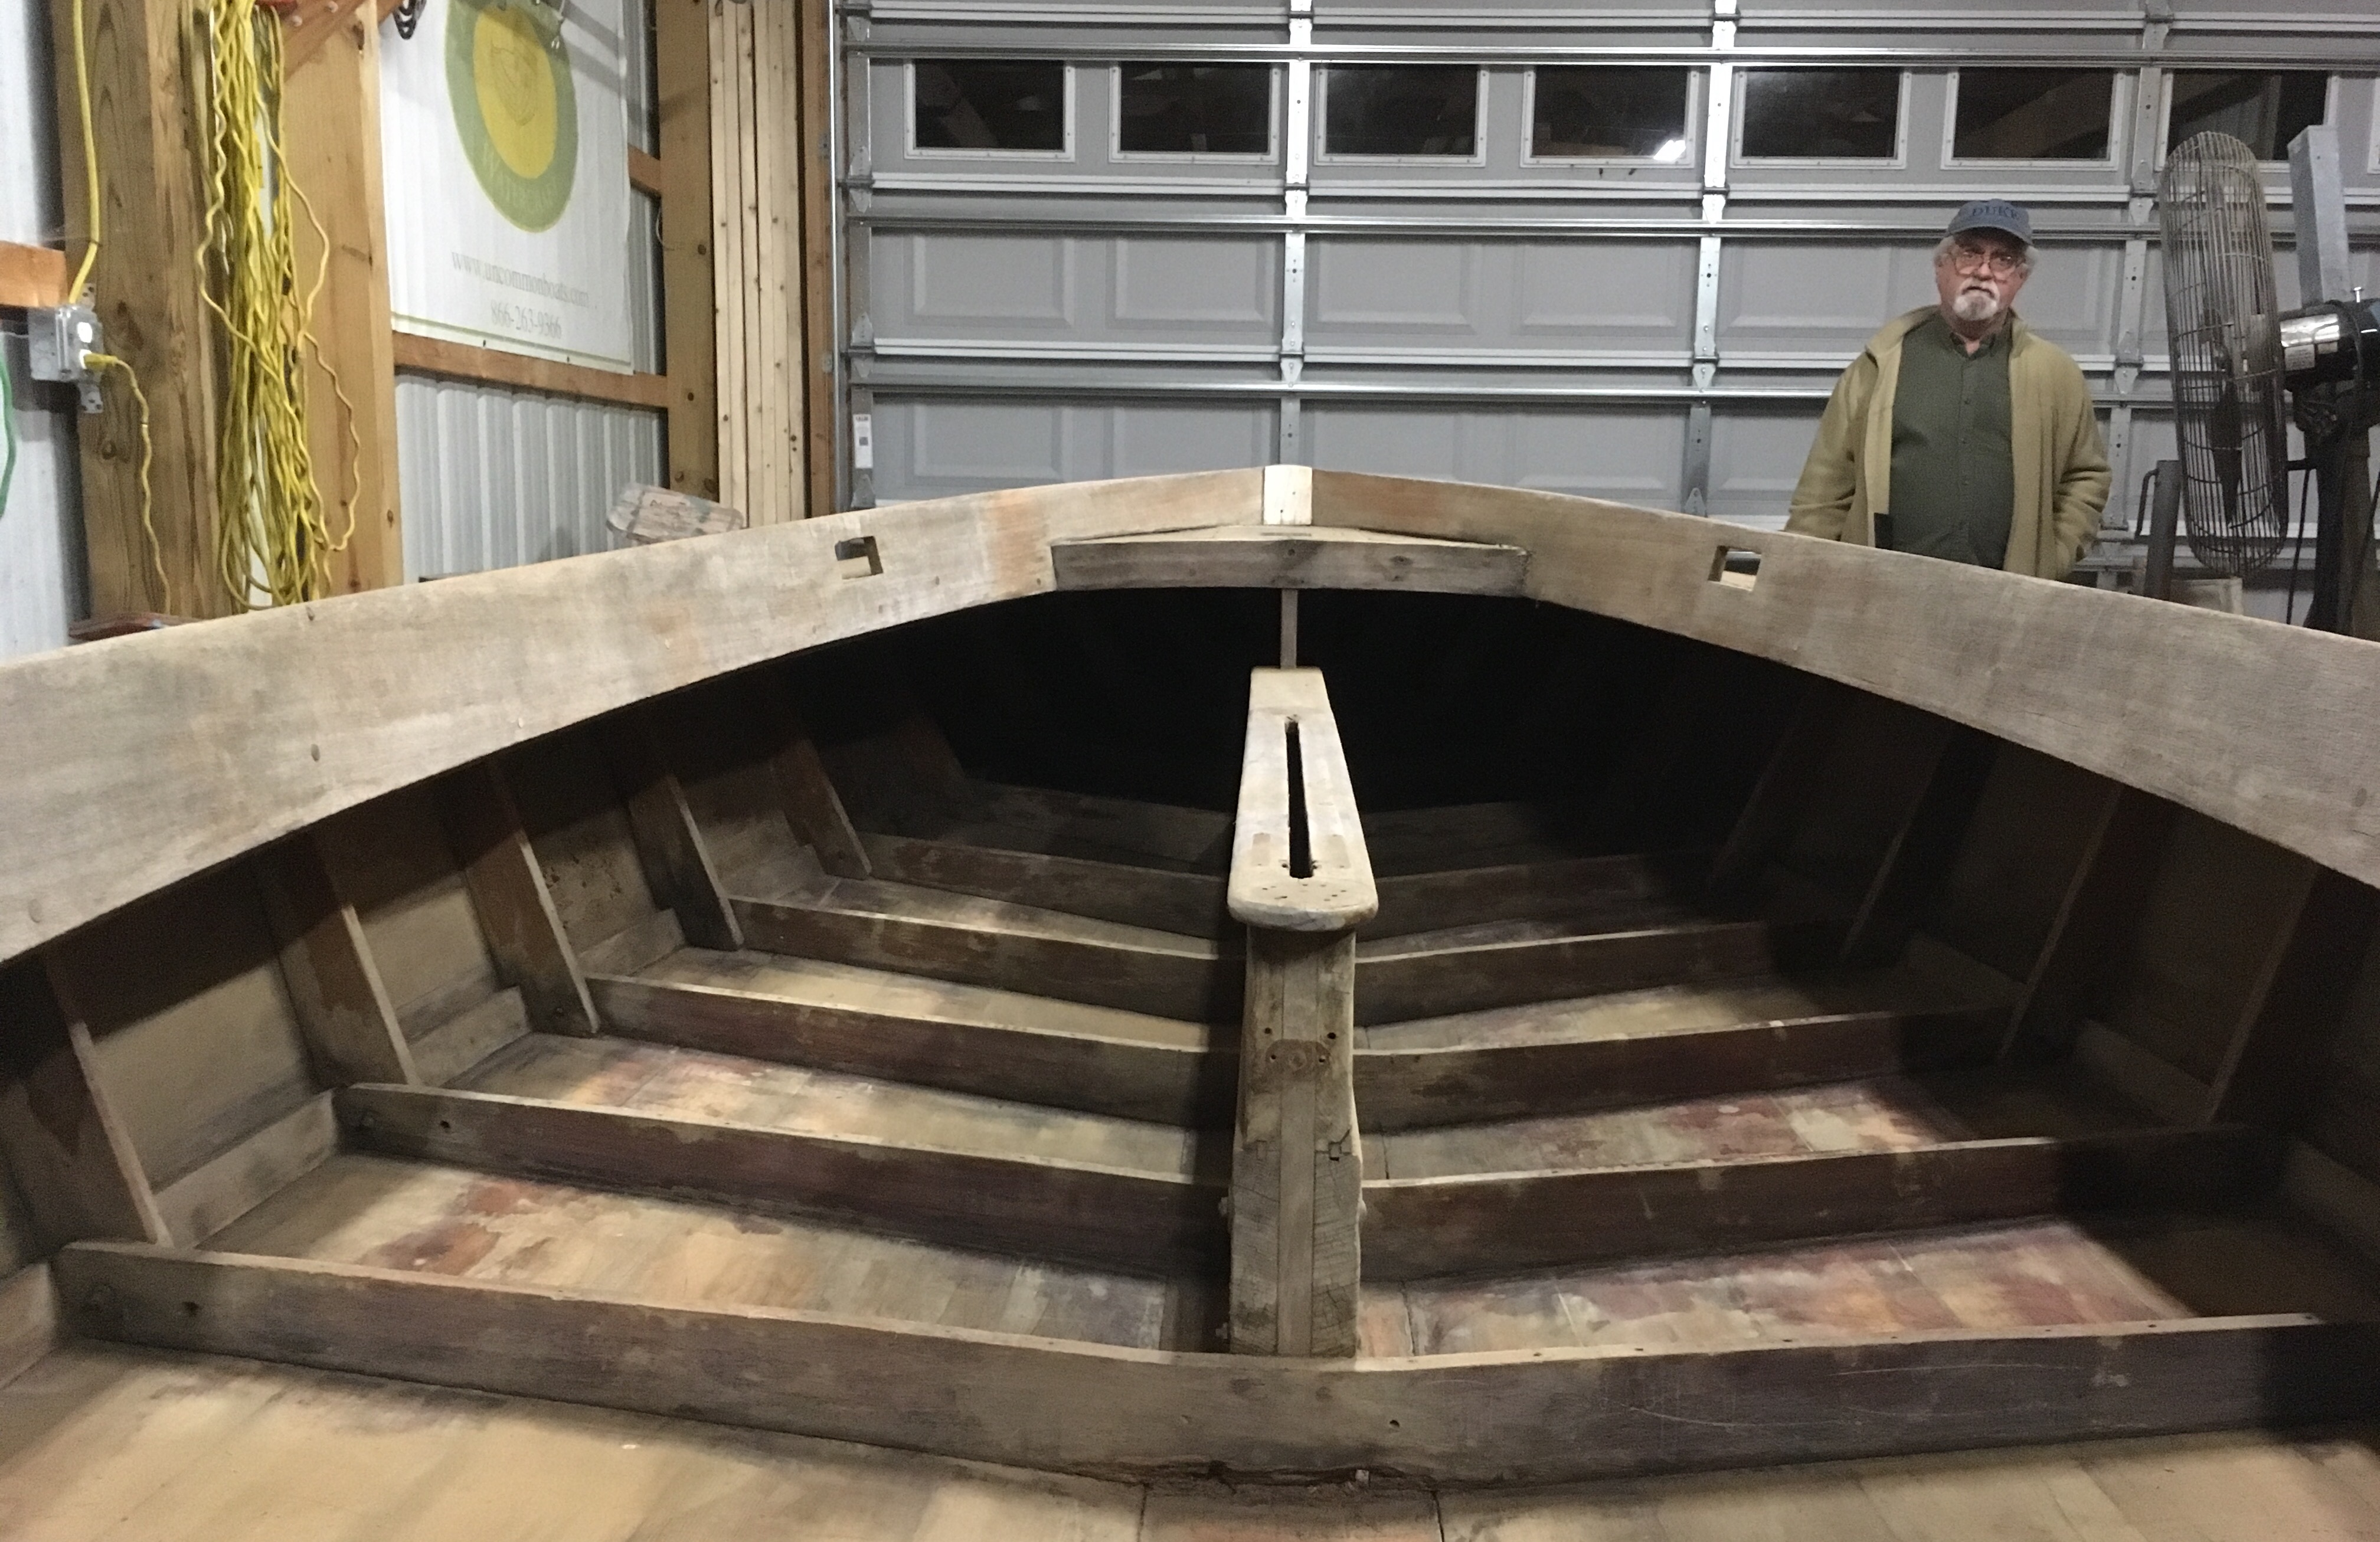
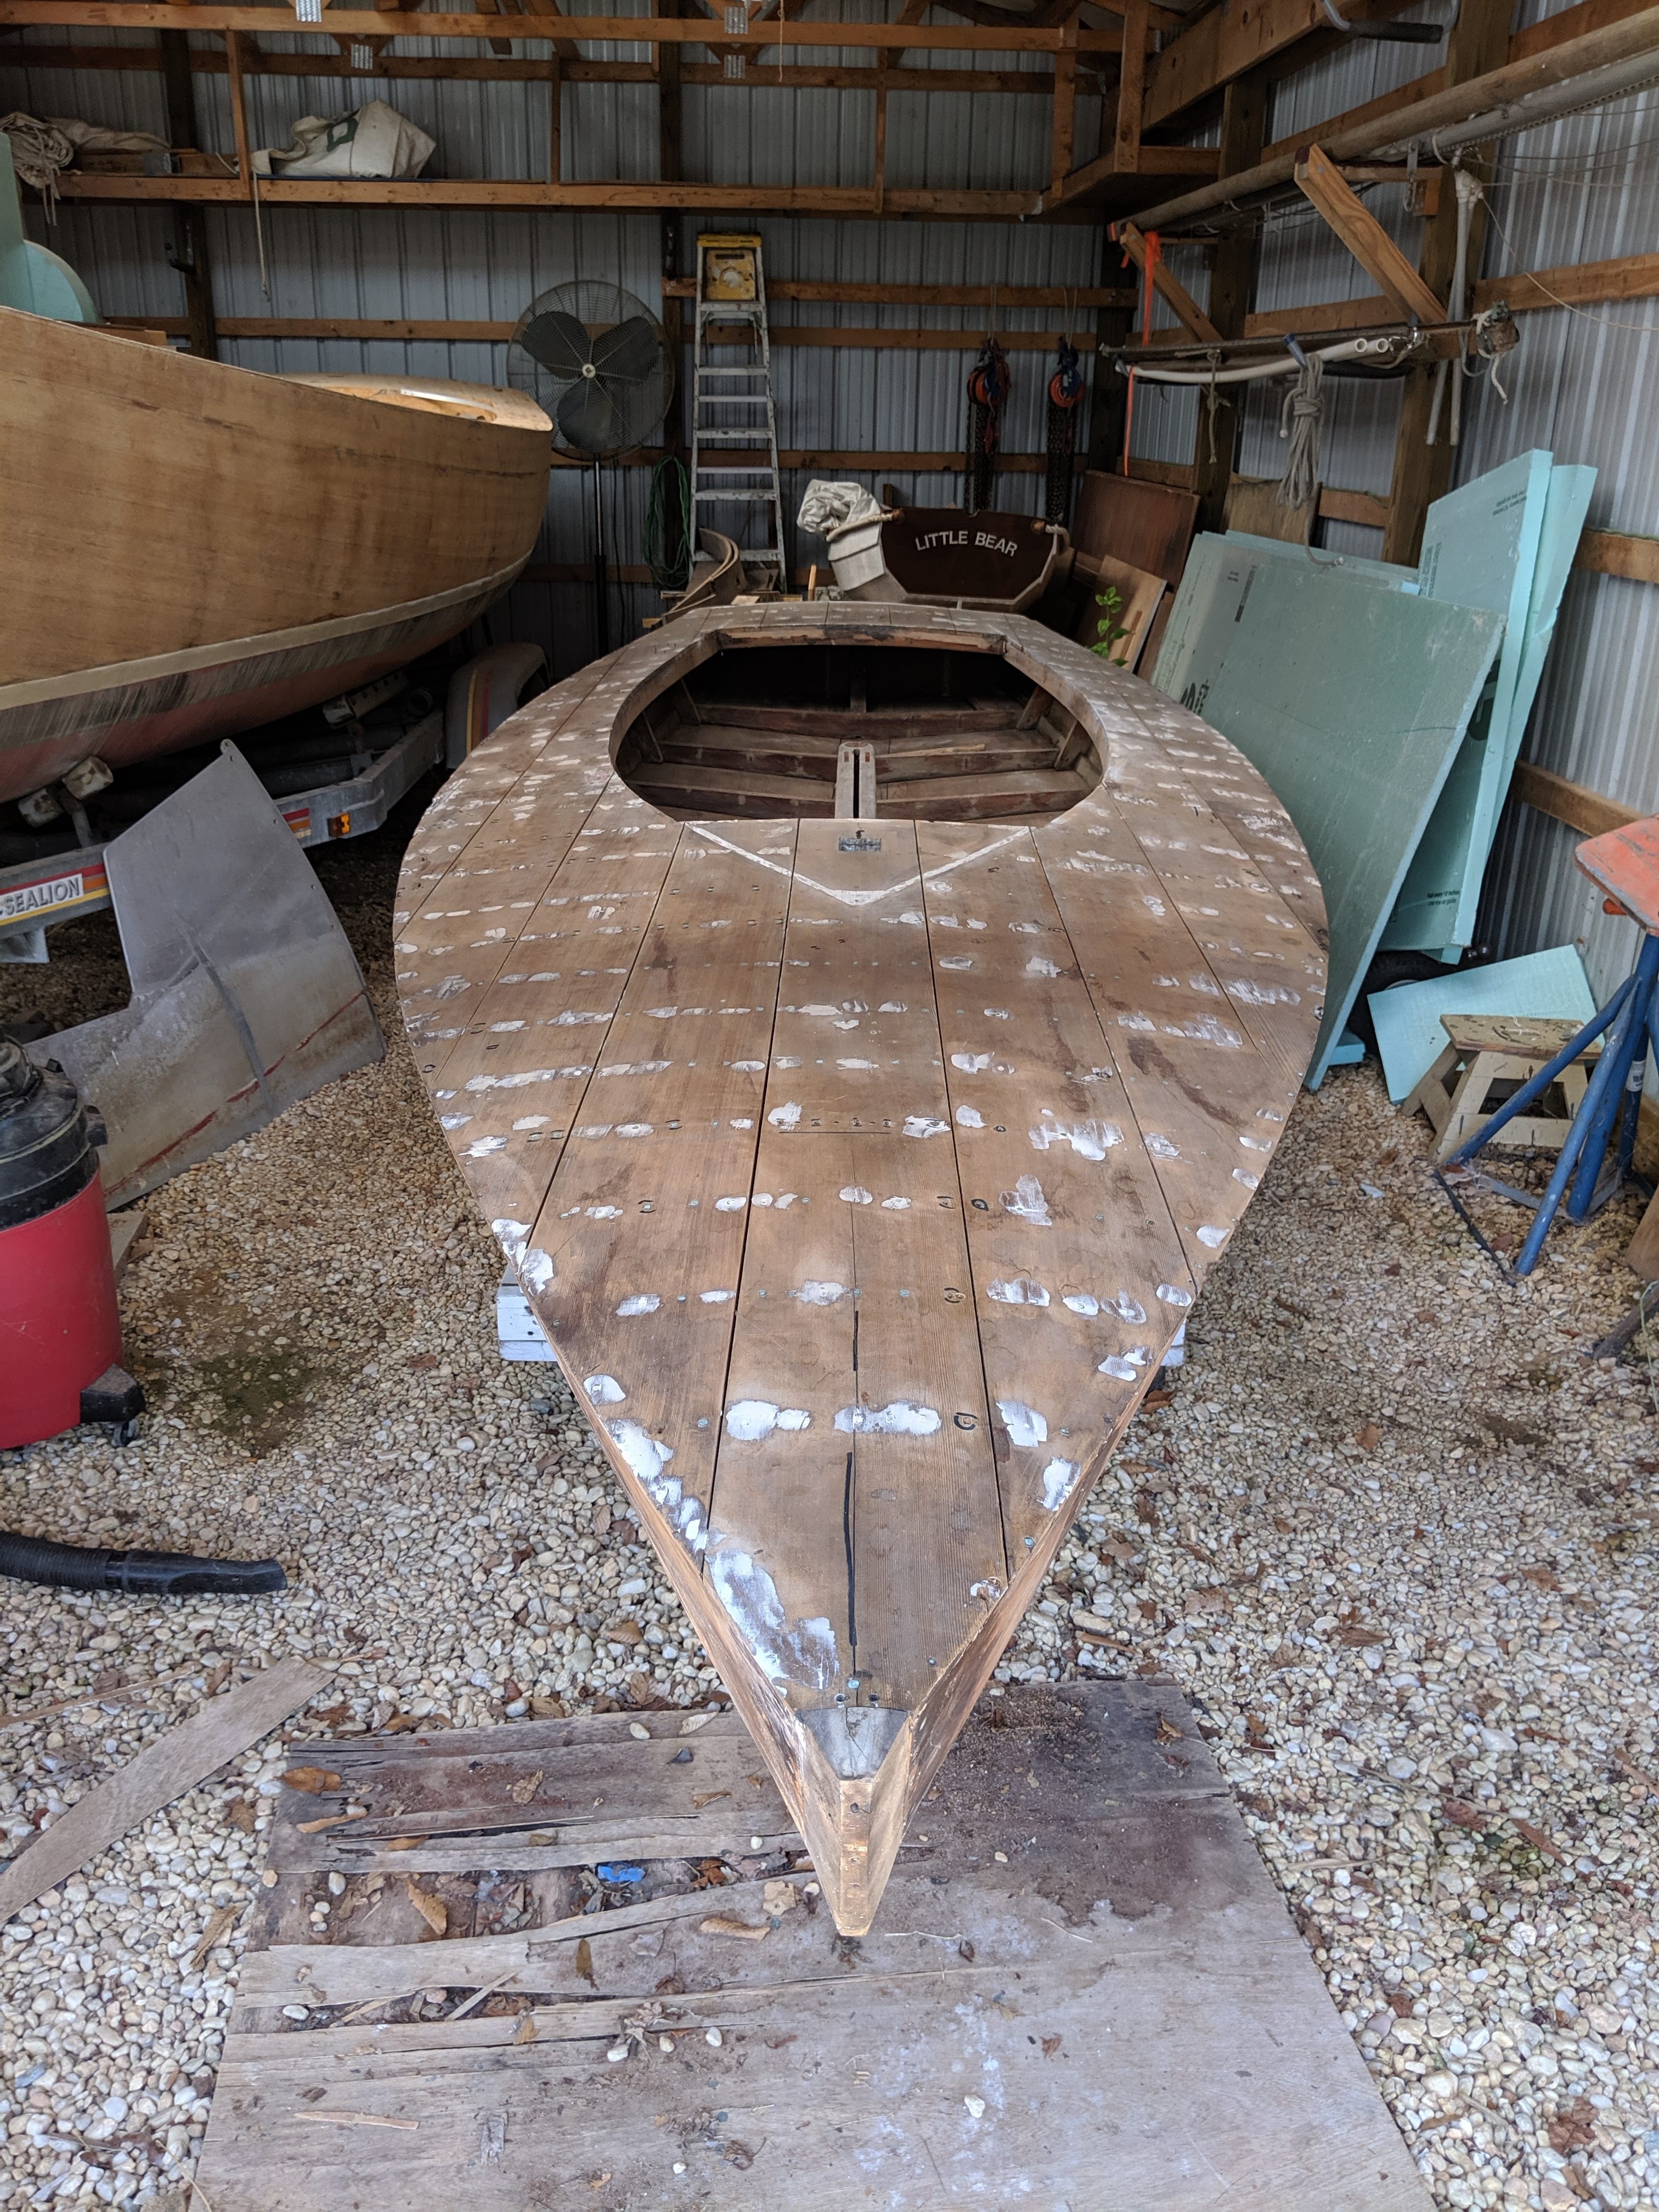
Next stop: fair the deck! Most white splotches are wood putty covering nail heads. I needed the occasional replacement annular nail or screw (bronze! Bill insisted).

img_20190628_104312

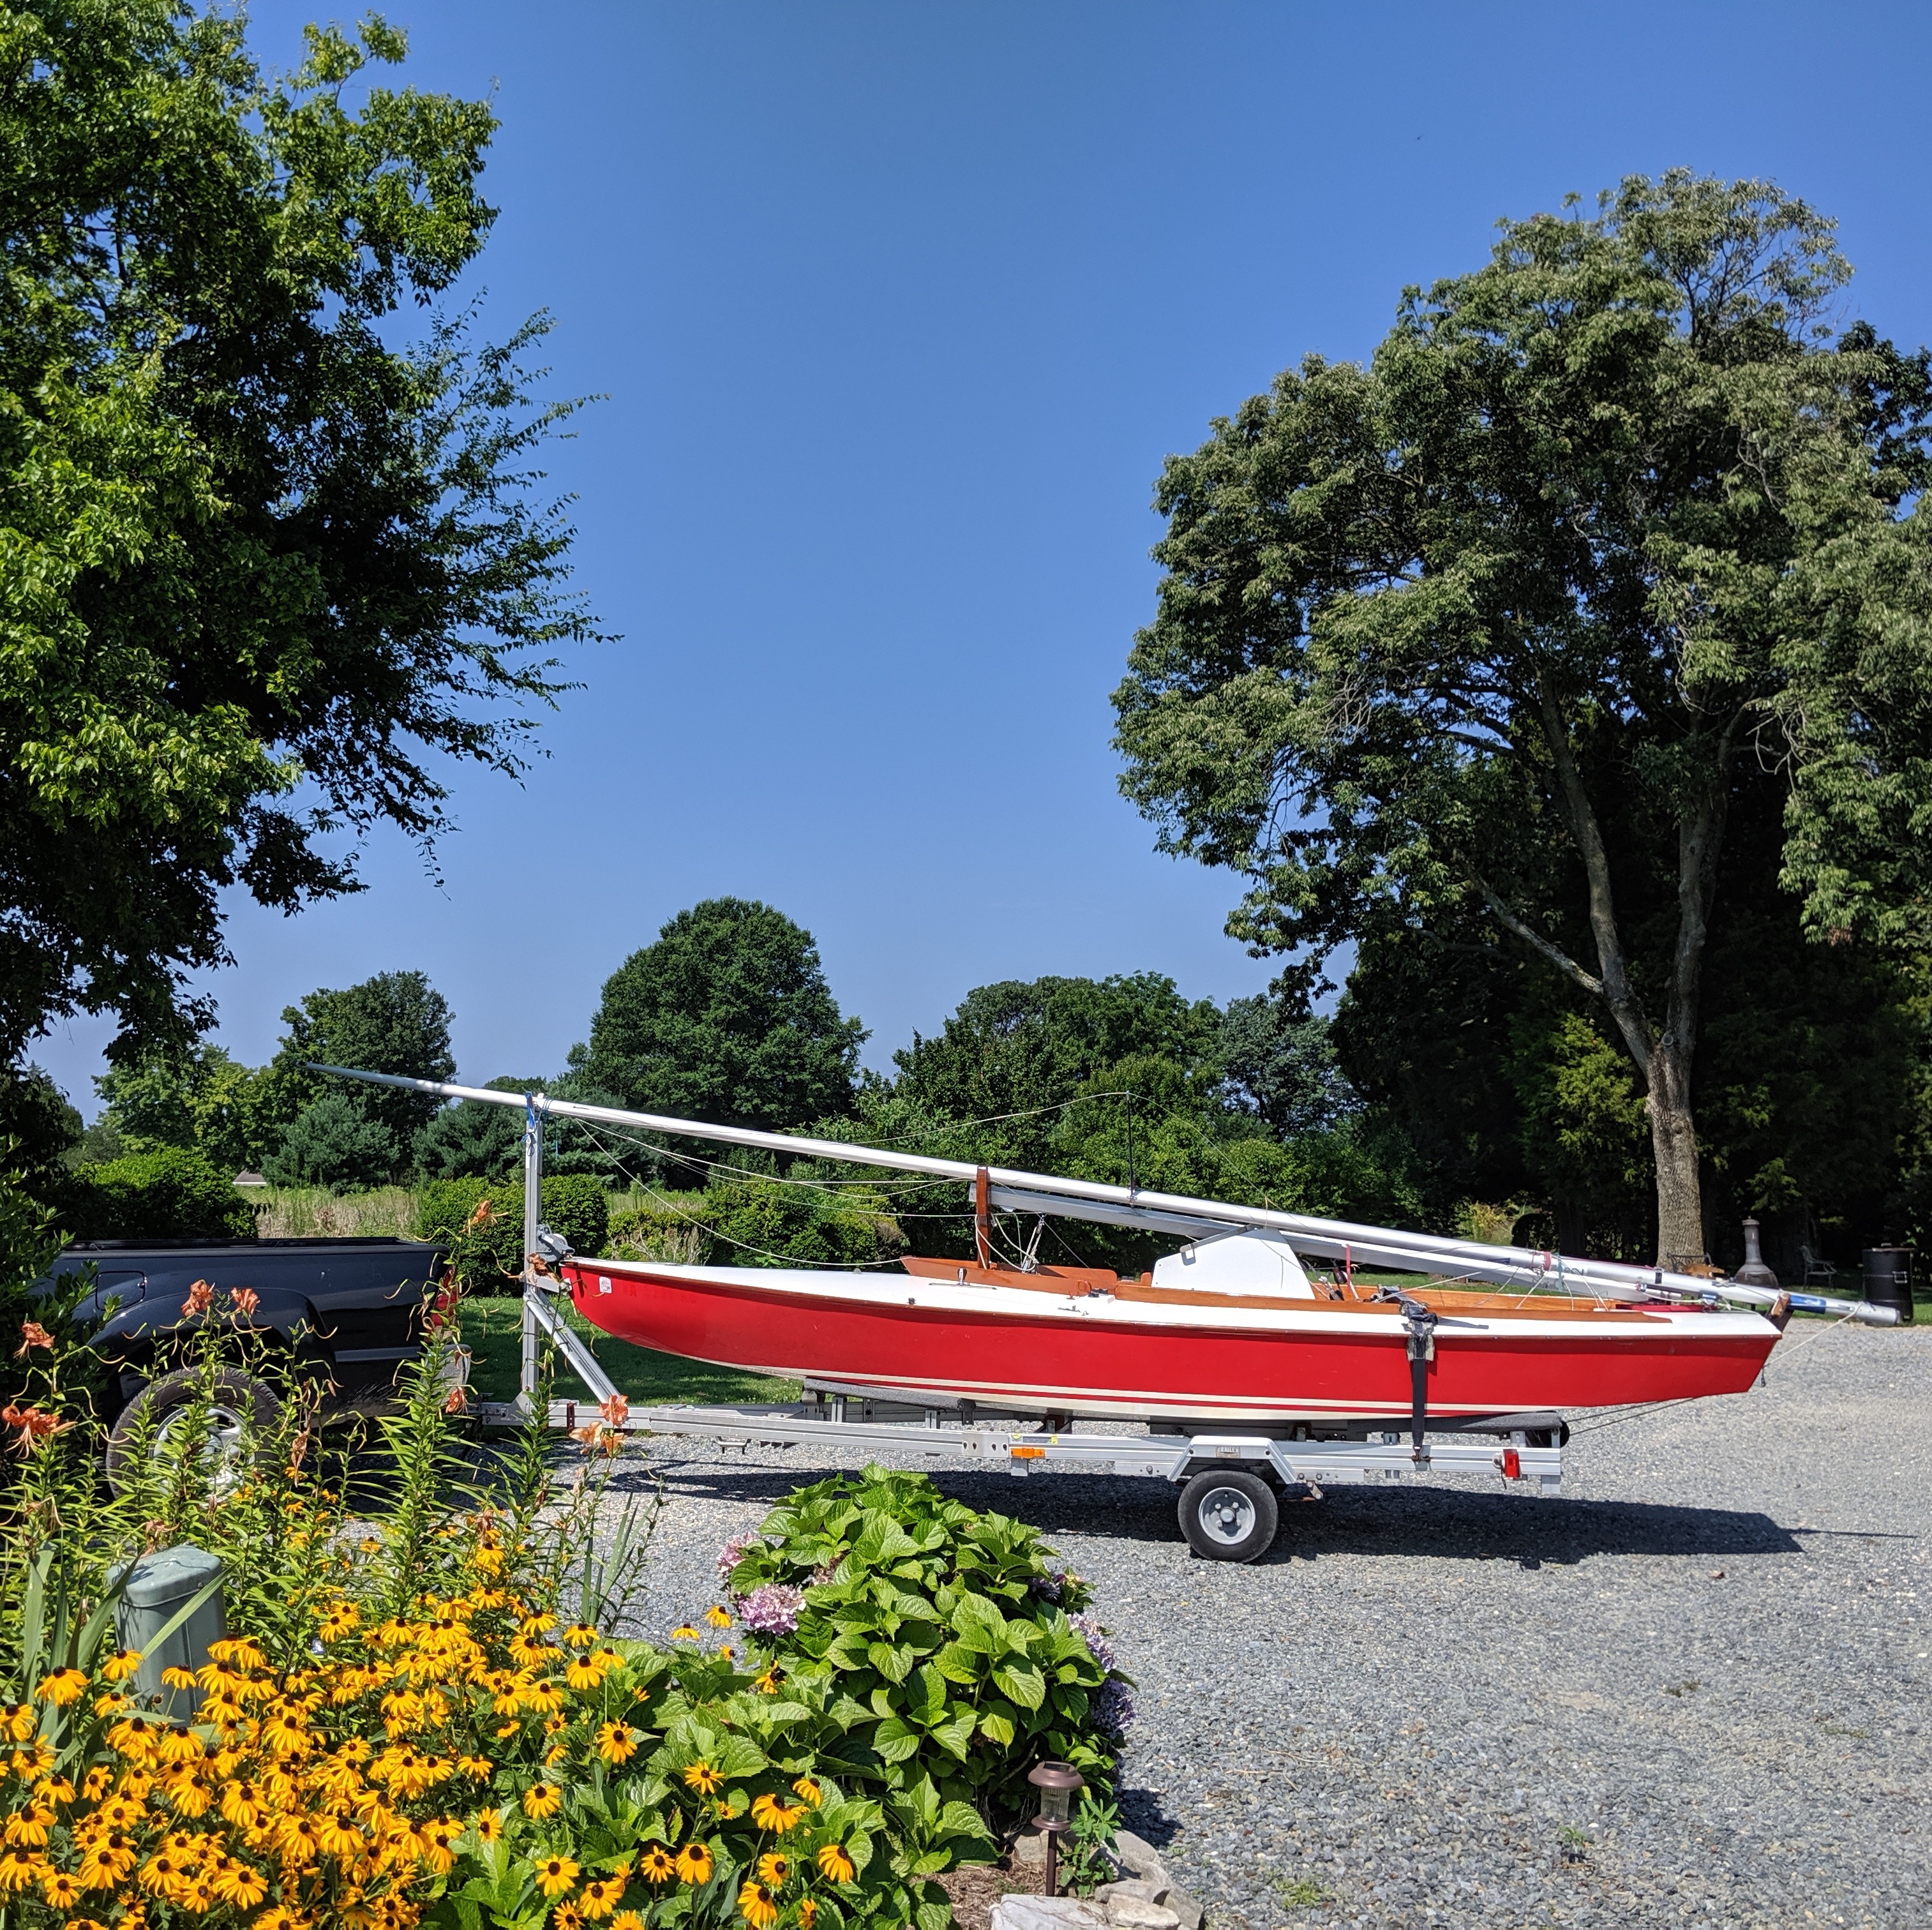
Needless to say, it’s good to be back on the shore.

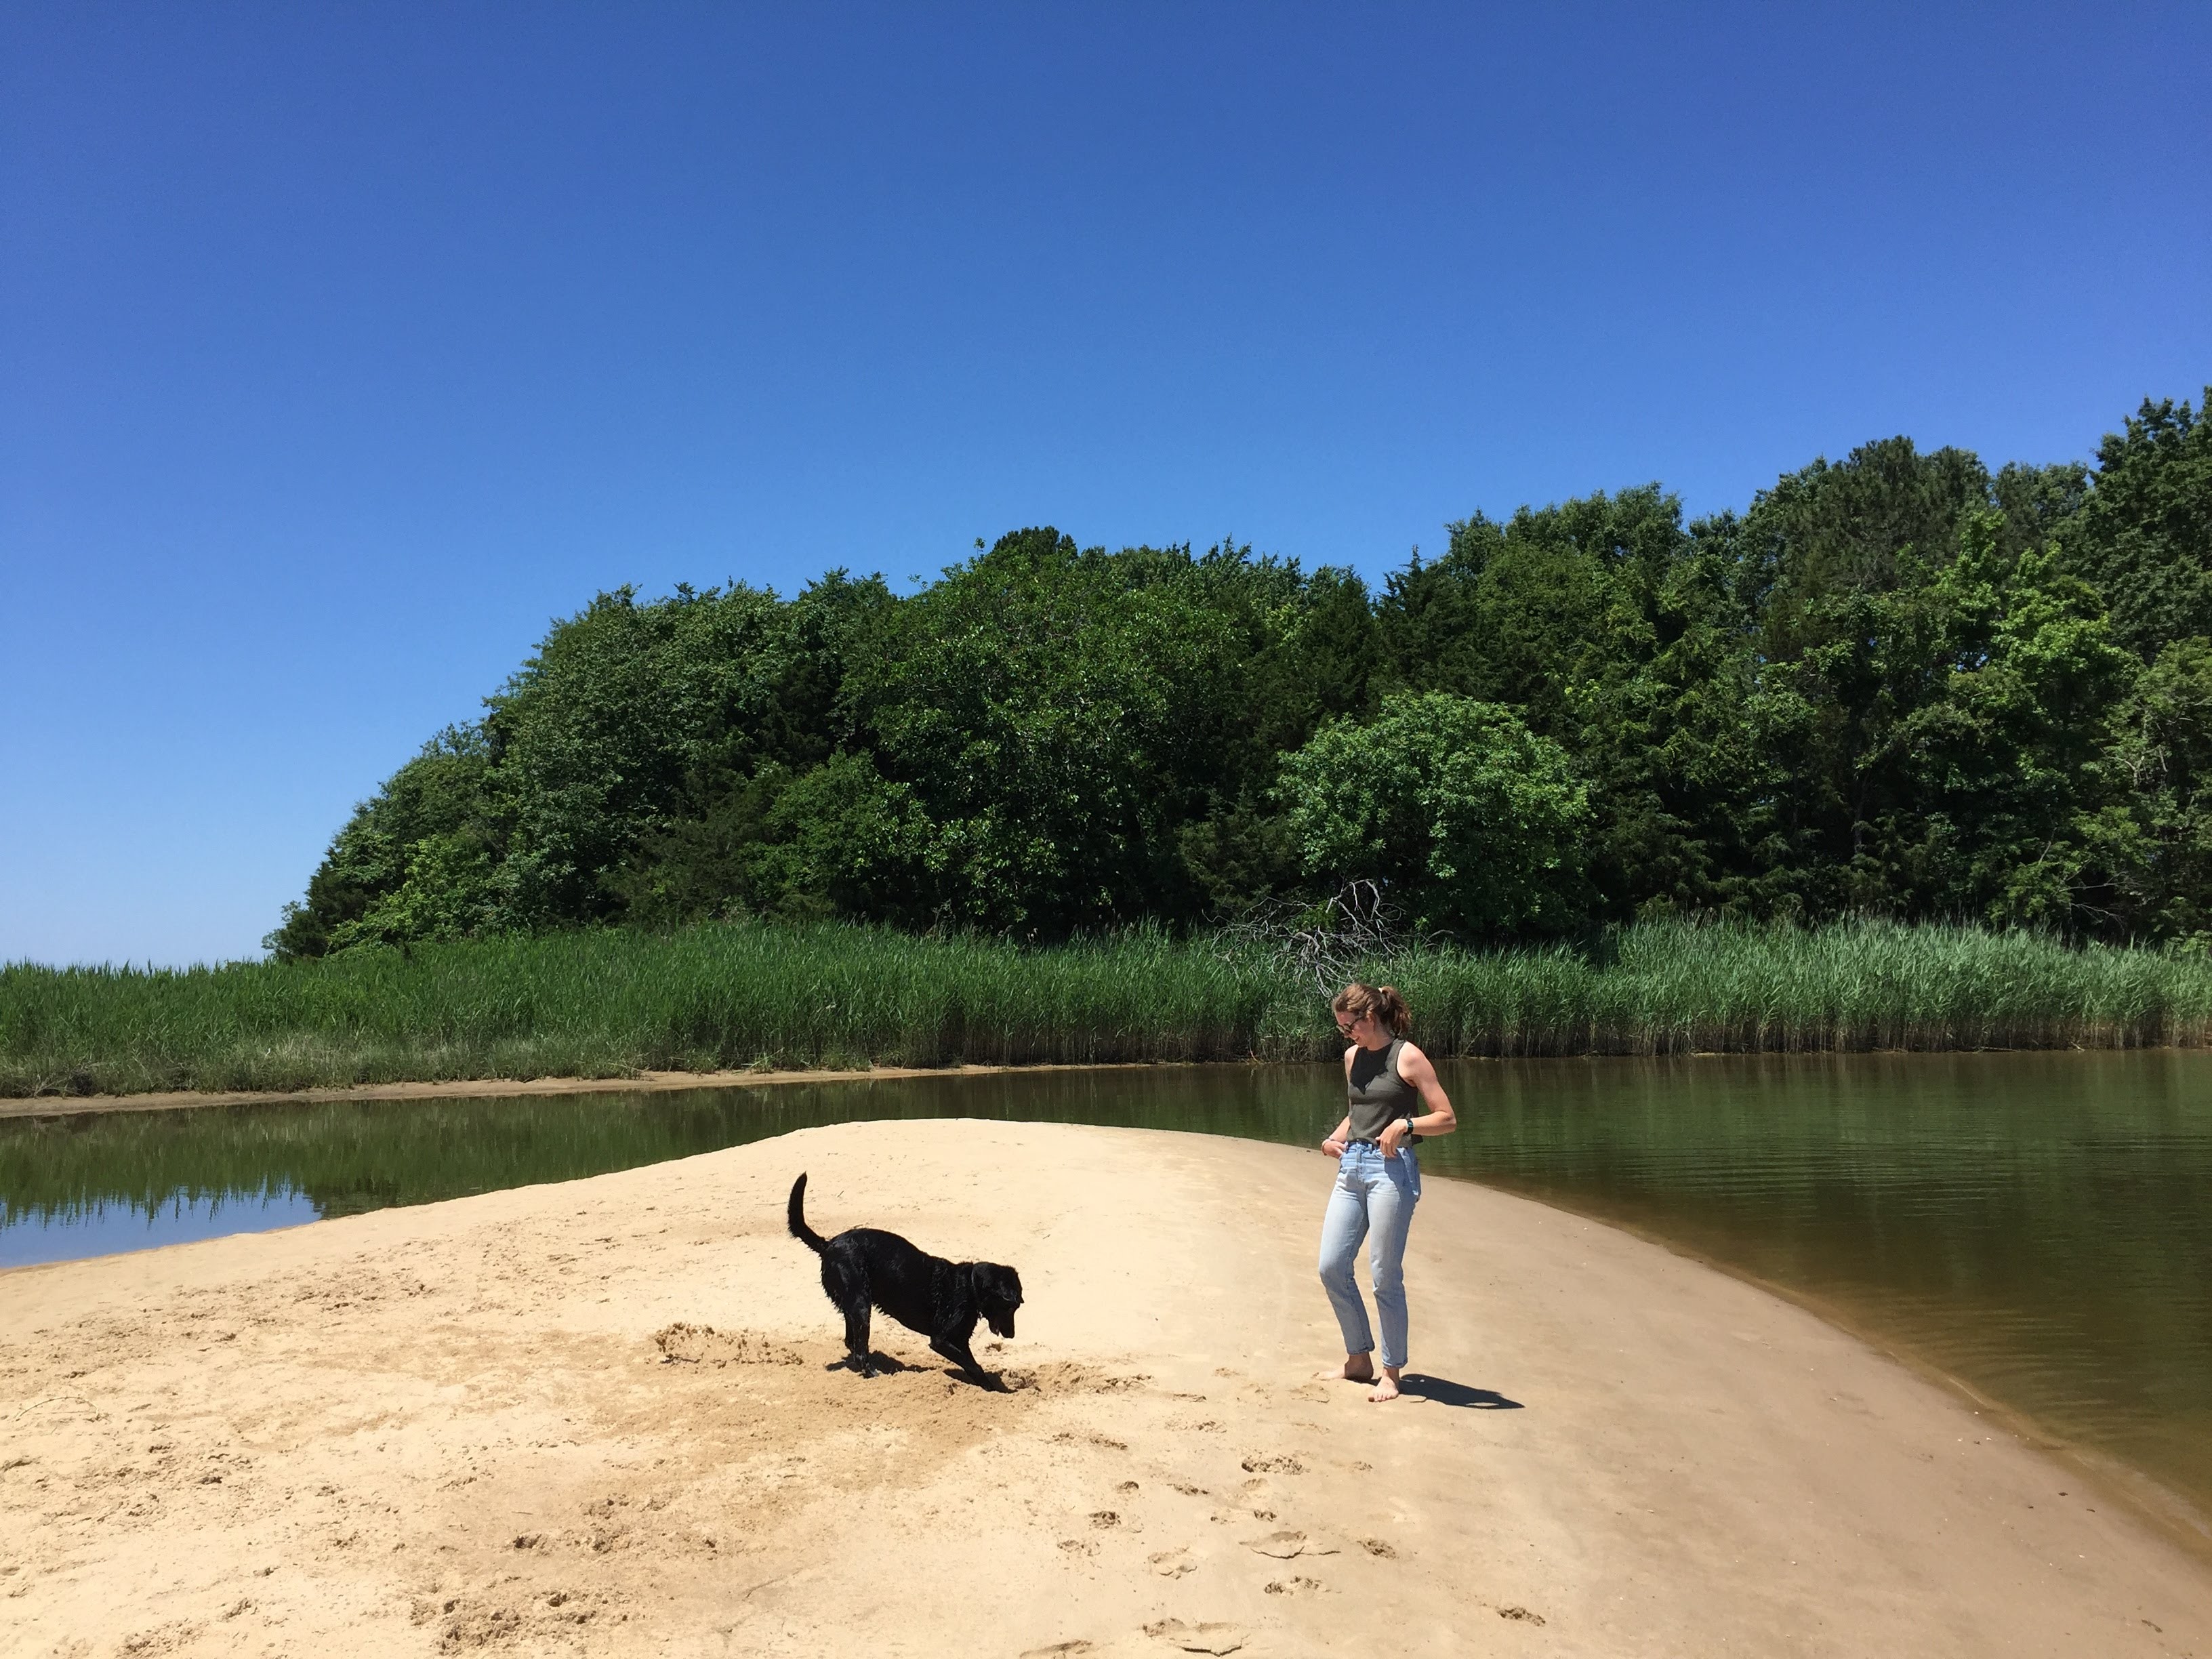
Erin & Mollie on China Beach:

img_1129

Looking down the Corsica River:

img_1123-2

Fairing & Storing

A “fair” surface is a smooth face without gouges, nicks, scratches, warps, etc. Pictures cannot do justice to the (un)fairness of Chile’s hull. In fact, a first-hand observer’s eye could hardly detect many of the imperfections. A blend of touch and sight seems to be the most effective way of determining where the boat needs to be faired. So I walked back and forth several times lightly grazing the boat’s subtle curve (trying to avoid splinters) labeling sections with a marker that would need wood putty filler. After a half hour it looked like Harold and his purple crayon had a field day with Chile Willow.

img_0004

Then came the putty. Like the colloidal silica glue, it required five parts epoxy, one part hardener and then a liberal addition of some powder (in this case microlite). My first attempt at filling holes was a bust. Apparently, wood putty should be mixed to the consistency of peanut butter (I was somewhere between mustard and mayonnaise…) It is supposed to function much more like plaster than the glue. Once Bill set me straight, the second attempt went much better. All of the white splotches on the bottom of the boat are the wood putty. Fixes included filling lots of nail holes, a few large scratches, and evening out the joint between two planks which looked insignificant to a human but from the perspective of an ant looked like a cartoon earthquake. Then we finished her off by sanding with a 1/3 sheet sander (“not the belt sander!”) using 100 grit.

img_0003

Once the bottom was complete, we had to prepare her for storage as I’ll be away for nearly a year. Stu, Sam, and Bill helped me flip her over again and put her on the dolly. Below is a picture of me in the company of the wooden boat studs Bill and Sam.

img_0005

Dear old friend, Stu (the unpictured photographer) got a good introduction to the Centreville-Chestertown corridor that weekend: yacht Club grilling, Corsica River skiing, lunch at Sam’s, milkshake at the freeze, paddleboarding on the Chester, and Bay Shore Steampot softshells for dinner: a good respite from our busy nation’s capital for the Stu-man, and quintessential last weekend for me.

img_0006

I moved to Nashville, Tennessee two days ago. So I had to part ways with Bill and Chile (and many more dear friends) until next May. As a parting gift, Bill gave me a book called “Western Wind, Eastern Shore.” It is Robert de Gast’s tale of circumnavigating the Eastern Shore in a sailboat in the 1970s. It is so fun to read about a place that I feel so connected to, especially while I feel a little homesick! And if the culture, history, and beauty aren’t enough to bring me back from Music City, Bill (jokingly?) reminded me that he has my sailboat, a chainsaw, and a fireplace, so if anything I’ll return to rescue Chile!

img_0002

Above is another photograph courtesy of Stu from my last weekend on the farm.

To my four loyal subscribers, I’m afraid the blog will be rather quiet for ten months. Rest assured I’ll be back!

To glass or not to glass?

That was the question. Initially, I was against it because I was indoctrinated at the Wooden Boat School and taught to be a purist. Having spoken with a few folks about the lack of maintenance (in the short term) and latitude to leave the boat in the water for a long period of time, I thought I might fiberglass Chile. Bill also had enough cloth left over to cover the boat.

But most recently, having:

  • read too many anti-glass blogs
  • spent the time to do quality repairs
  • priced out five gallons of epoxy
  • recognized that I probably won’t leave Chile in the water for more than a day at a time

…I intend to restore her sans fiberglass.  I also just feel better about it. If you’re reading this Charlie, I hope you’re smiling. It will also give me the flexibility to more easily transform her into a racer with a stiff plywood deck if the day were to come.

In the Bubinga post, I showed the seams with failing glue. Over the weekend we filled those with epoxy. Those dark splotches are the residue of squeegee-spread epoxy. Quite a few spots!

img_3569

I also discovered this gnarly carnage. It was hidden by Marine-Tex. Bill frowns at Marine-Tex. So as his grasshopper, I also disapprove. Another dutchman is in order…

img_3566

Bubinga!

After routing the second space for the dutchman, we had to cut the actual dutchmen. The Johnsons (who introduced me to Bill) had some leftover mahogany from their melonseed that they were kind enough to give me. We cut those to size leaving about a minimum of at least 1/16″ of extra depth so that it would stand proud and we could sand the dutchman to match the subtle curve of the keel.

img_3545

After making sure the dutchmen fit properly we prepared the epoxy: 5 to 1 ratio of epoxy to hardener with a liberal addition of some glue powder. We caked all sides and screwed the batten in place. With the slow hardener, we waited a full day before removing the screws and sanding it.

img_3546

Because it was supposedly mahogany, we thought a belt sander would get the job done in no time, but Bill had been skeptical of that classification given the weight of the wood. Upon sanding we realized that the wood was much too hard to be mahogany, so Bill went inside to do some research. I switched to a power planer to do the brunt of the job and ended up finishing with a sander. As I was just finishing, Bill barged into the barn and shouted “Bubinga!” I assumed his random exclamation was a compliment to my craftsmanship, but quickly realized that he was excited to have discovered the species of wood… There is also a forest in a Zelda game named after this African hardwood.

img_3551

Chile could be the only Hampton with African bones!

img_3553

The next step before fairing the hull is tackling the planks’ seams. The boat is glued together nearly everywhere (planks to planks, and planks to frames), which according to Bill is a bit odd. It certainly has presented a few difficulties and is one of the reasons we are opting to fiberglass her.

The glue compound is brittle and failing in many places making the open seams pretty wide (2 millimeters at some points). To remove the old glue I am using a Feintool with a semicircular blade. It is pretty easy as the saw just follows the glue. Some seams, especially toward the stern are perfectly strong, but they are failing toward the bow.

This slideshow requires JavaScript.

The Dutchman

A dutchman is a repair patch used in carpentry. As we’ve found a couple rot spots in the keel, we are routing it out and gluing in a mahogany dutchman. The term dutchman seems odd so I did a little research on its etymology. There is no sure answer but I found two possible origins:

  1. The Germans were able craftsmen. Their repairs were precise and effective. Americans carpenters labeled the repair a Dutchman as a compliment to their expertise. On the other side of the coin, some say it is an ethnic slur used to describe a repair often required for Dutch furniture.
  2. But here’s my favorite: as much of the country lies below sea level, the Netherlands is surrounded by dikes. There are fictional stories dating back from the 19th century of a Dutch boy who must stop a leak in the dike by placing his finger in the hole, which is just what this repair will do!

dutch-boy-768x1024
Hans Brinker

Yesterday I routed out the space for the dutchman. The trickiest part of this task was making the space flat. While there is not a significant curve to the bottom of the hull, it definitely isn’t flat. So as the router moved toward and away from the centerline it wanted to pivot. I tried to keep the router moving along the same plane, but the picture reveals a few deep grooves cut by the router as it conformed to the slope of the planks and keel. (The extra deep cuts at the lower corners are just the initial forstner bit holes so we could set the router.) I finished the corners with a chisel, but still have some fairing to do before laying the dutchman. Ideally, the bed is flat so that I can lay a square board and only worry about the keel’s outer bevel – not the one I created…

img_3539

I also learned that my brain can barely do simple arithmetic after 8:00pm. Measuring the distance of the fence might seem like a simple task, but I ended up moving it three times because of bad math.

Good news is, we routed to a depth of 3/8″ and there is no sign of rot. I have one more to cut to make further aft and will probably only go down to only a 1/4″.

The Underbelly

A few hiccups arose this past month. The most inhibiting was my decision to go to graduate school. So I can only continue working on Chile until June 30 this year. Fortunately, Bill has been generous enough to let me store her in his workshop during my one-year stint in Nashville.

More relevant to the boat itself, however, is some rot we discovered upon flipping her over… (this is a panorama shot, causing some distortion)

img_3496

You can see where I’ve highlighted in blue around the centerboard trunk – on the outer edge of the keel there is a long patch of discoloration. Water penetrated the wood somewhere in there and the rot spread as if by straws along the grain. It is only about 1/4″ deep, but at least five feet long.

Bill suggested that we rout out the rot and fill the void with a dutchman, which is a carpentry term for a wood replacement. That repair is coming soon…

I’ve spent the last couple weekends removing old fiberglass. Sometimes I could peel yard-long sections off with my bare hands with ease. Sometimes I had to go at it with a scraper and the tenacity of someone trying to brush their teeth in the span of ten seconds after having eaten corn and milk duds to remove a piece of glass residue the size of a fingernail.

img_3488

Eventually, I got it off of the cedar planks. For some reason (I imagine a true wood enthusiast could tell you why), I could not remove the polyester resin fiberglass from the mahogany keel, so I am just going to sand it off.

img_3492

My adjusted goal (given my new timeline) is to have Chile’s bottom faired, glassed, and painted before July. So the deck and interior will have to wait until 2019. I am all ears for color suggestions. Feeling robin’s egg blue, kinda like this Google image…

ON-MOORING-PC-PAGE-17-768x576

Again, I fear the idea of fiberglassing her will incite quite the kerfuffle among the Hampton class, but just know I intend to keep her as a daysailer sporting wooden spars that I can moor for several days in the summertime. We intend to use epoxy as the bonding agent for the fiberglass. In that same vein of balancing original restoration with modern convenience, we were initially going to canvas the deck, but are leaning toward using dynel now. If you have any thoughts, let me know!

removing the coaming

From the bomb cyclone to last week’s record highs, the extreme weather around here has made getting in the shop difficult. I prefer to read a book by the fire when it’s less than 40 degrees and I’d rather go for a run when it is over 60. But we finally had a rainy weekend in the 50s so I got some work done. If I intend to meet my August target, my temperature window when I work must expand…

IMG_3352

We spent a few hours Saturday and Sunday removing the coaming. This is the rail that keeps water from splashing inside the cockpit and adds detail to the lines. Fortunately, the mahogany is still in great shape, so I can reuse those planks. We were afraid that the coaming (like everything else on the boat) was glued to the frames, but it separated easily when the screws were removed. It did not dawn on me how painstaking that process could have been, but Bill had nightmares about it. Ignorance is bliss I guess.

IMG_3353

Above: Jim’s gaze descends in dismay upon the aft piece coaming that was glued a frame. We tried chisels and a Feintool, but all blades were too dull. Once we get new Feintool blades to remove this last piece of coaming, we will flip her over and begin fairing the hull.

sanding Chile

After nearly two months off, we are back in the barn.  Over the holidays, Bill (the brain) had been contemplating our order of operations.  Given the recent bomb cyclone and constant freezing temperatures, it will be a while until we can flip her over and fiberglass the hull (more on the fiberglass decision in another post).  So for now, we are working on preparing the interior and spars.

Our first task yesterday was to remove the centerboard.  As the well’s slit was not long enough to lift the board up out of the boat we considered two options:

  1. removing the top plate of the centerboard well
  2. lift the boat so high that the board falls out the bottom

The boat is surprisingly light so with the help of the Johnsons, we were able to opt for the cleaner second choice. Below is the aluminum board.


IMG_3260

We spent the rest of the afternoon sweeping, vacuuming, sanding, and repeating.  There is still a lot of sanding to do, but it goes by quicker with extra hands.

IMG_3258

Sam and Jim Johnson lend precious hours of their MLK Day to help.

IMG_3259

Bill admires the boat with a foreboding yet dutiful gaze.  He is a Duke fan, but that’s OK.

IMG_3262

If you can’t tell from this picture of the frames, there are countless nooks and crannies.  This phase requires a lot of hand-sanding.  Also note the cramped space beneath the deck toward the bow.  I am beginning to feel sympathetic for the industrial robber barons who employed kids just because they fit in small spaces.  It is a dangerous job, too: when I first wiggled myself into the bow, the boat nearly tipped forward off the dolly, which would have put me in a precarious position had the Johnsons not been there to catch the stern from swinging upward.

From here on out, I intend to work on Chile Willow every weekend.  If anyone is interested in helping out, just let me know!